Cleveland Photographer

Photographing Interior & Exterior

I think everyone over complicates photography. In my opinion photography is nothing but balancing light. If this is your foundation as a photographer, you can pretty much shoot anything. 

When I first got started shooting, one of the roughest things I battled with was what I was going to shoot. Unlike other people I started photography to make money on the side. Over time my passion grew for the art. After shooting a ton of baby showers, events and pretty much anything someone wanted me to shoot, I quickly learned I need to have a foundation or I will be all over the place. 

When first shooting the only advice I got from other photographers was “find what you want to shoot and only shoot that”. Basically that means find what I like and perfect that. I disagree with that statement completely. 

I’m thankful I didn’t take that advice because I wouldn’t be where I am today if I did. 

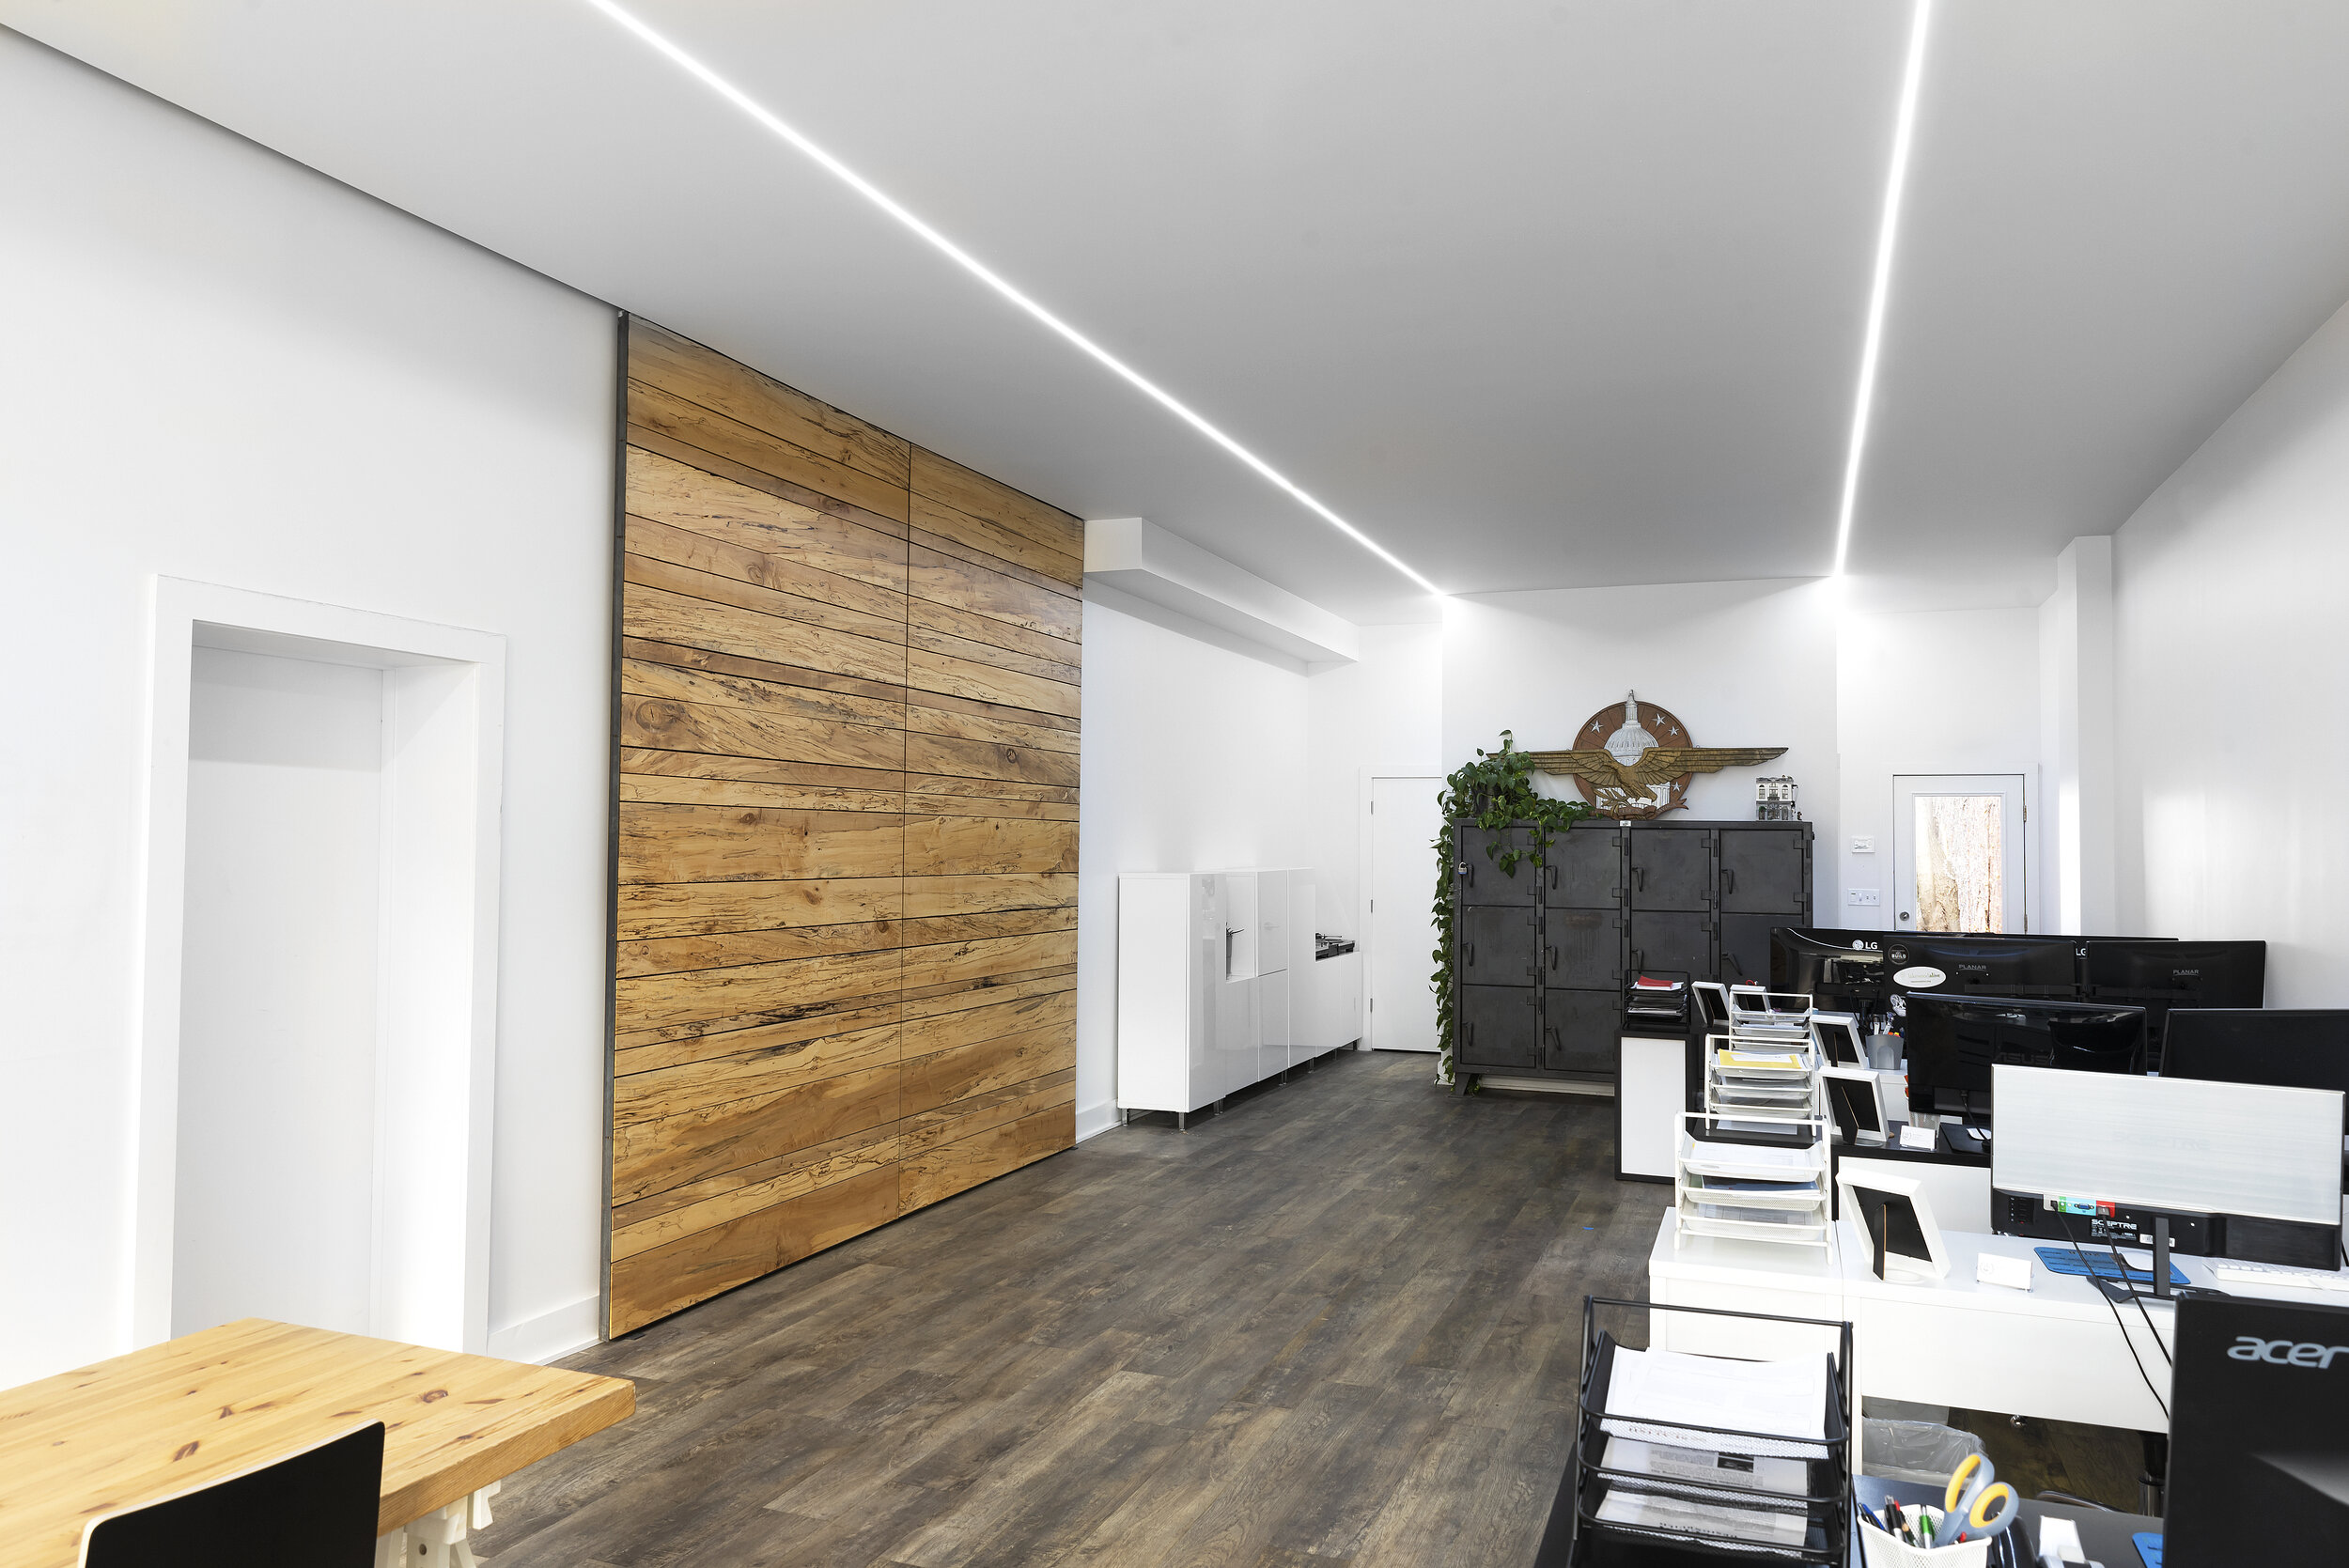
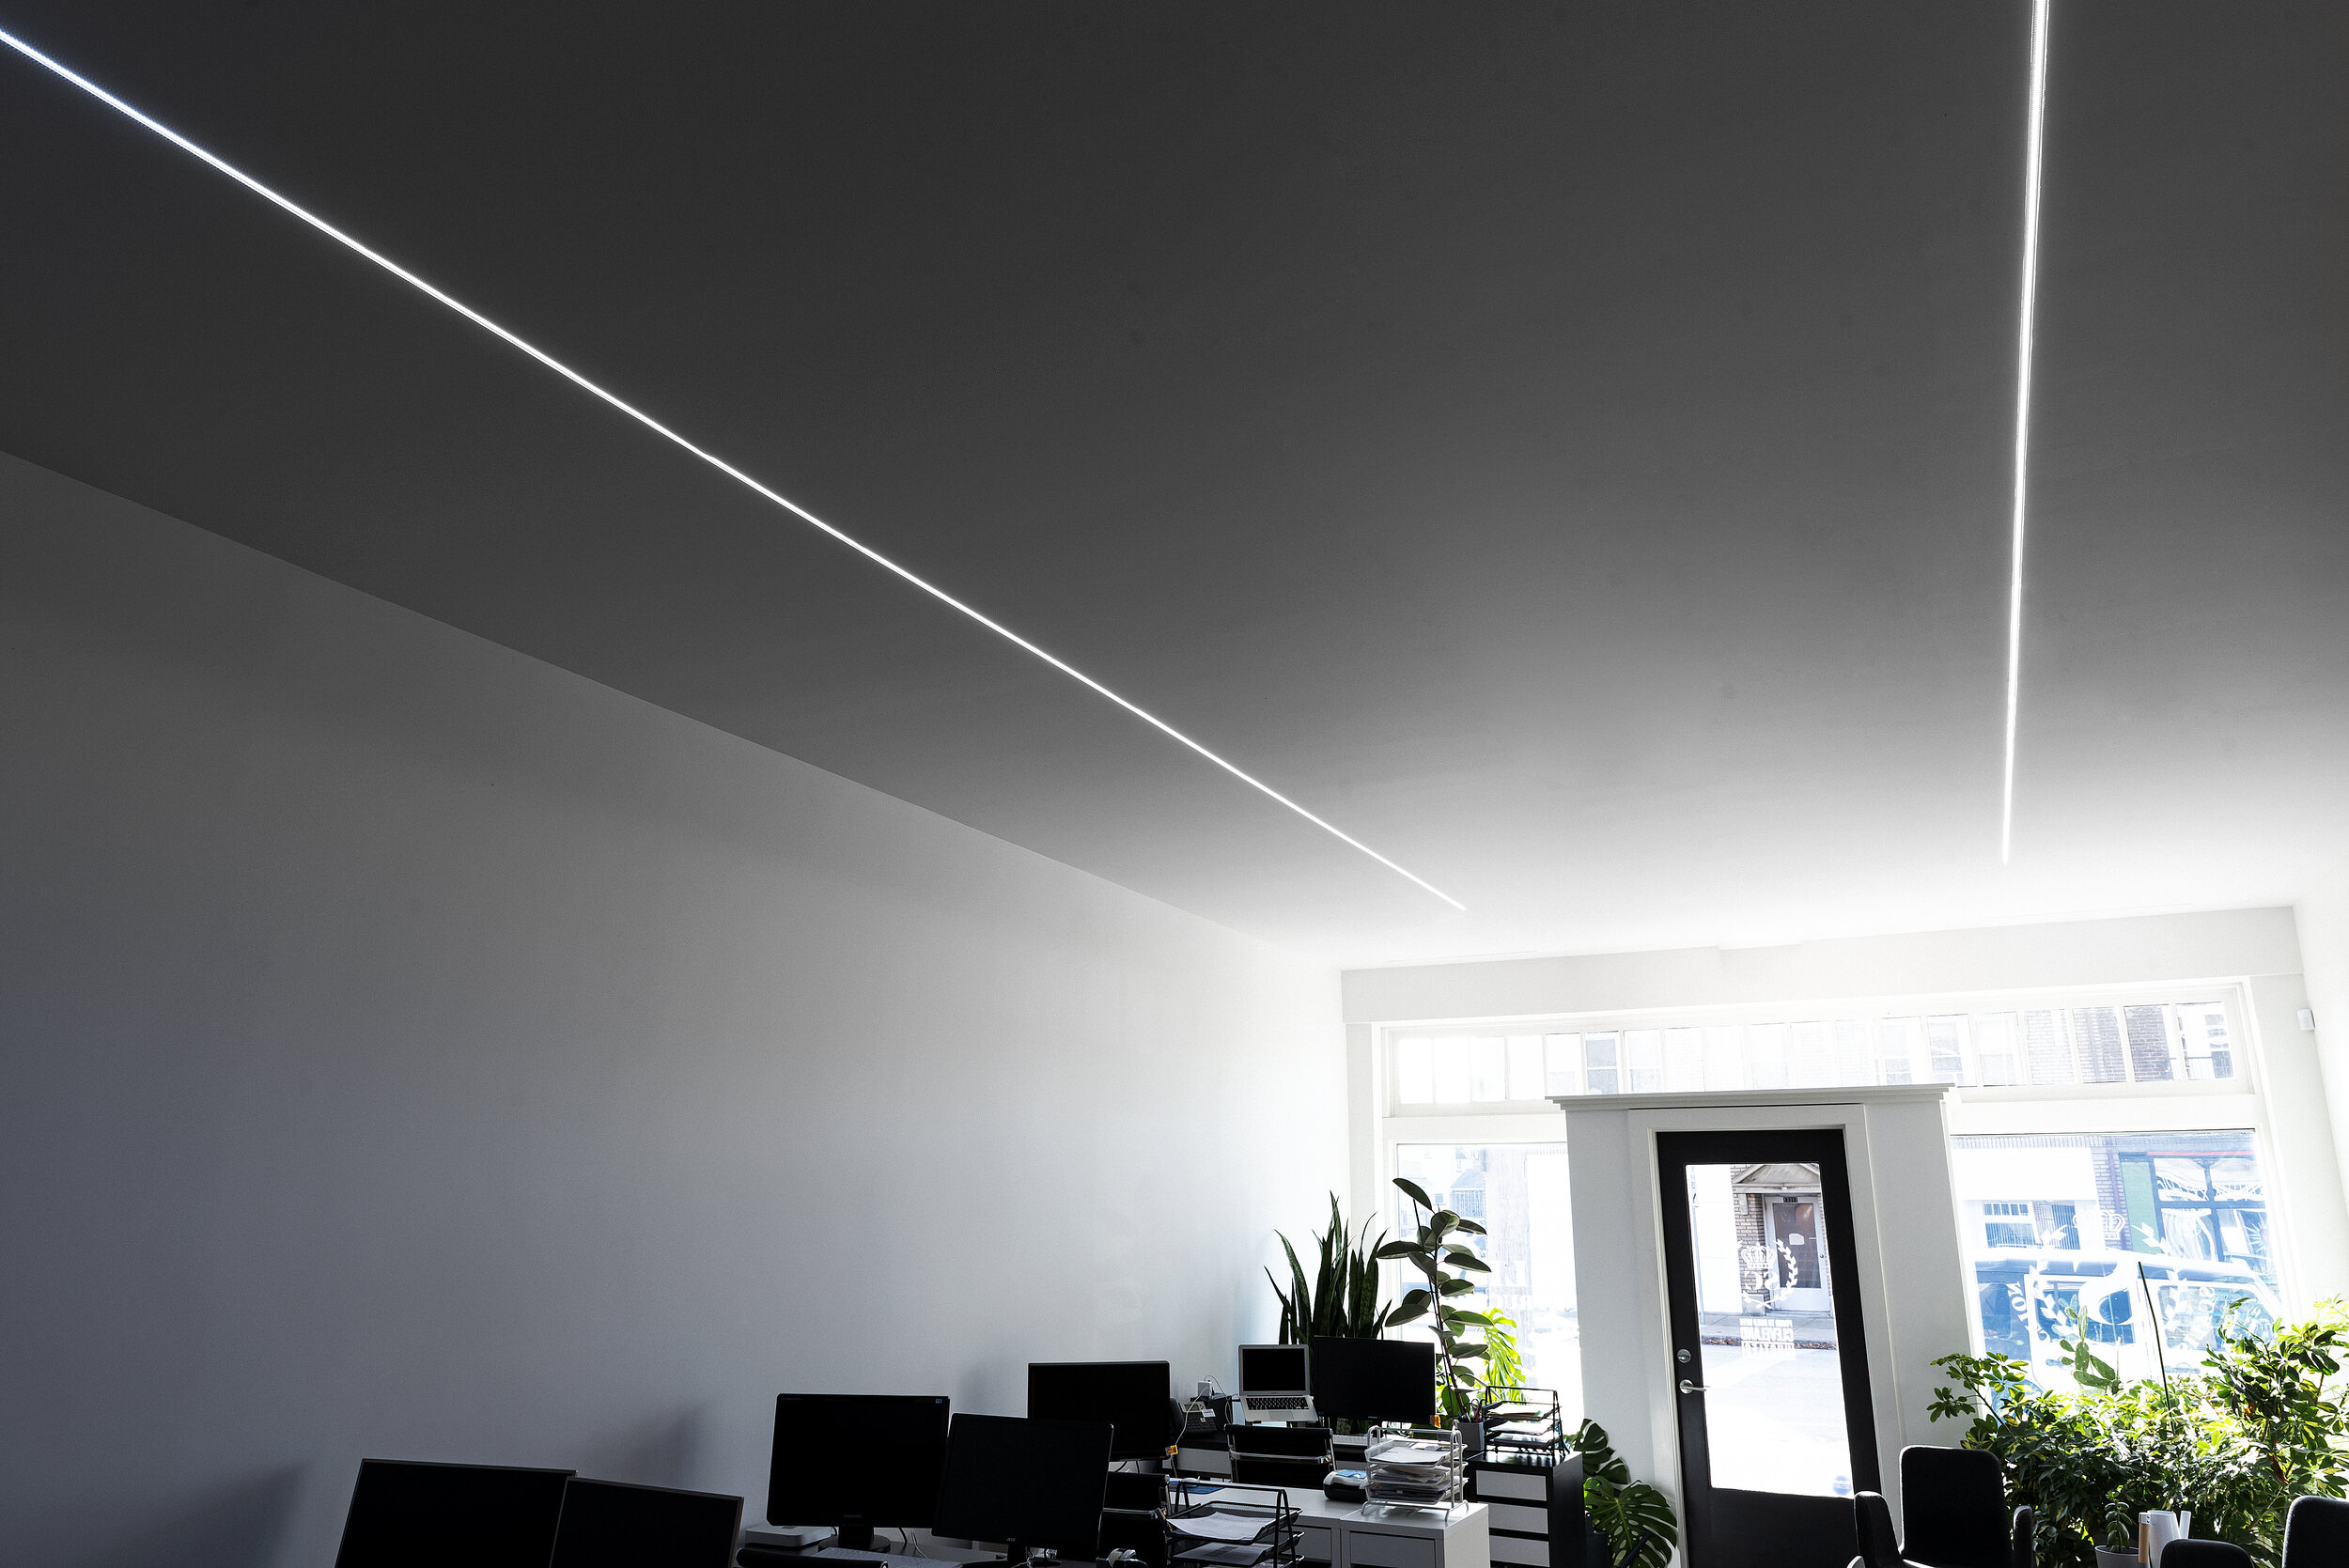
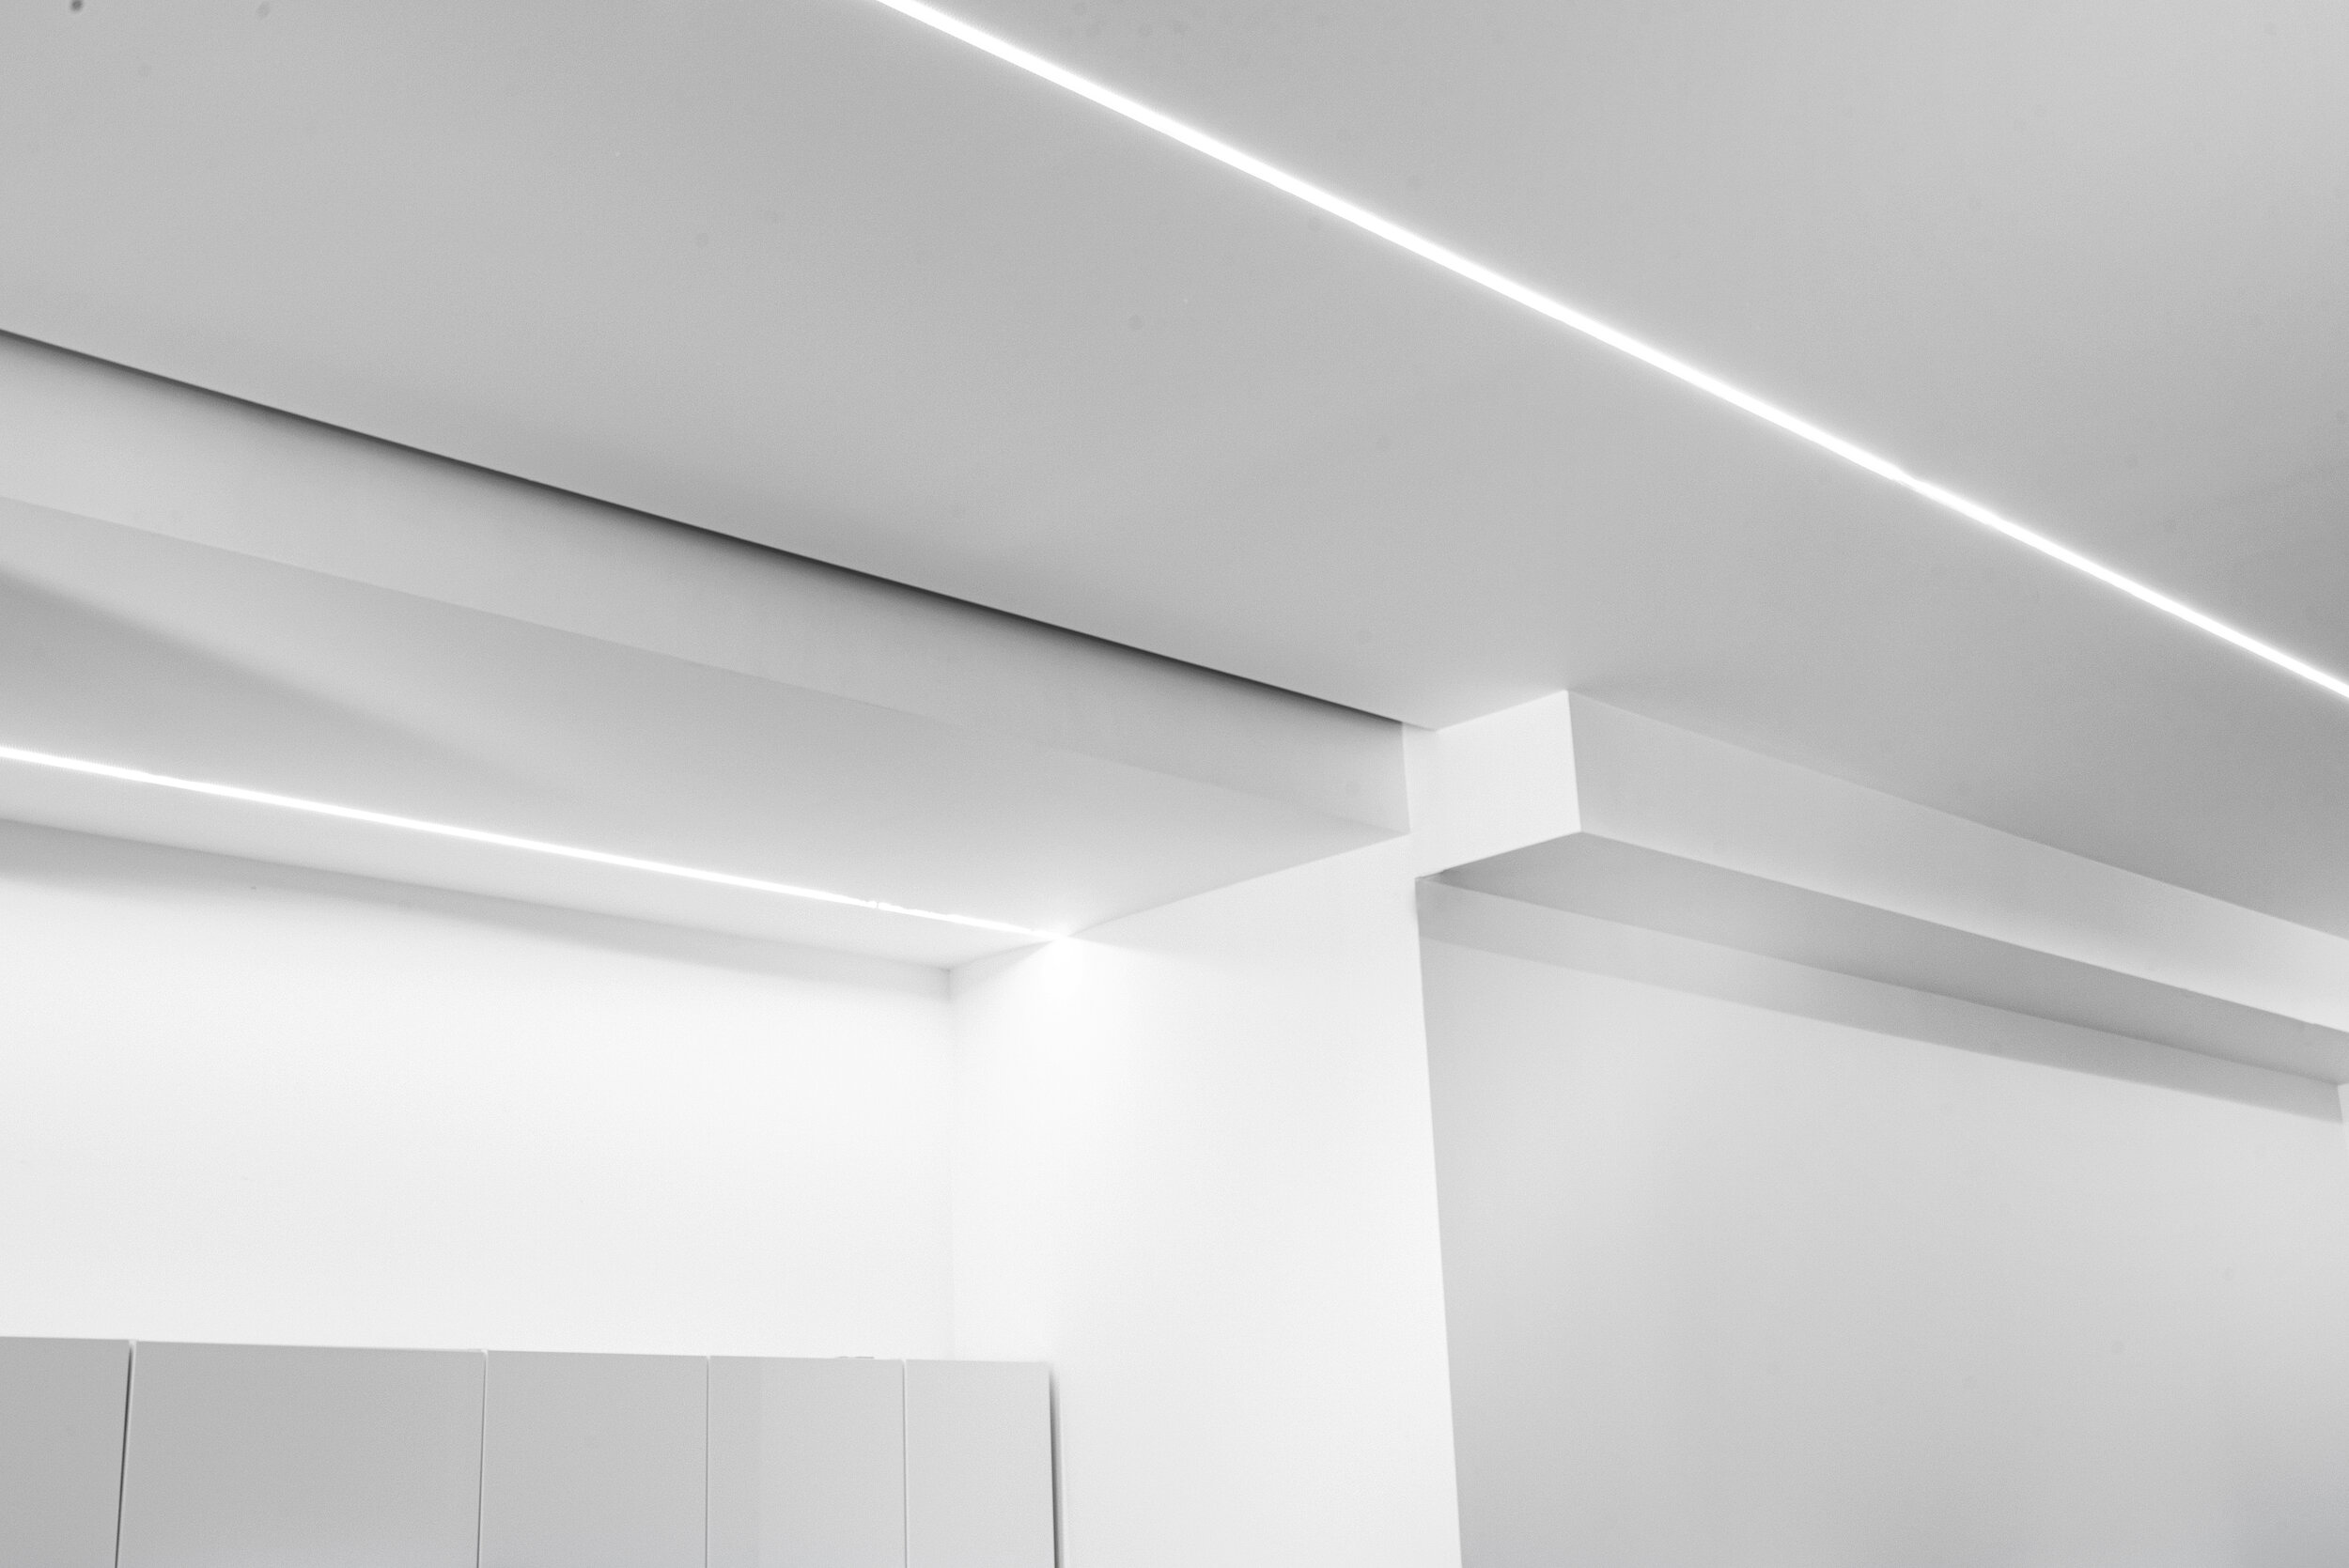
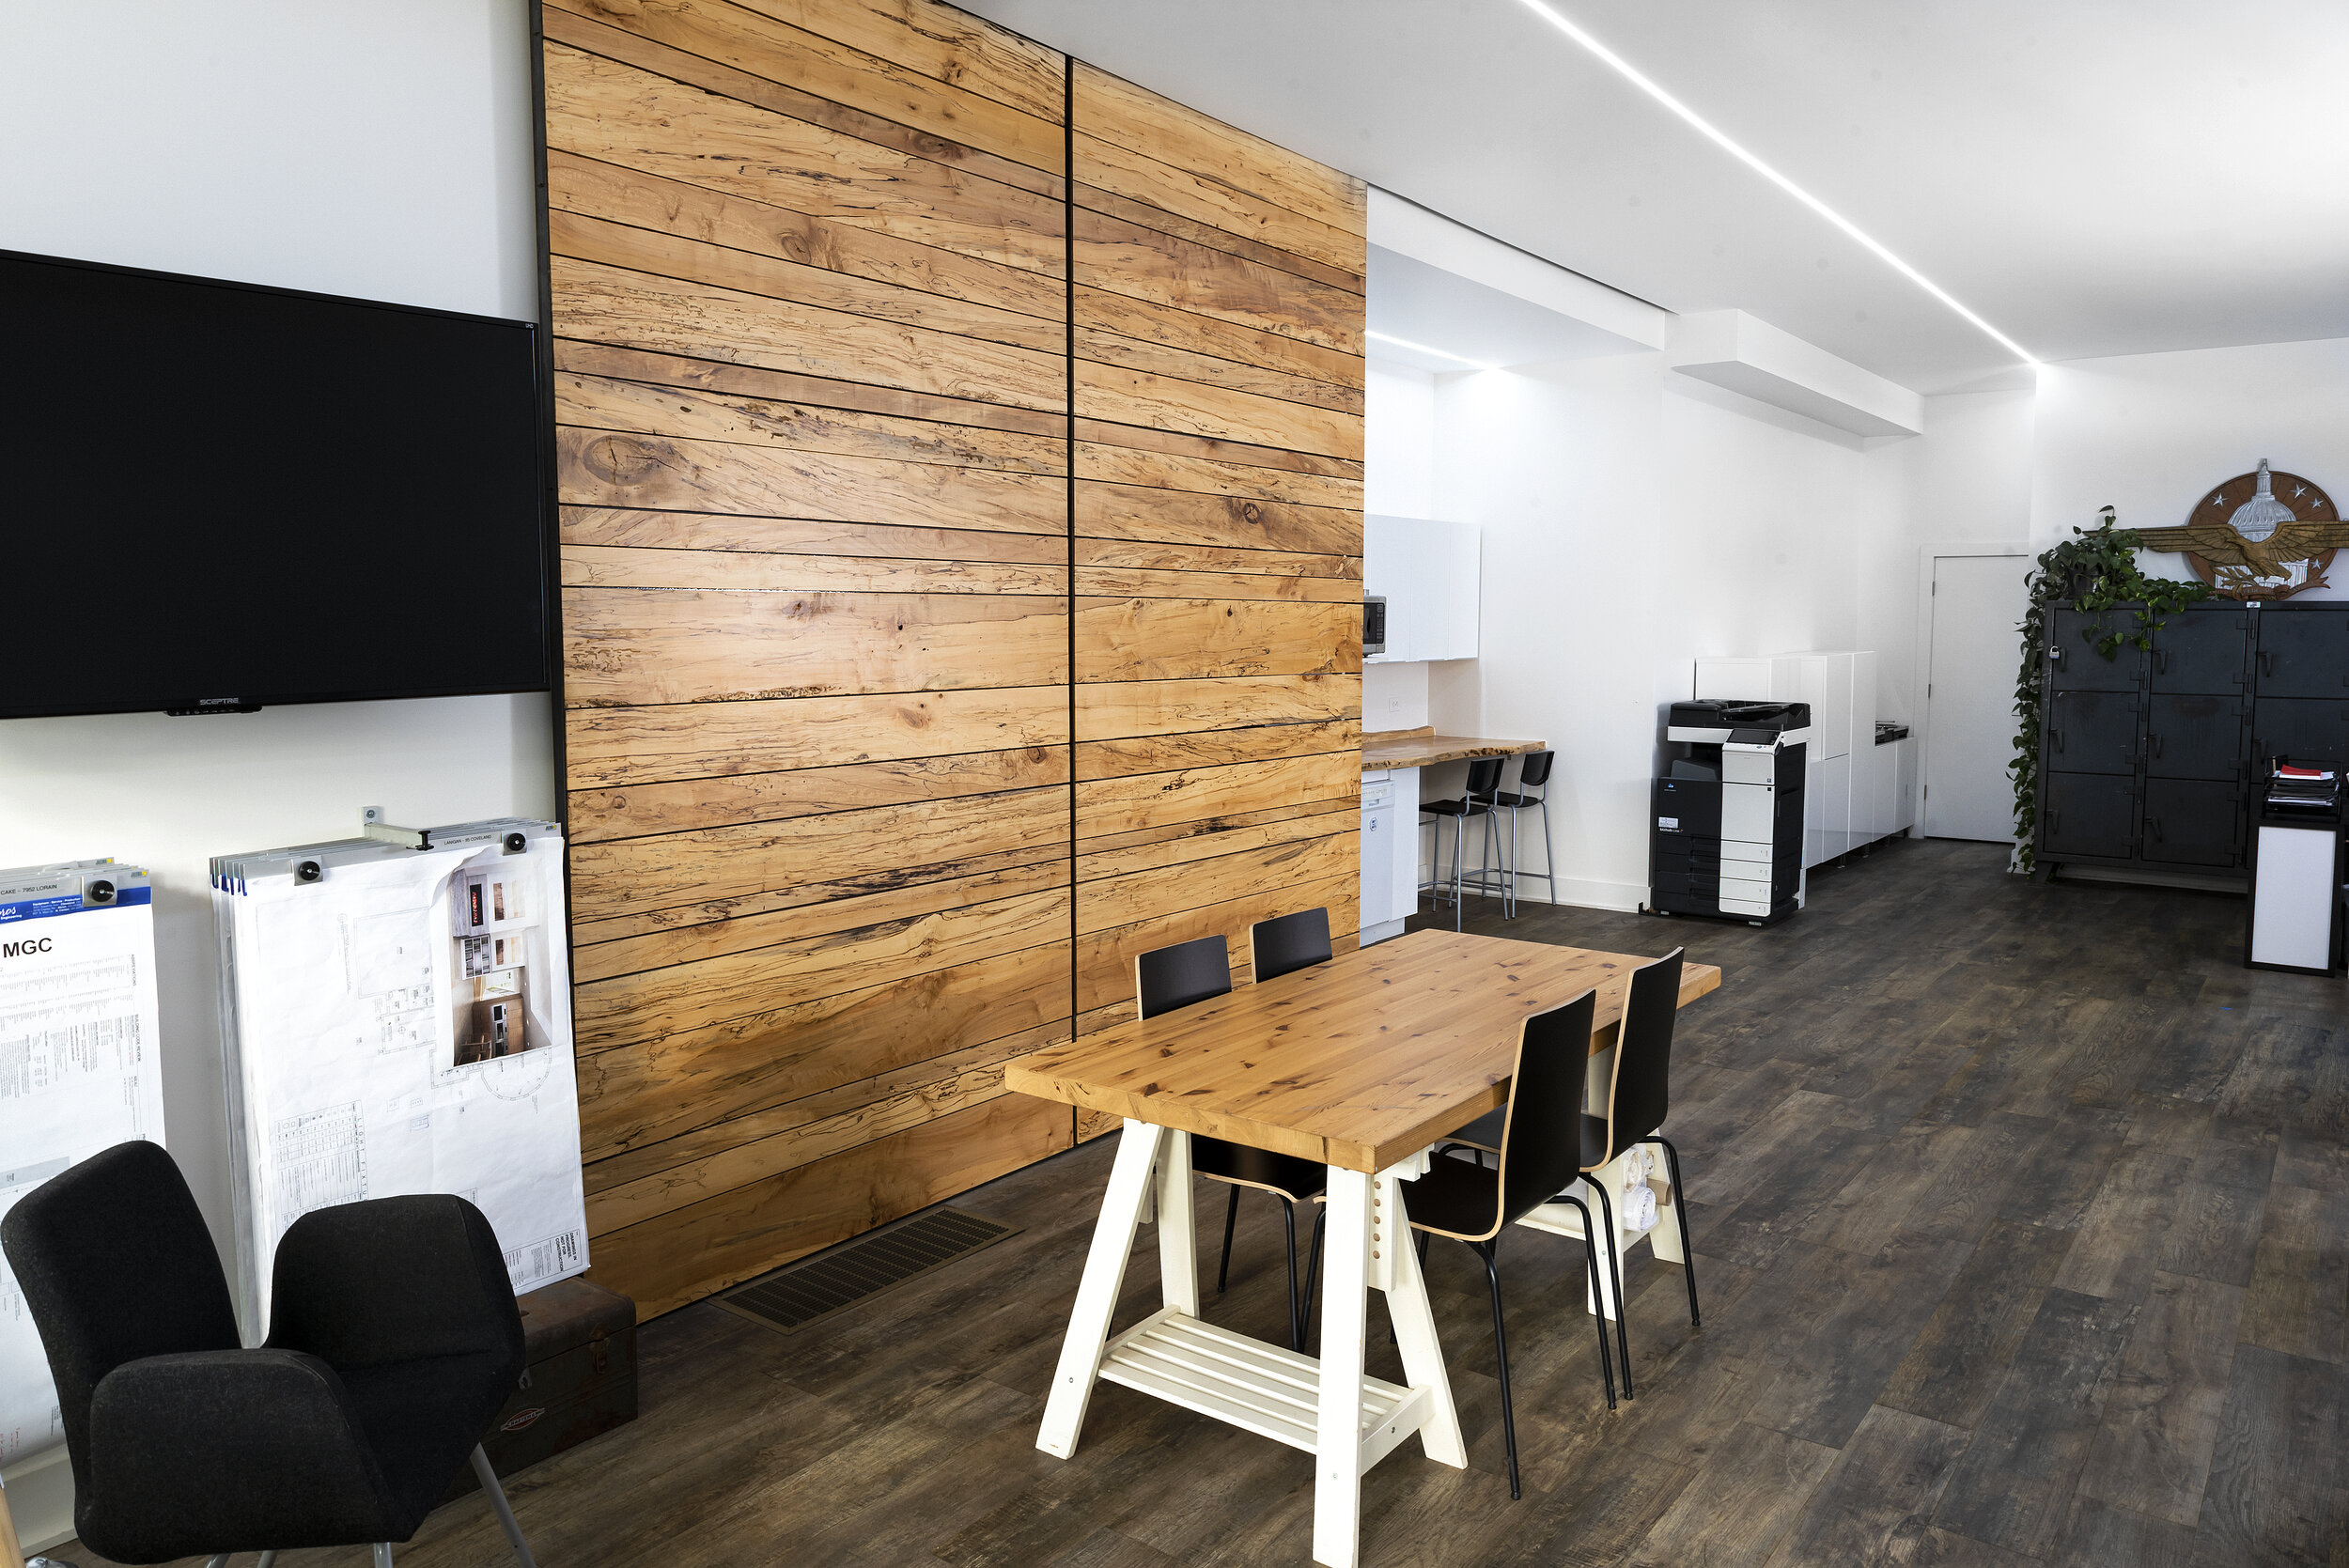
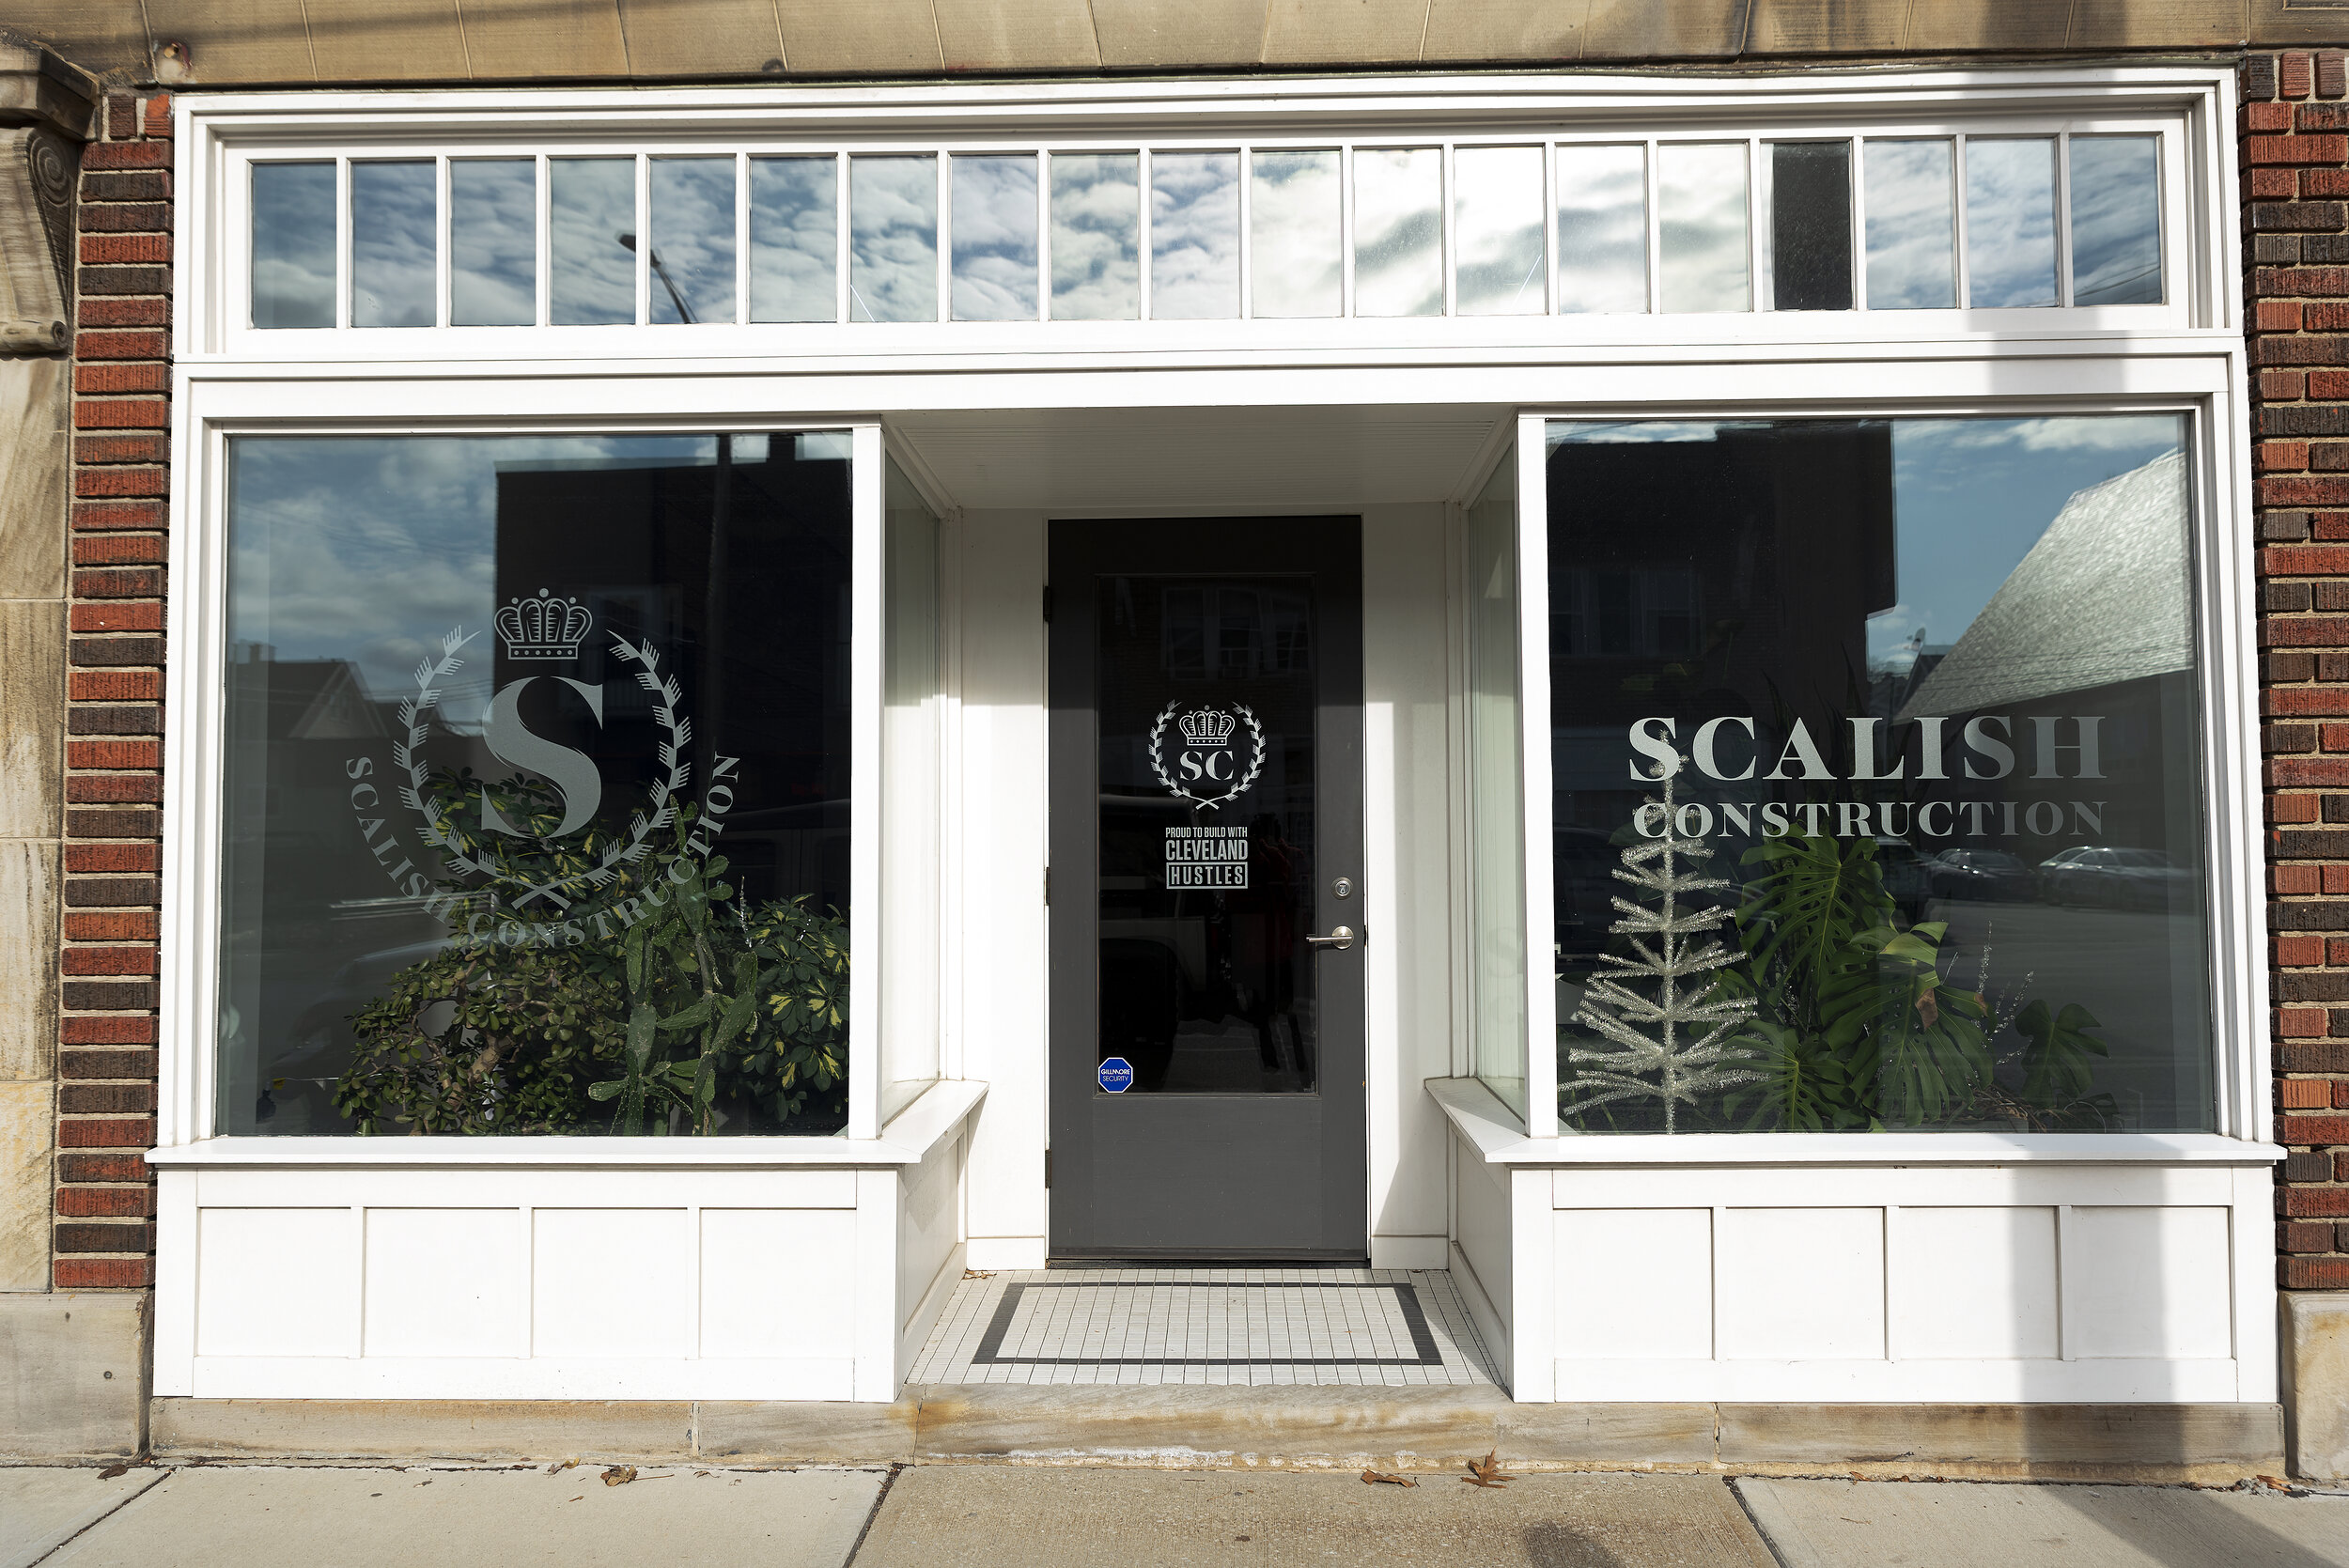
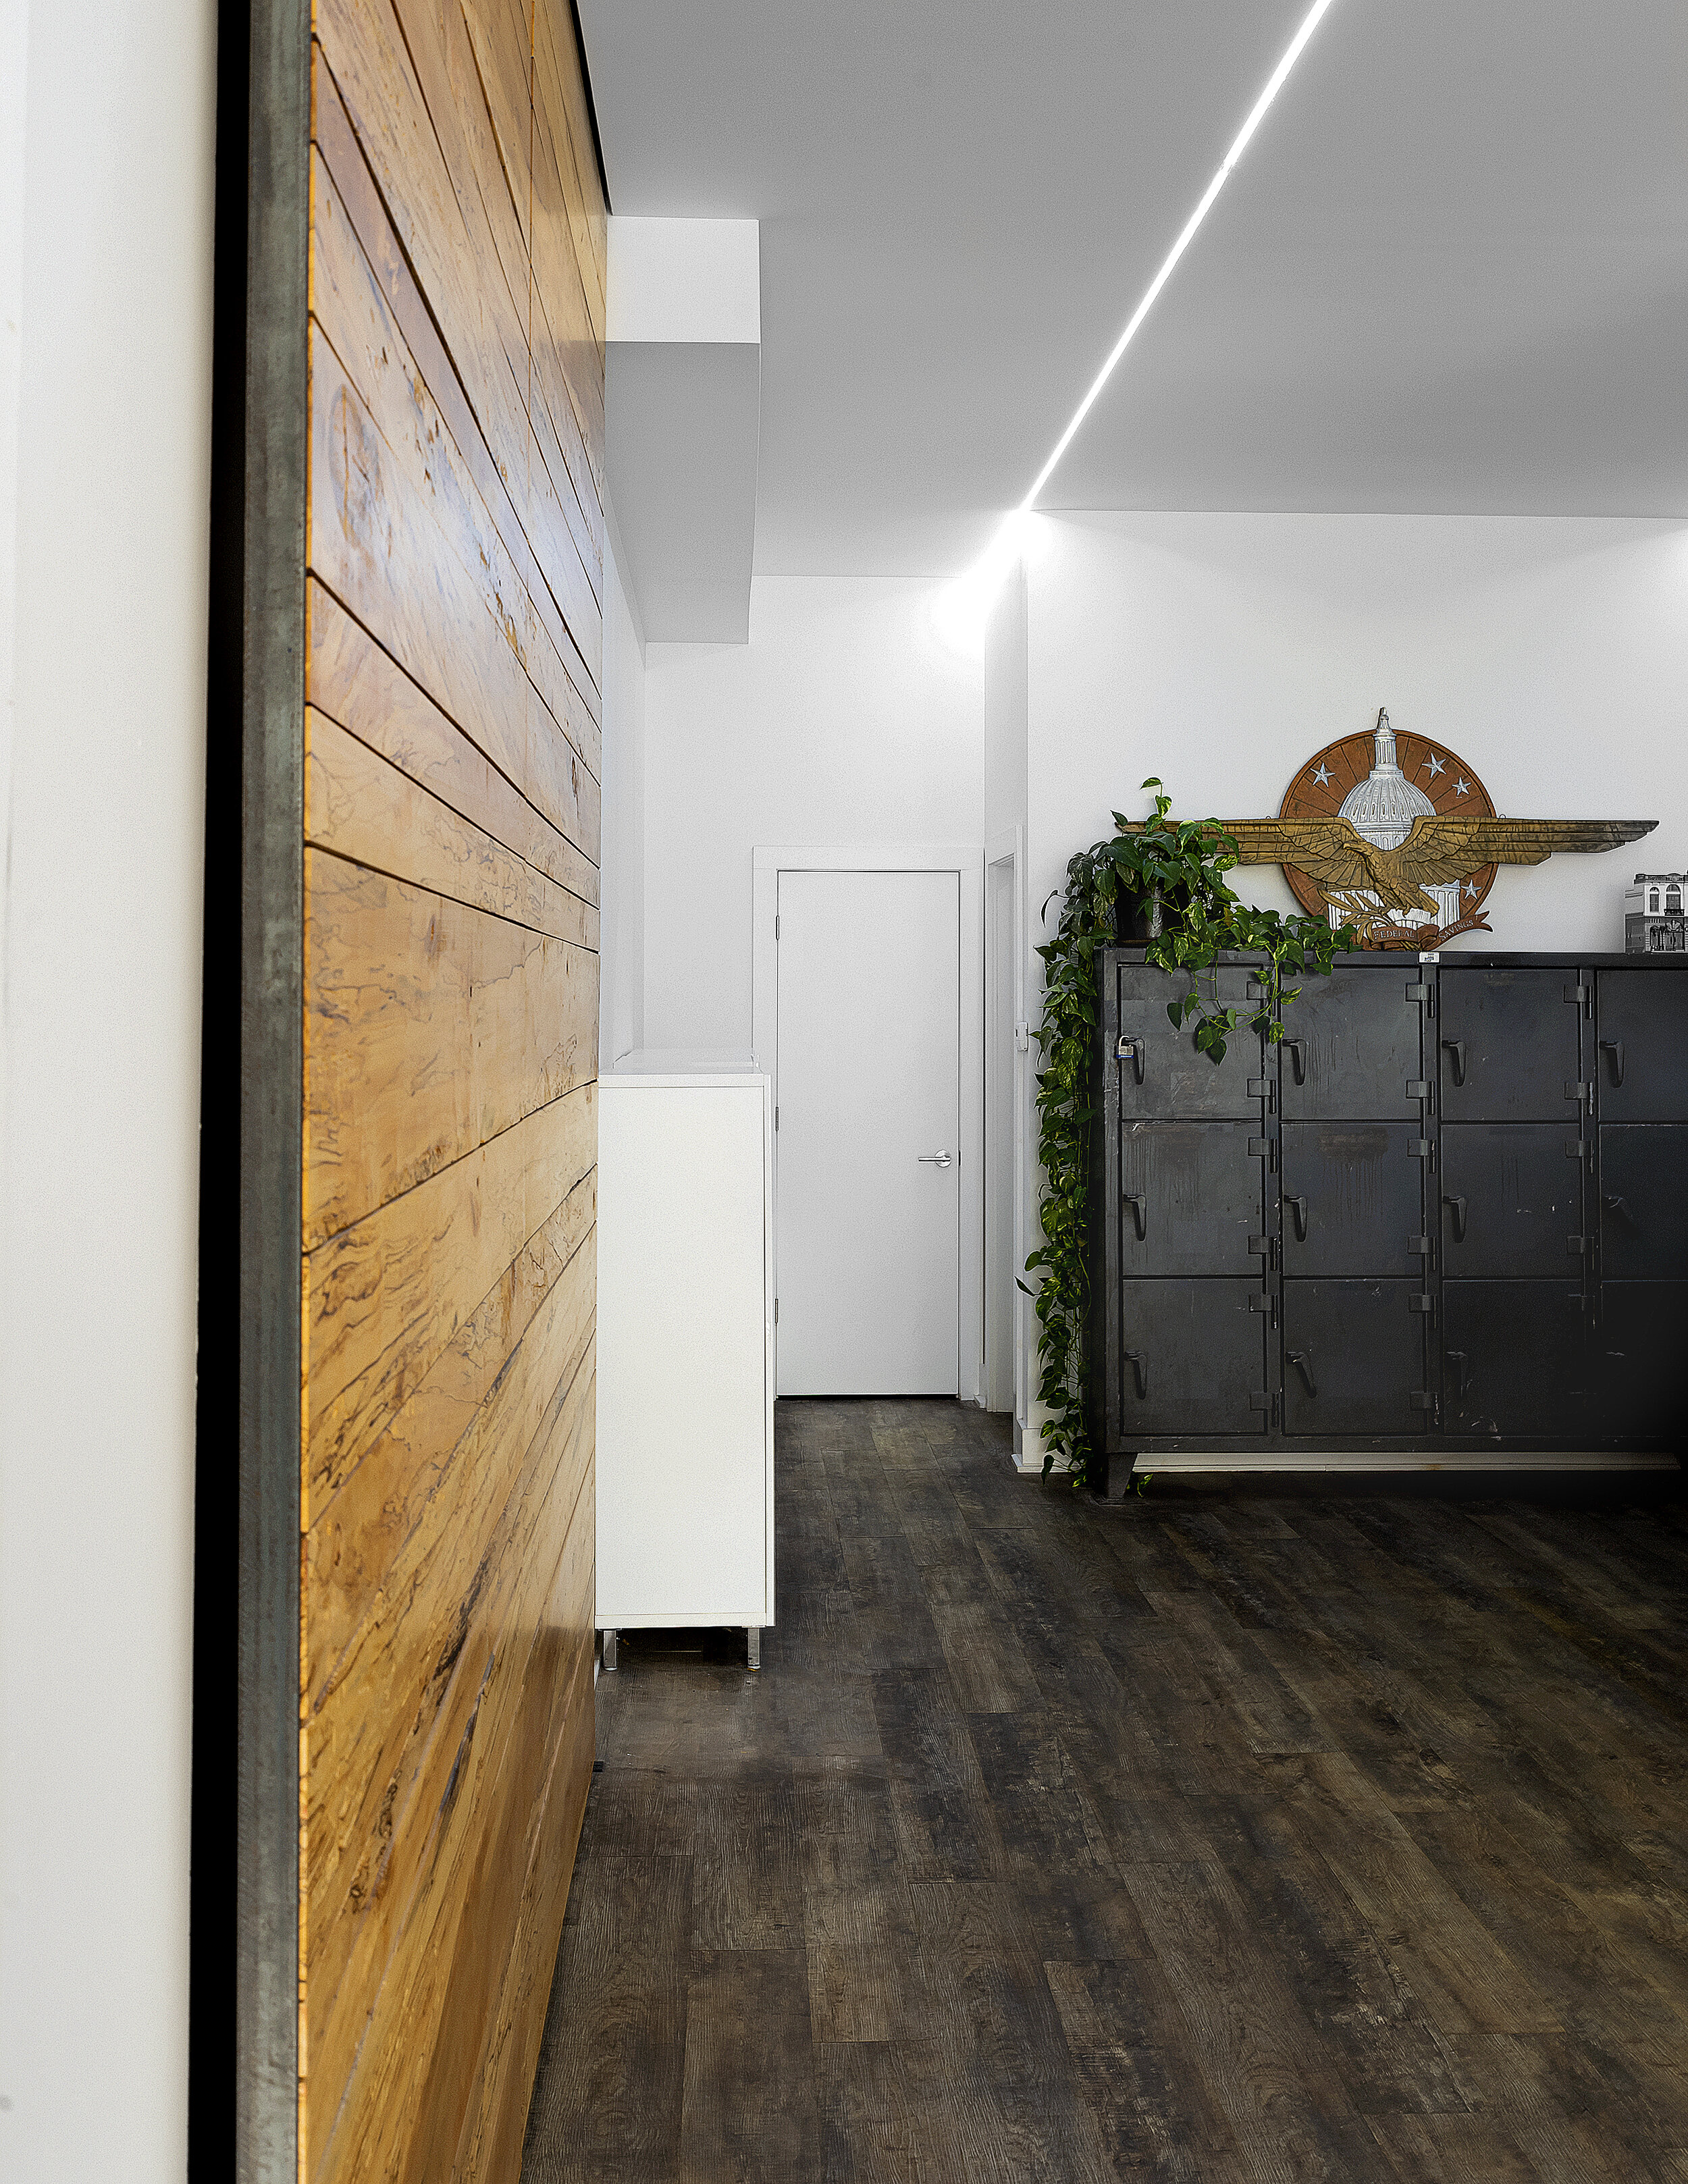
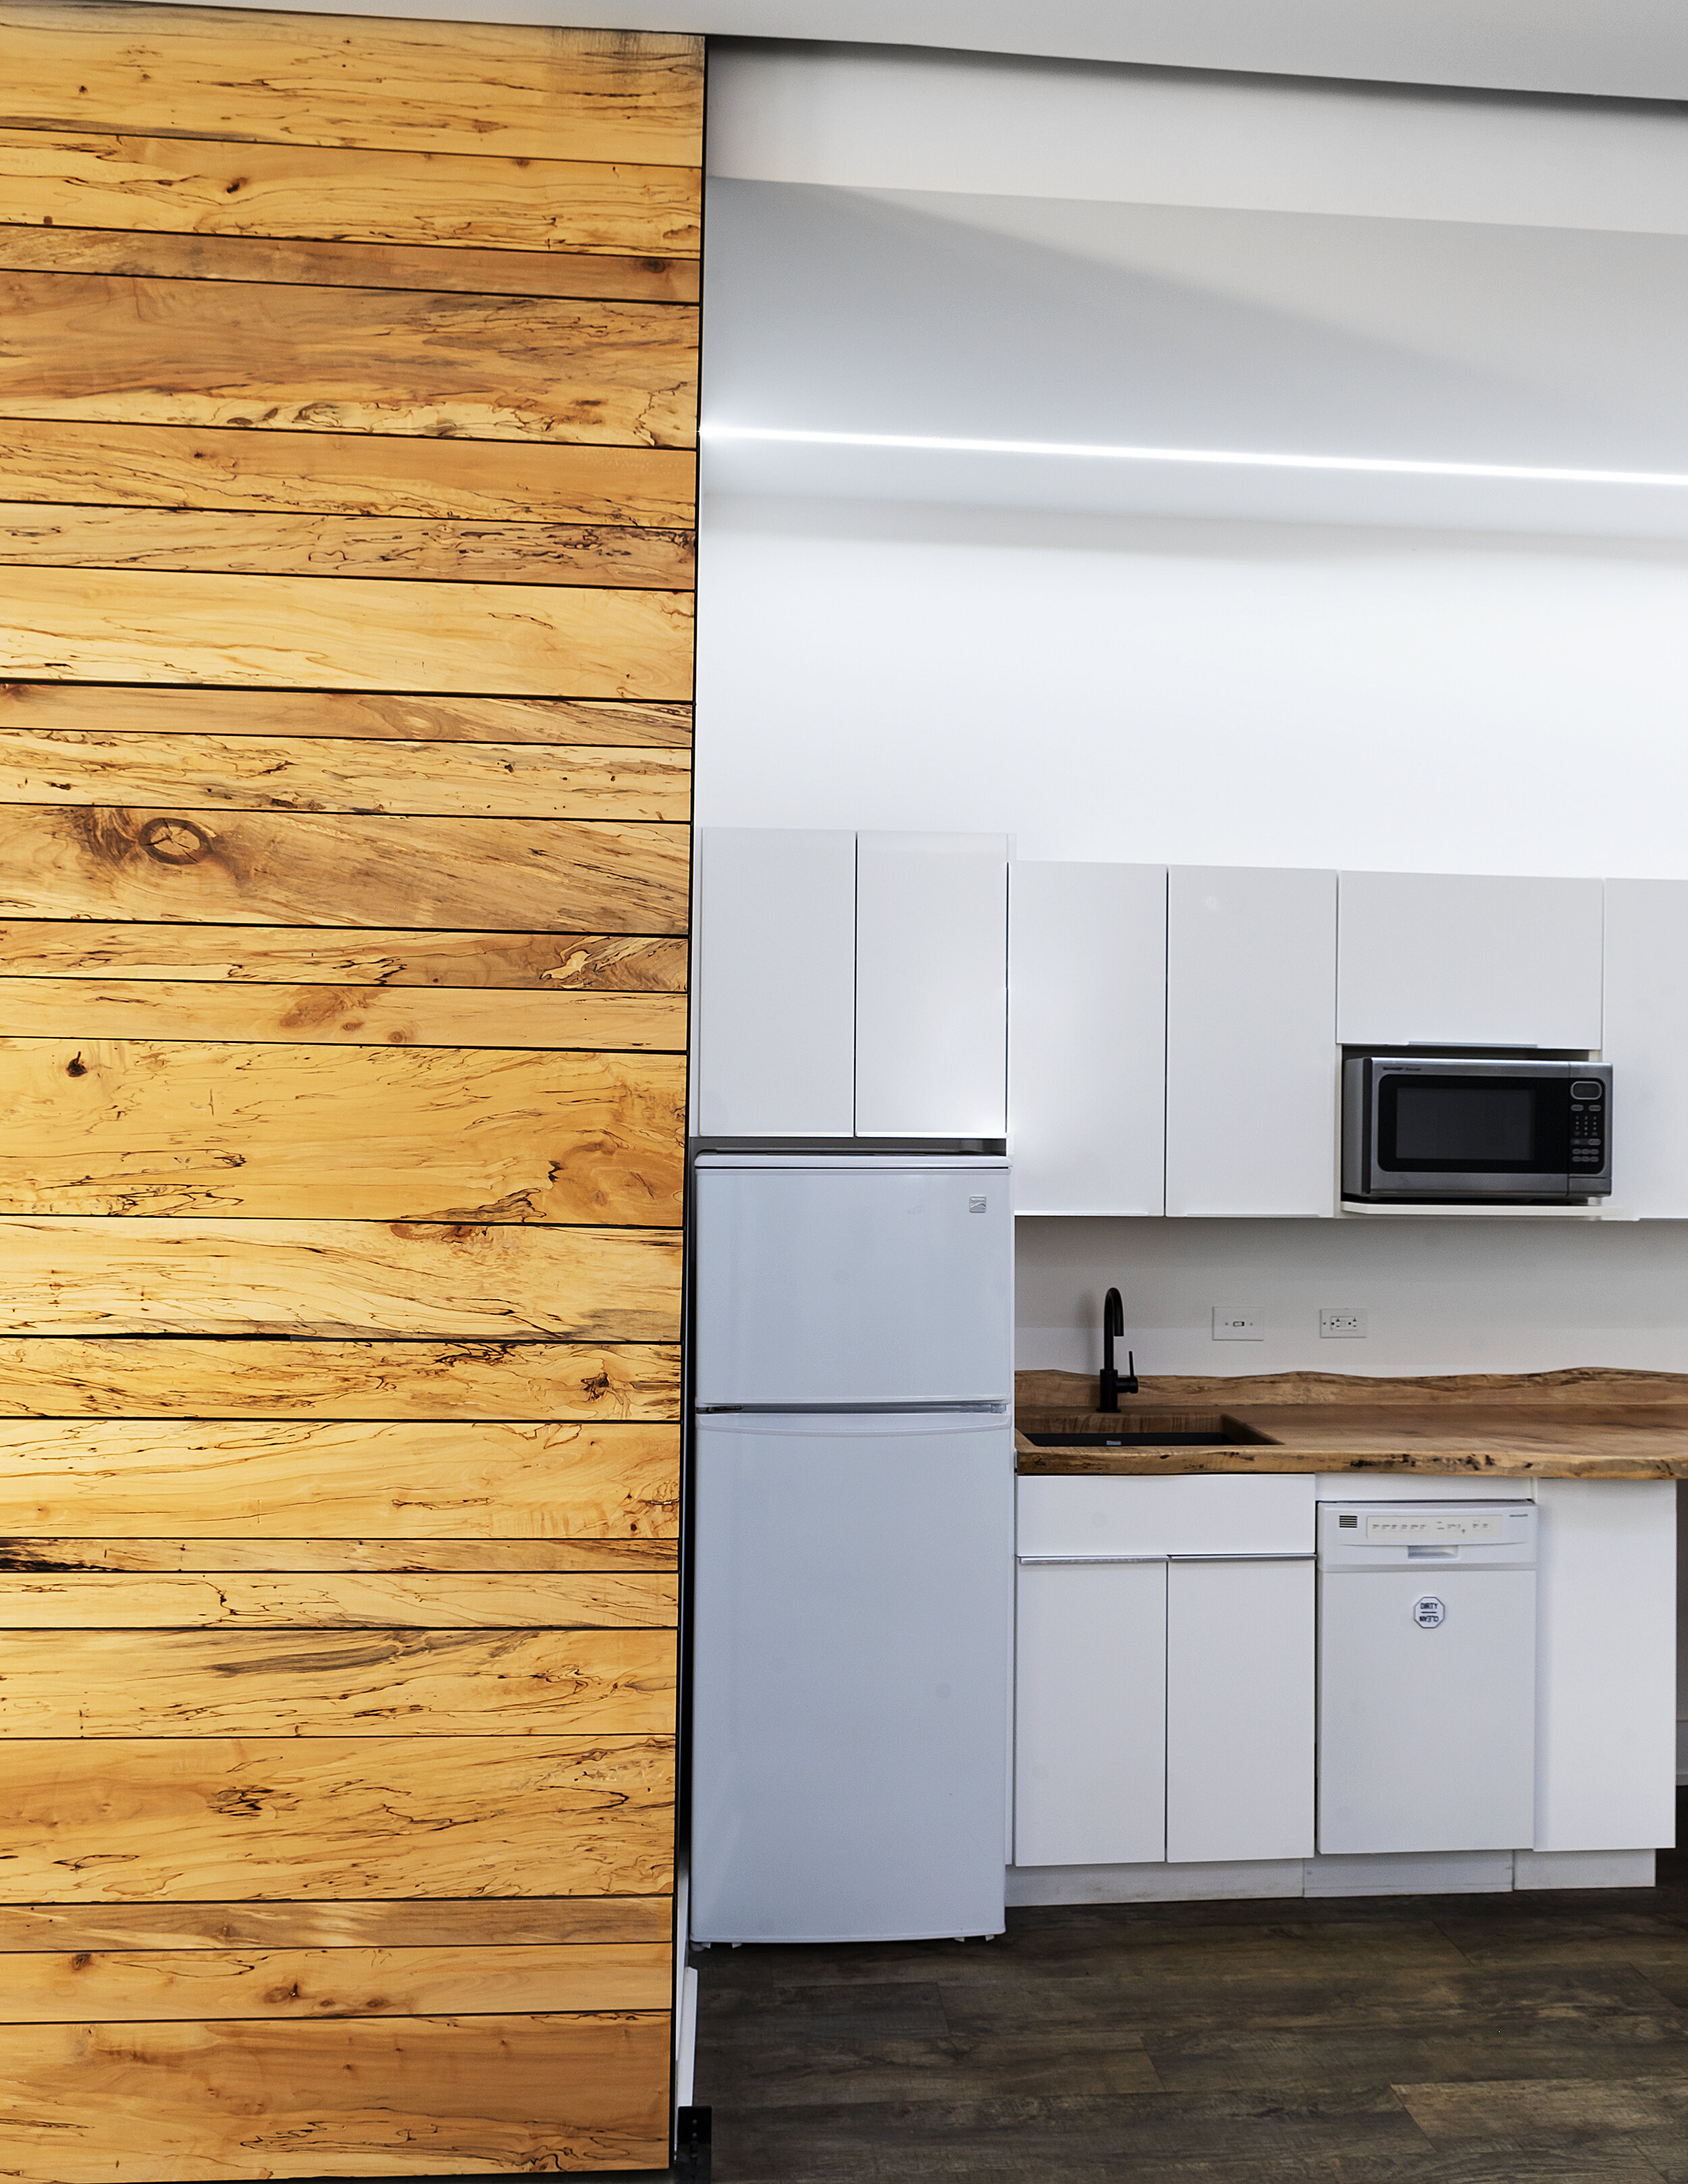
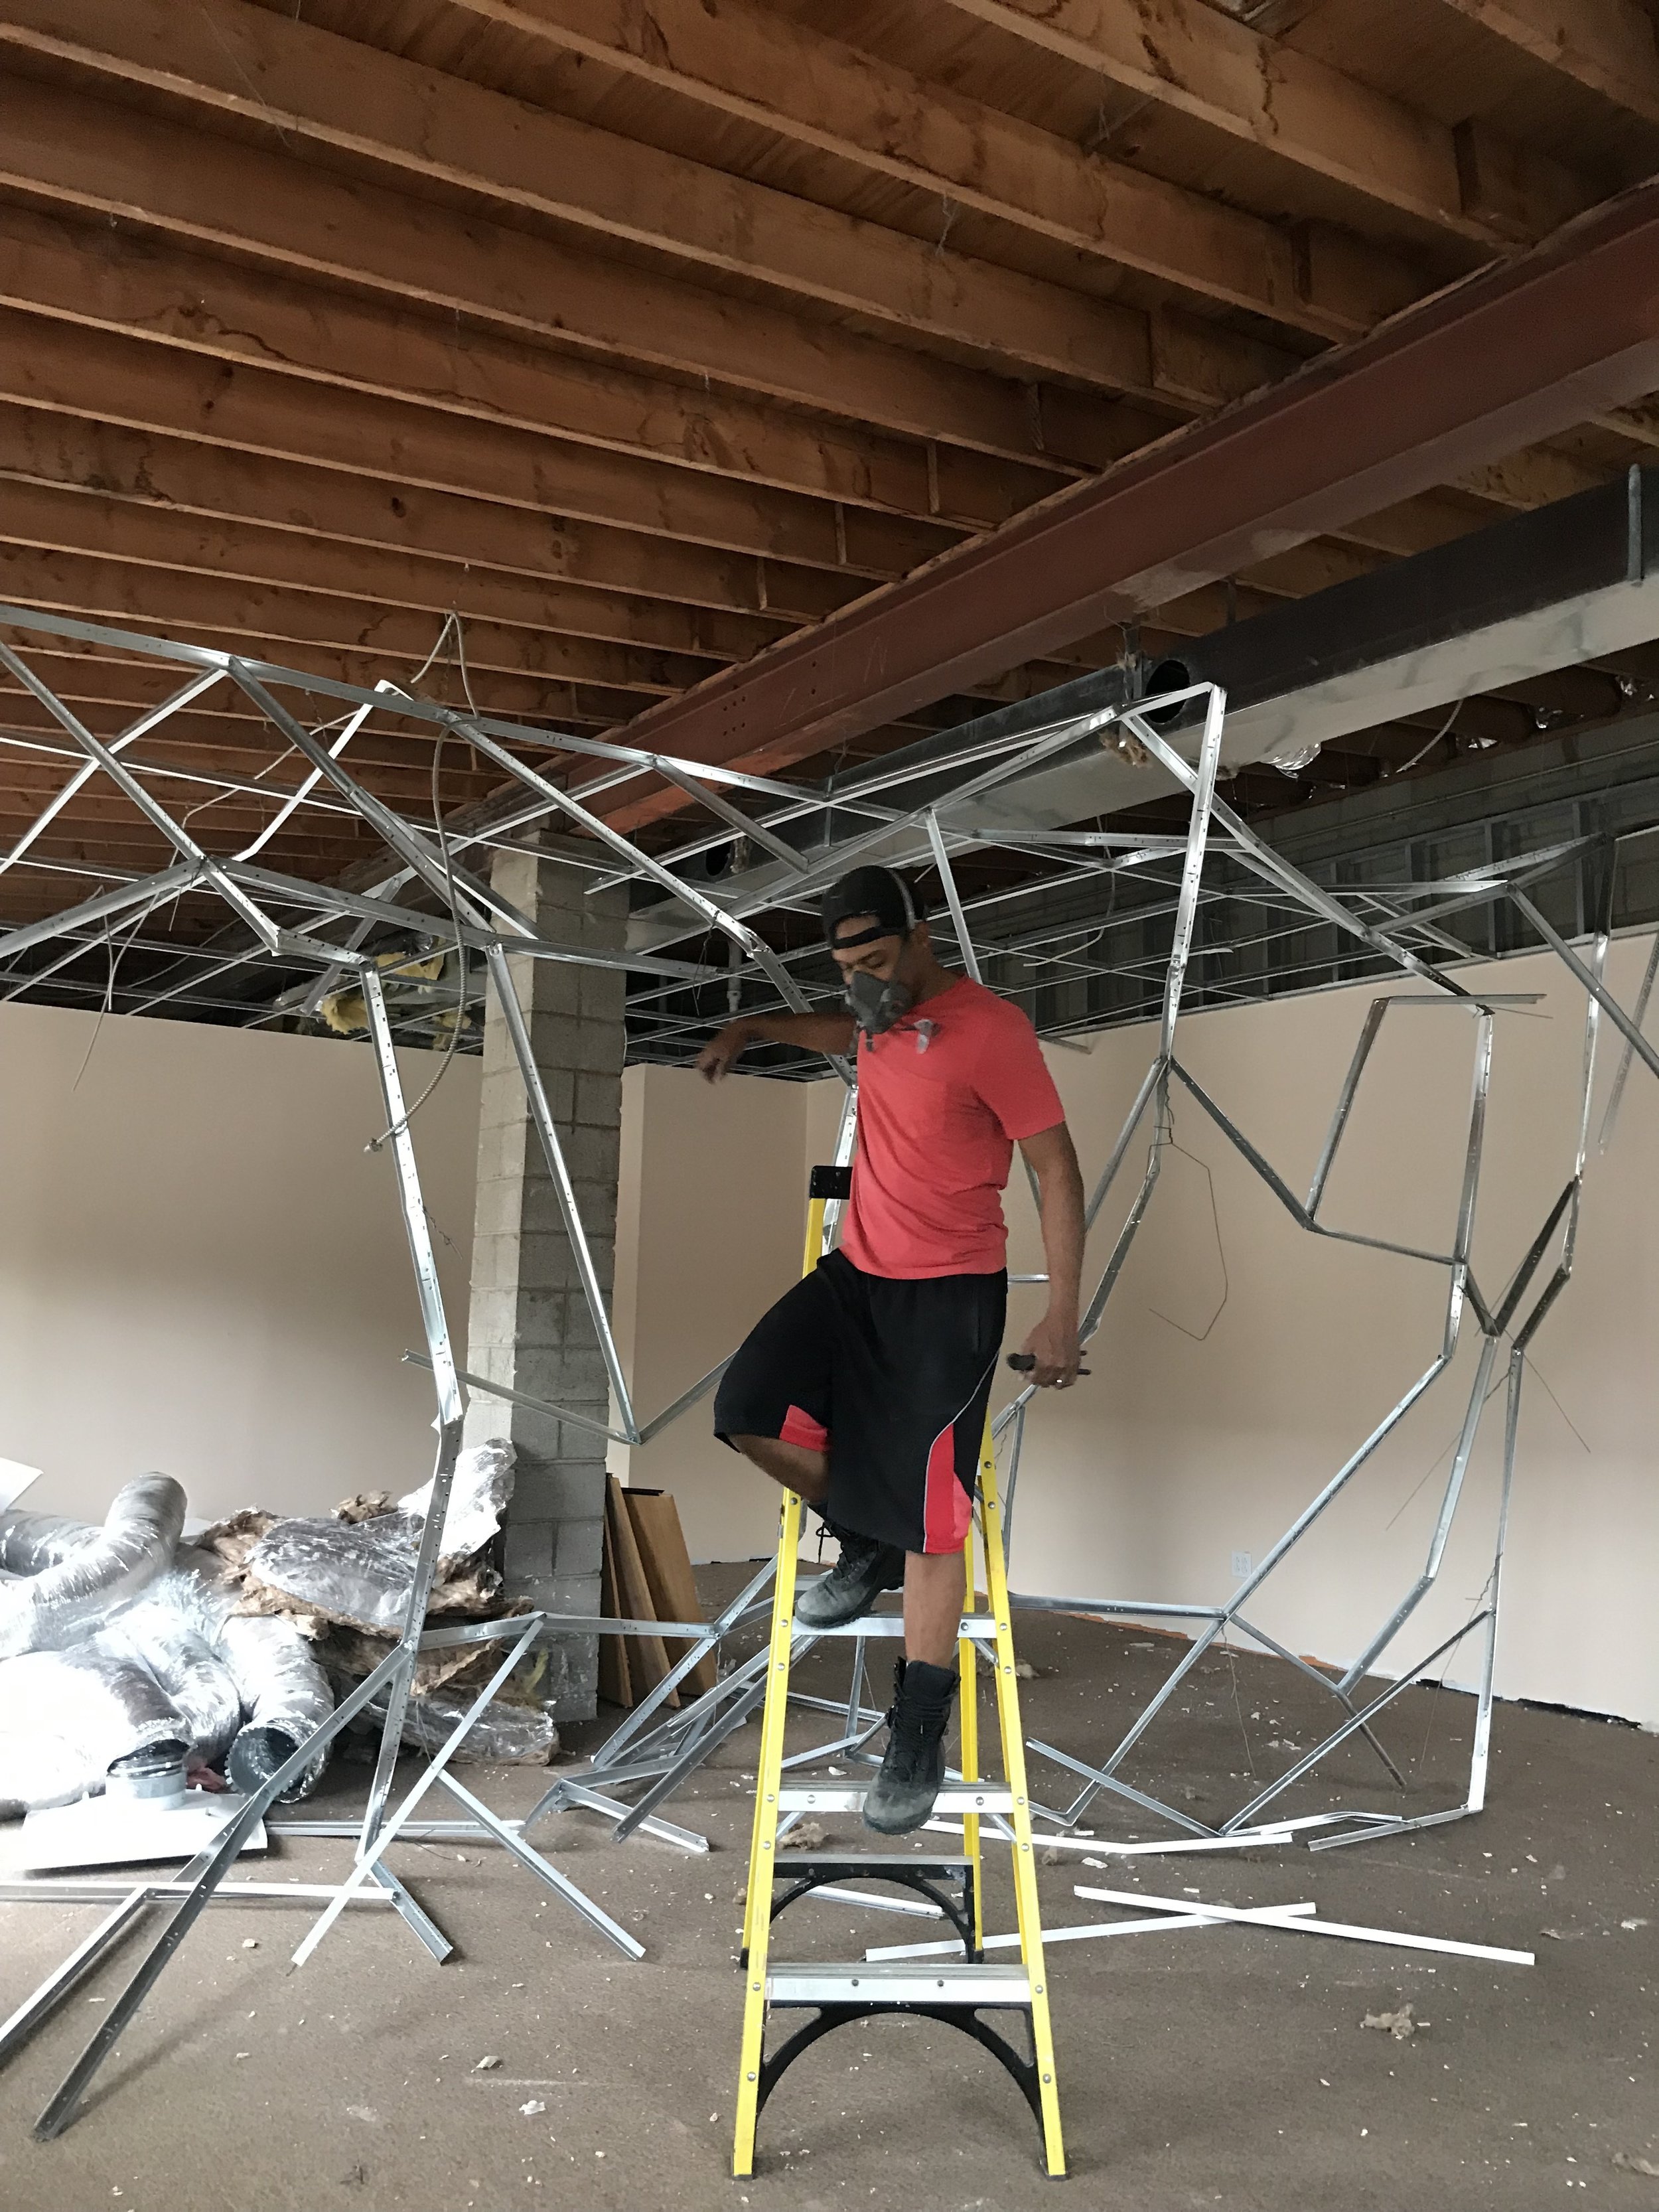
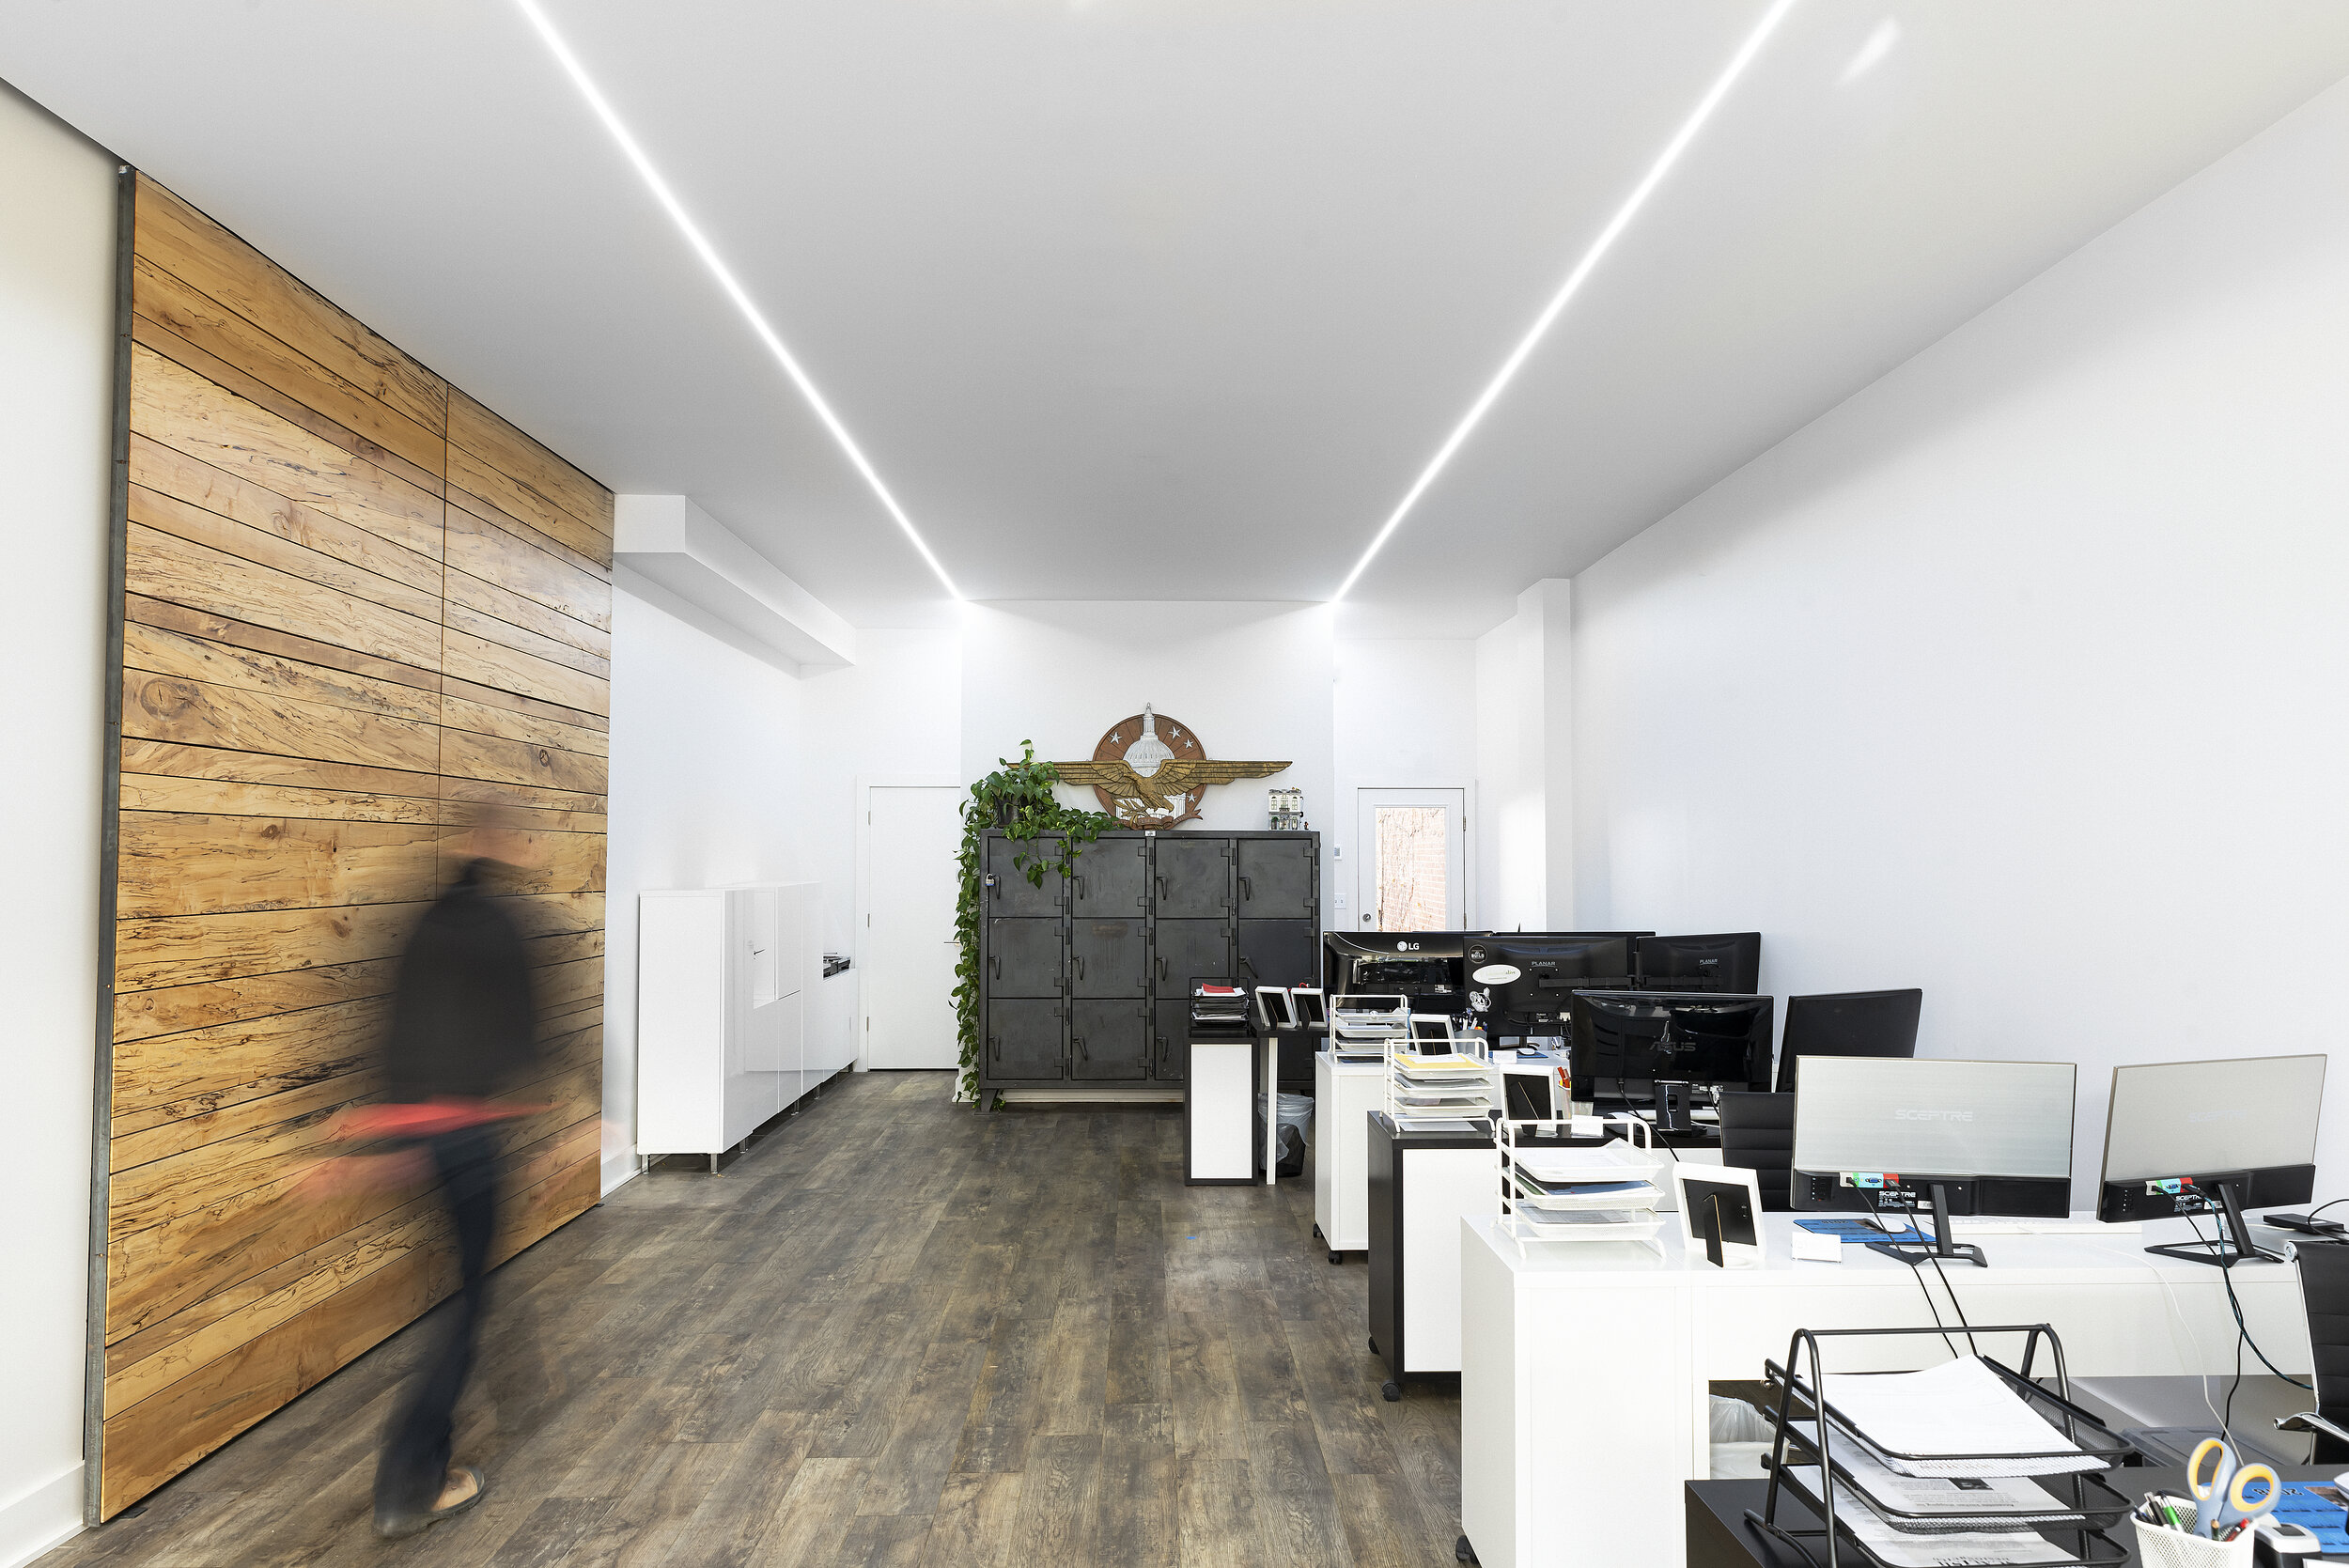
Photographing interiors is pretty challenging but sooooo much fun. Below are some shots I did for a Cleveland Architecture Office. Going into the new year I’m looking forward to photographing more real estate listing, architecture and designs. 

Hope you enjoy
How to maximize your photography studio space! 

Heads up!!! These tips are literally trial and error. This shouldn’t be the end all be all. Just a few notes that should help you plan out the layout for your creative space.


Wow I don’t think I wrote a blog about our new studio. Everything happened so fast. haha Well here is a short backdrop. Nisha and I were renting space from a wood shop. With Nisha business growing daily we kinda maxed out on space. So we thought it might be a good time to do our own thing. Hence new space. :) 

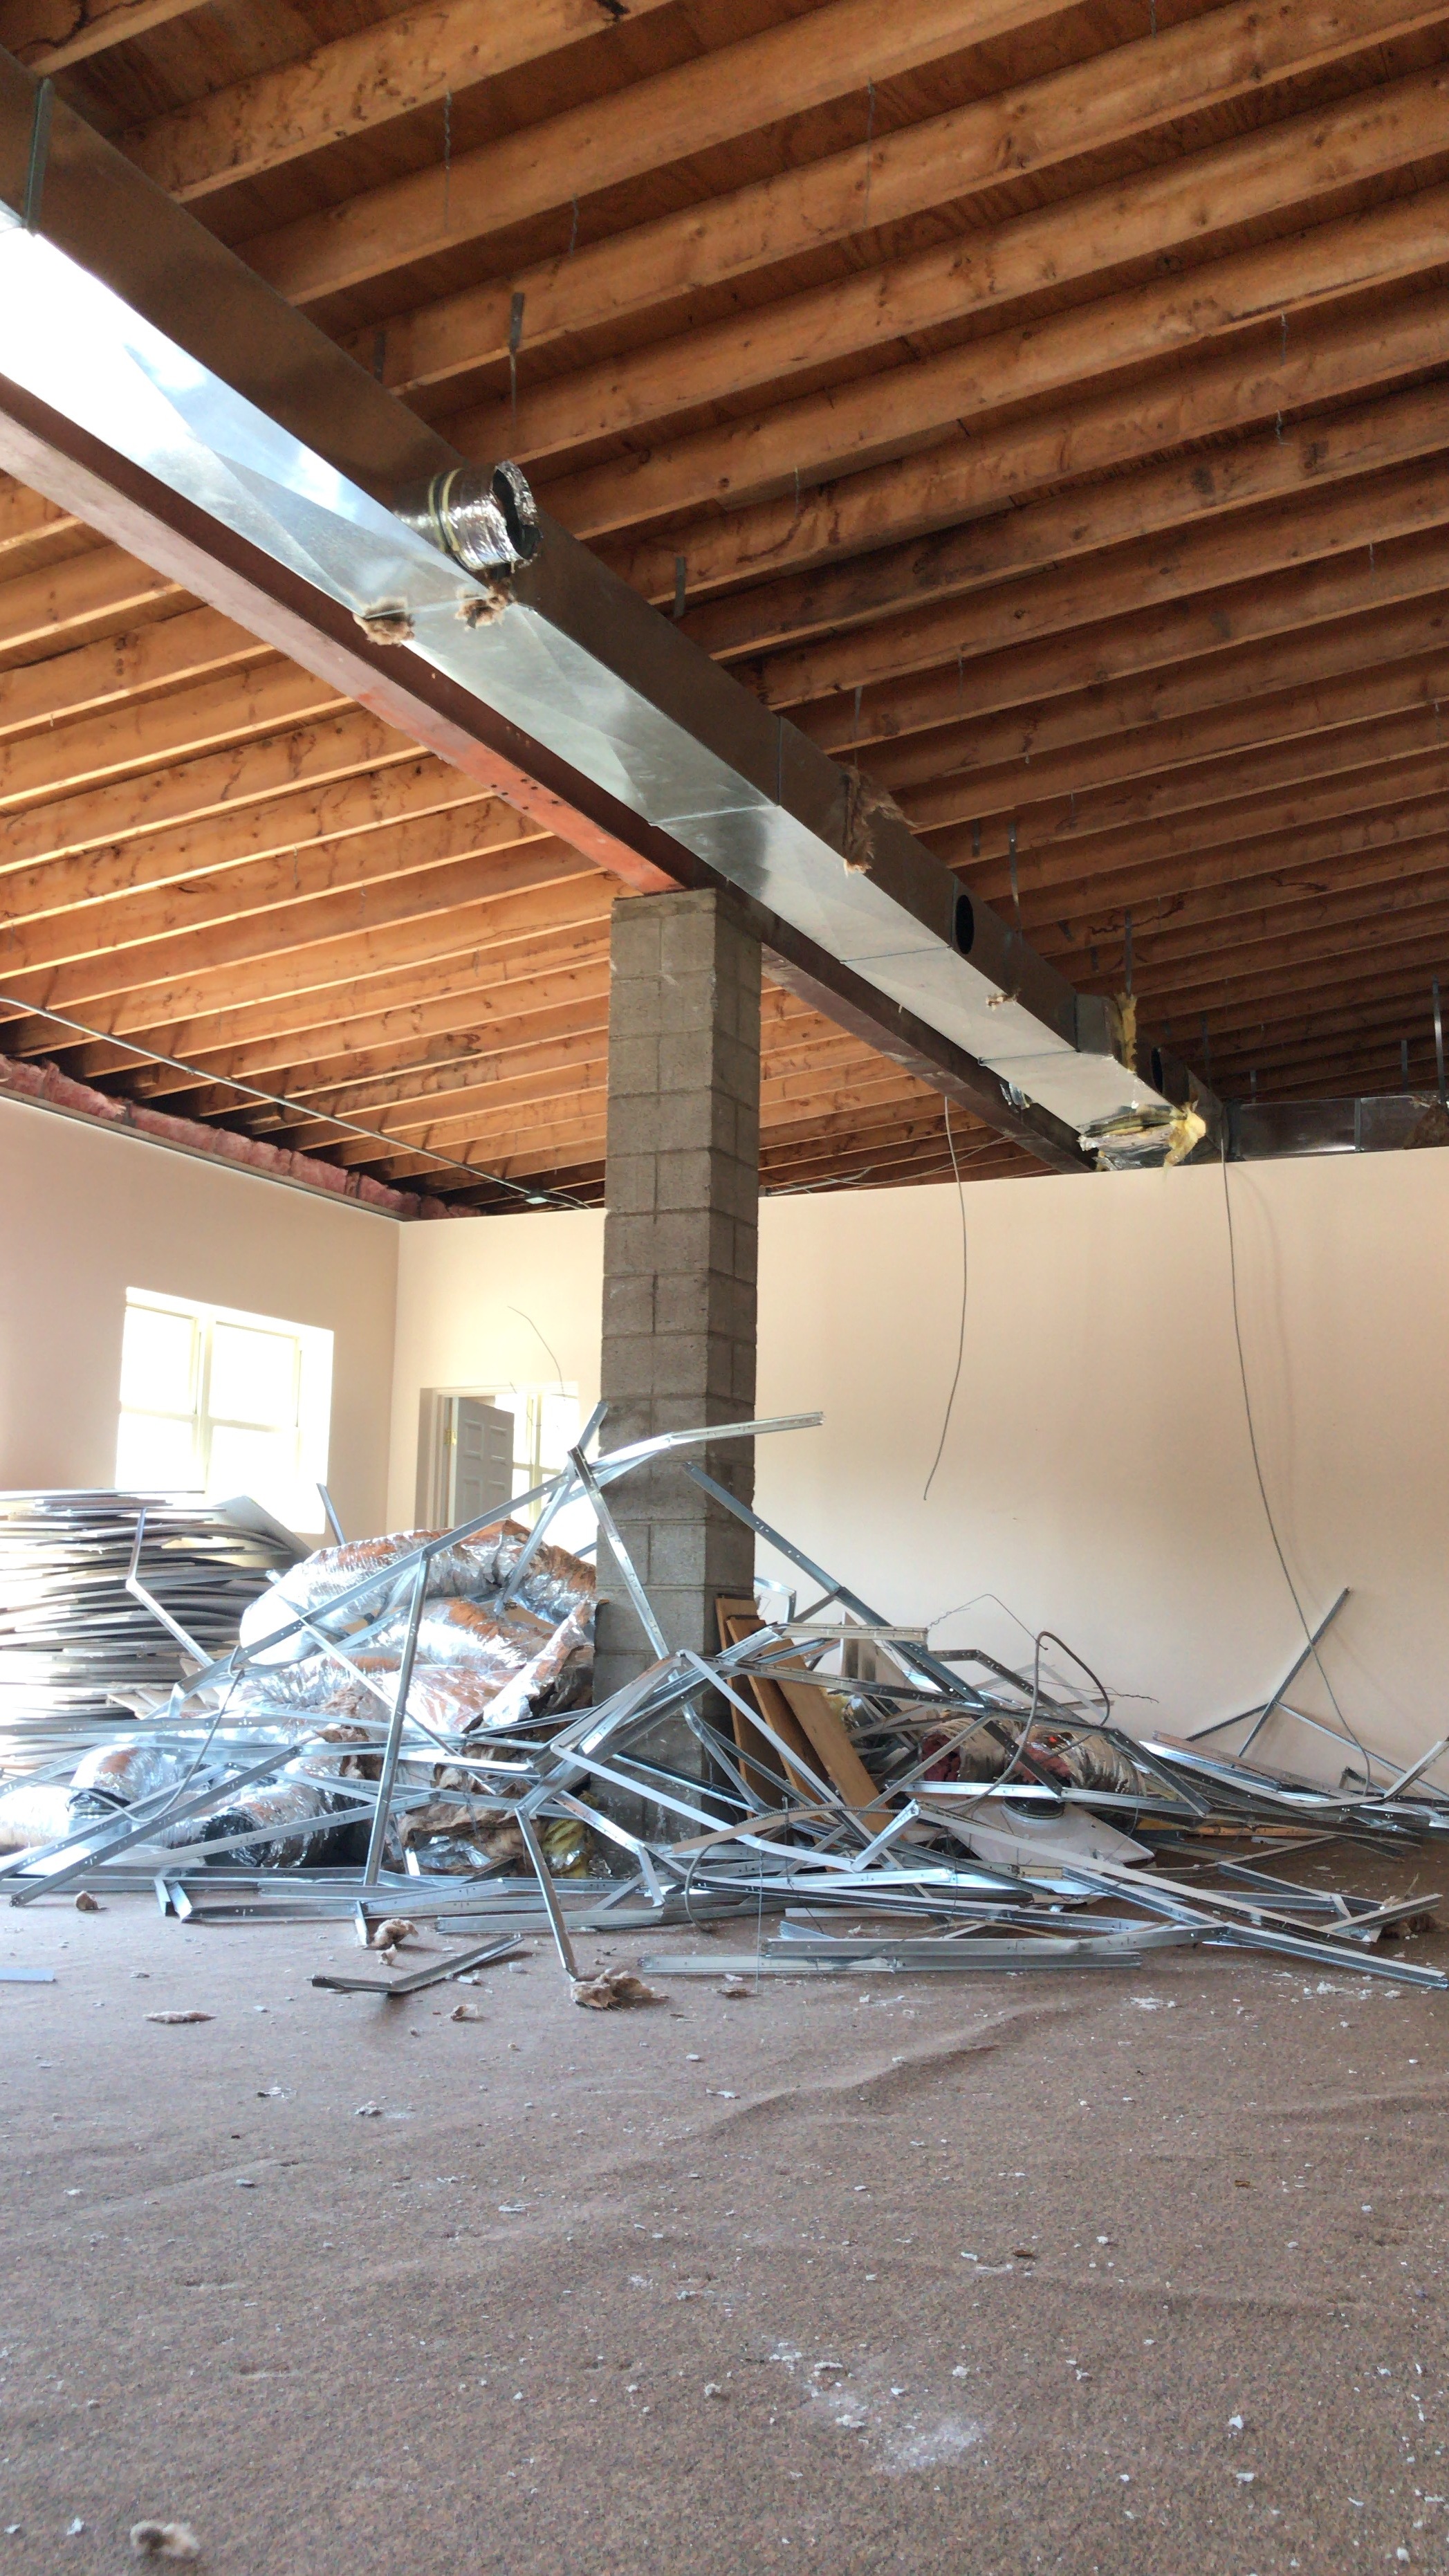
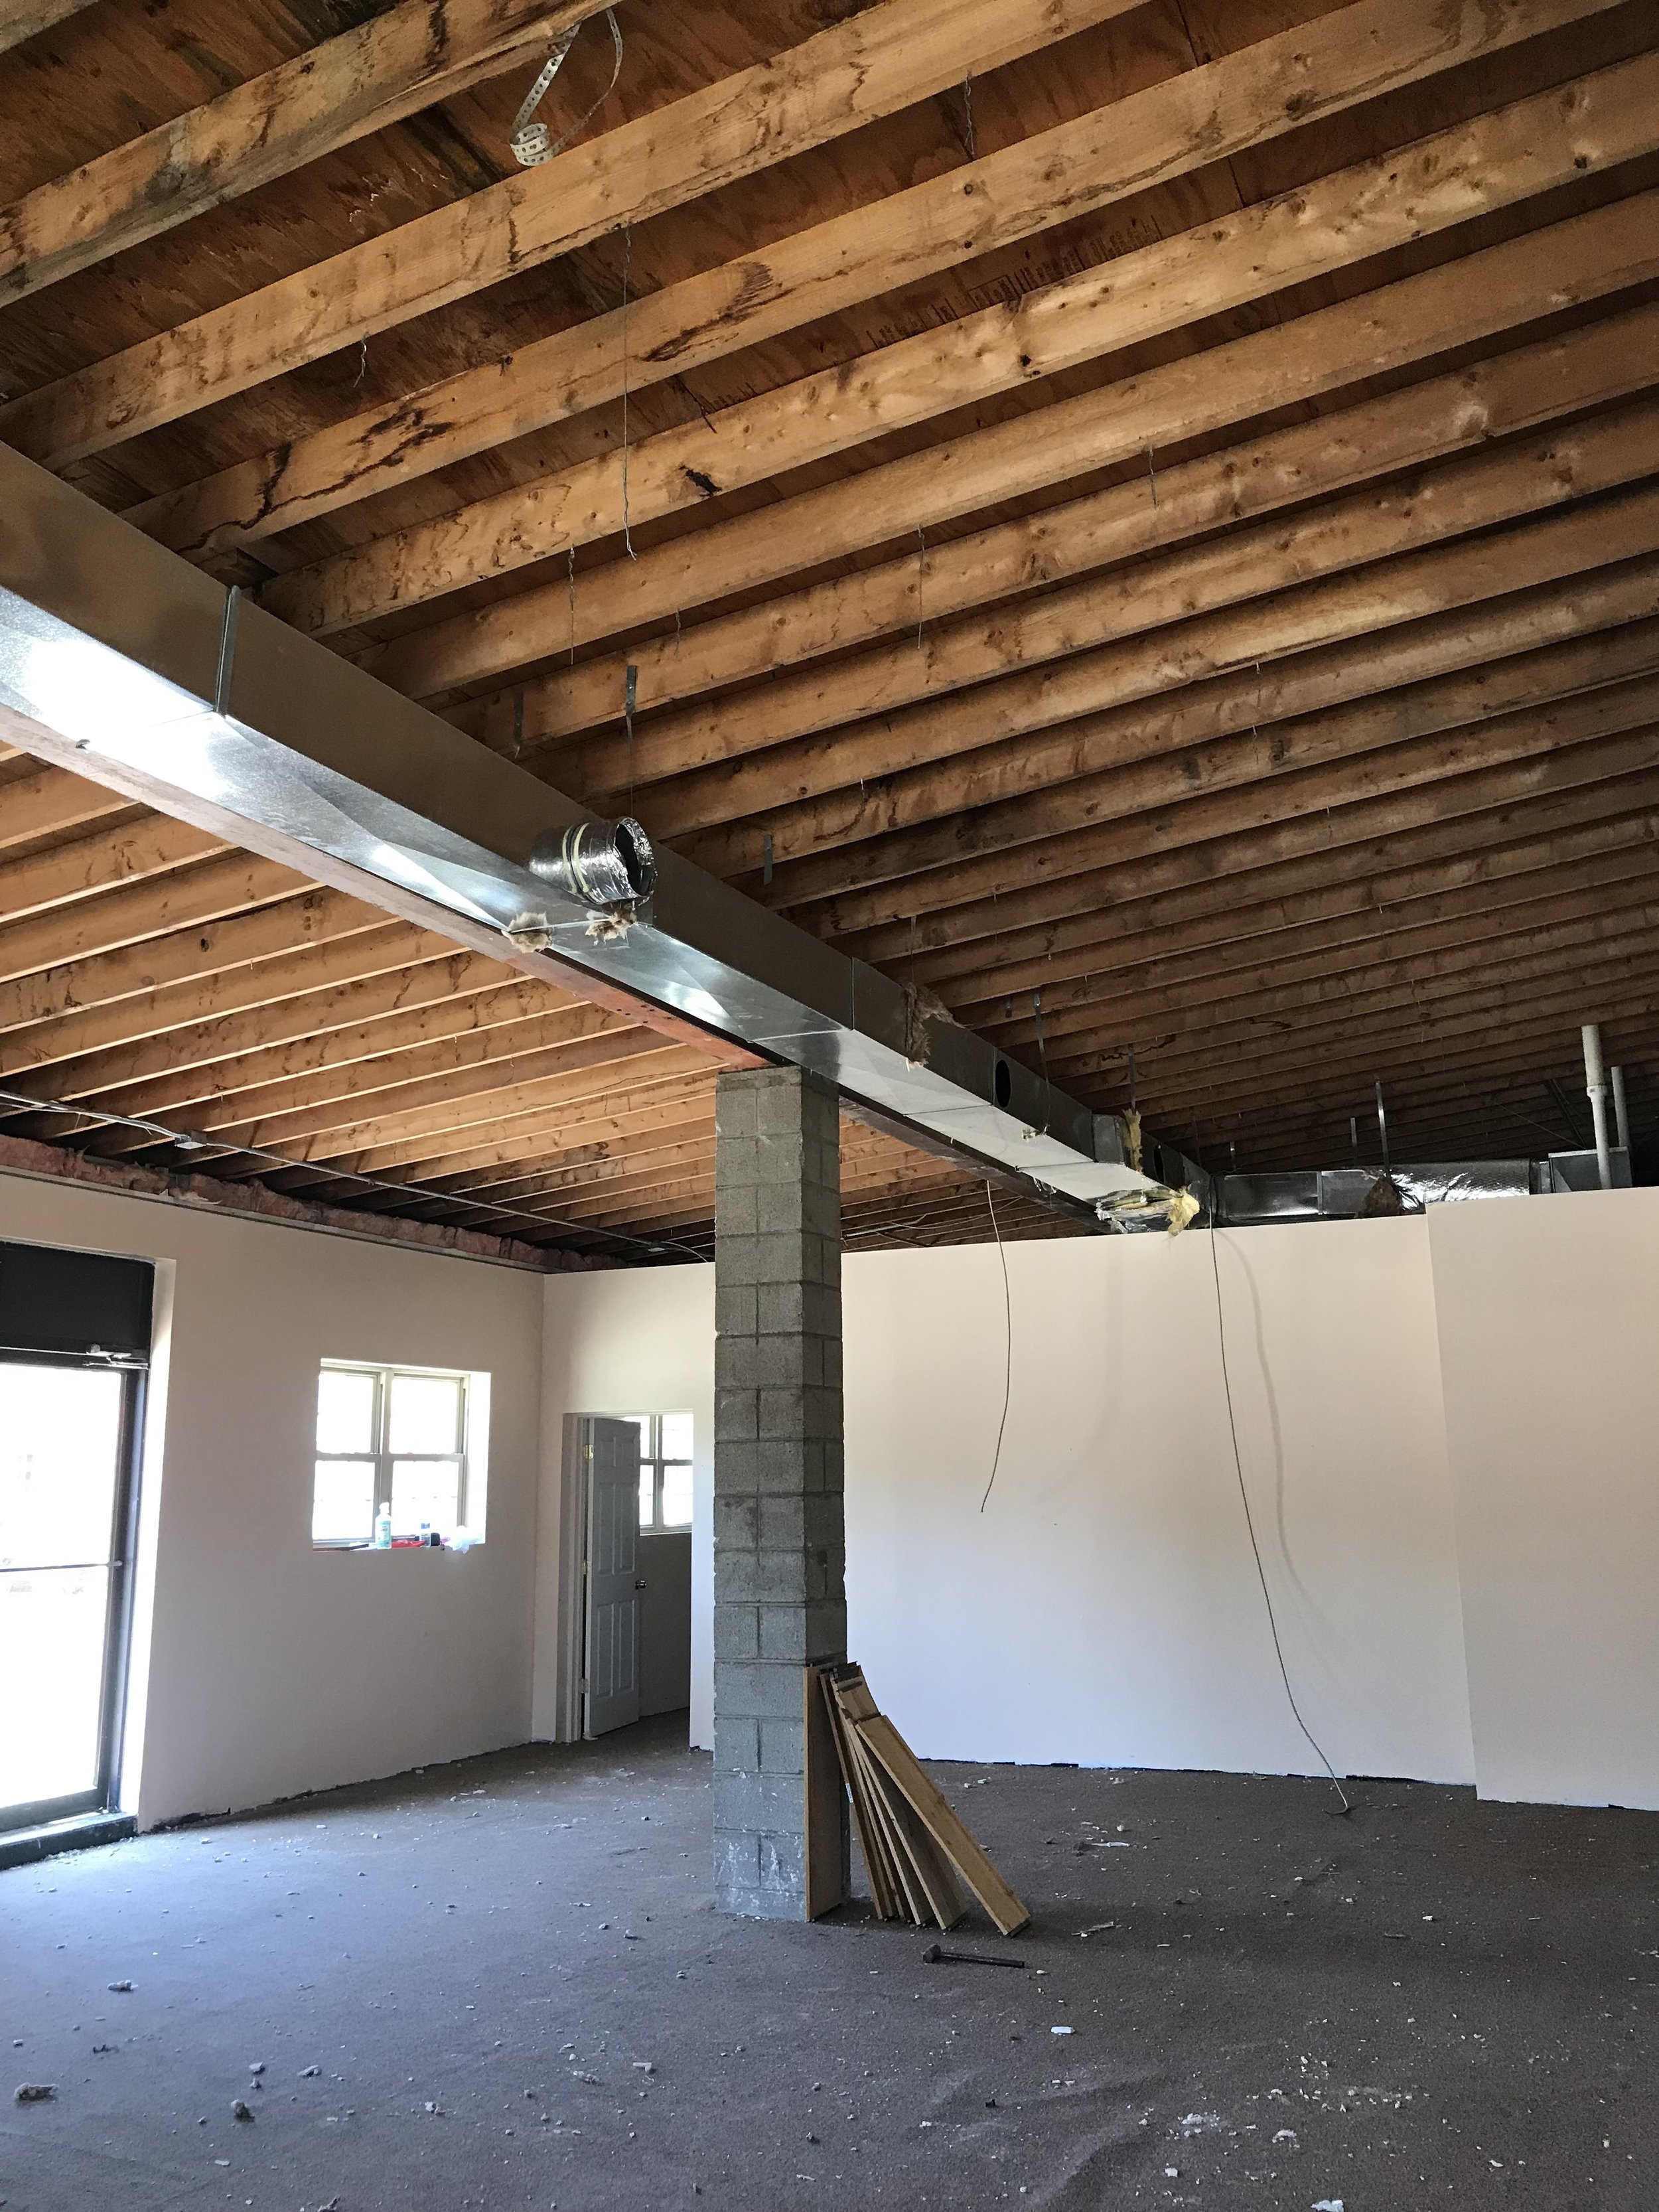
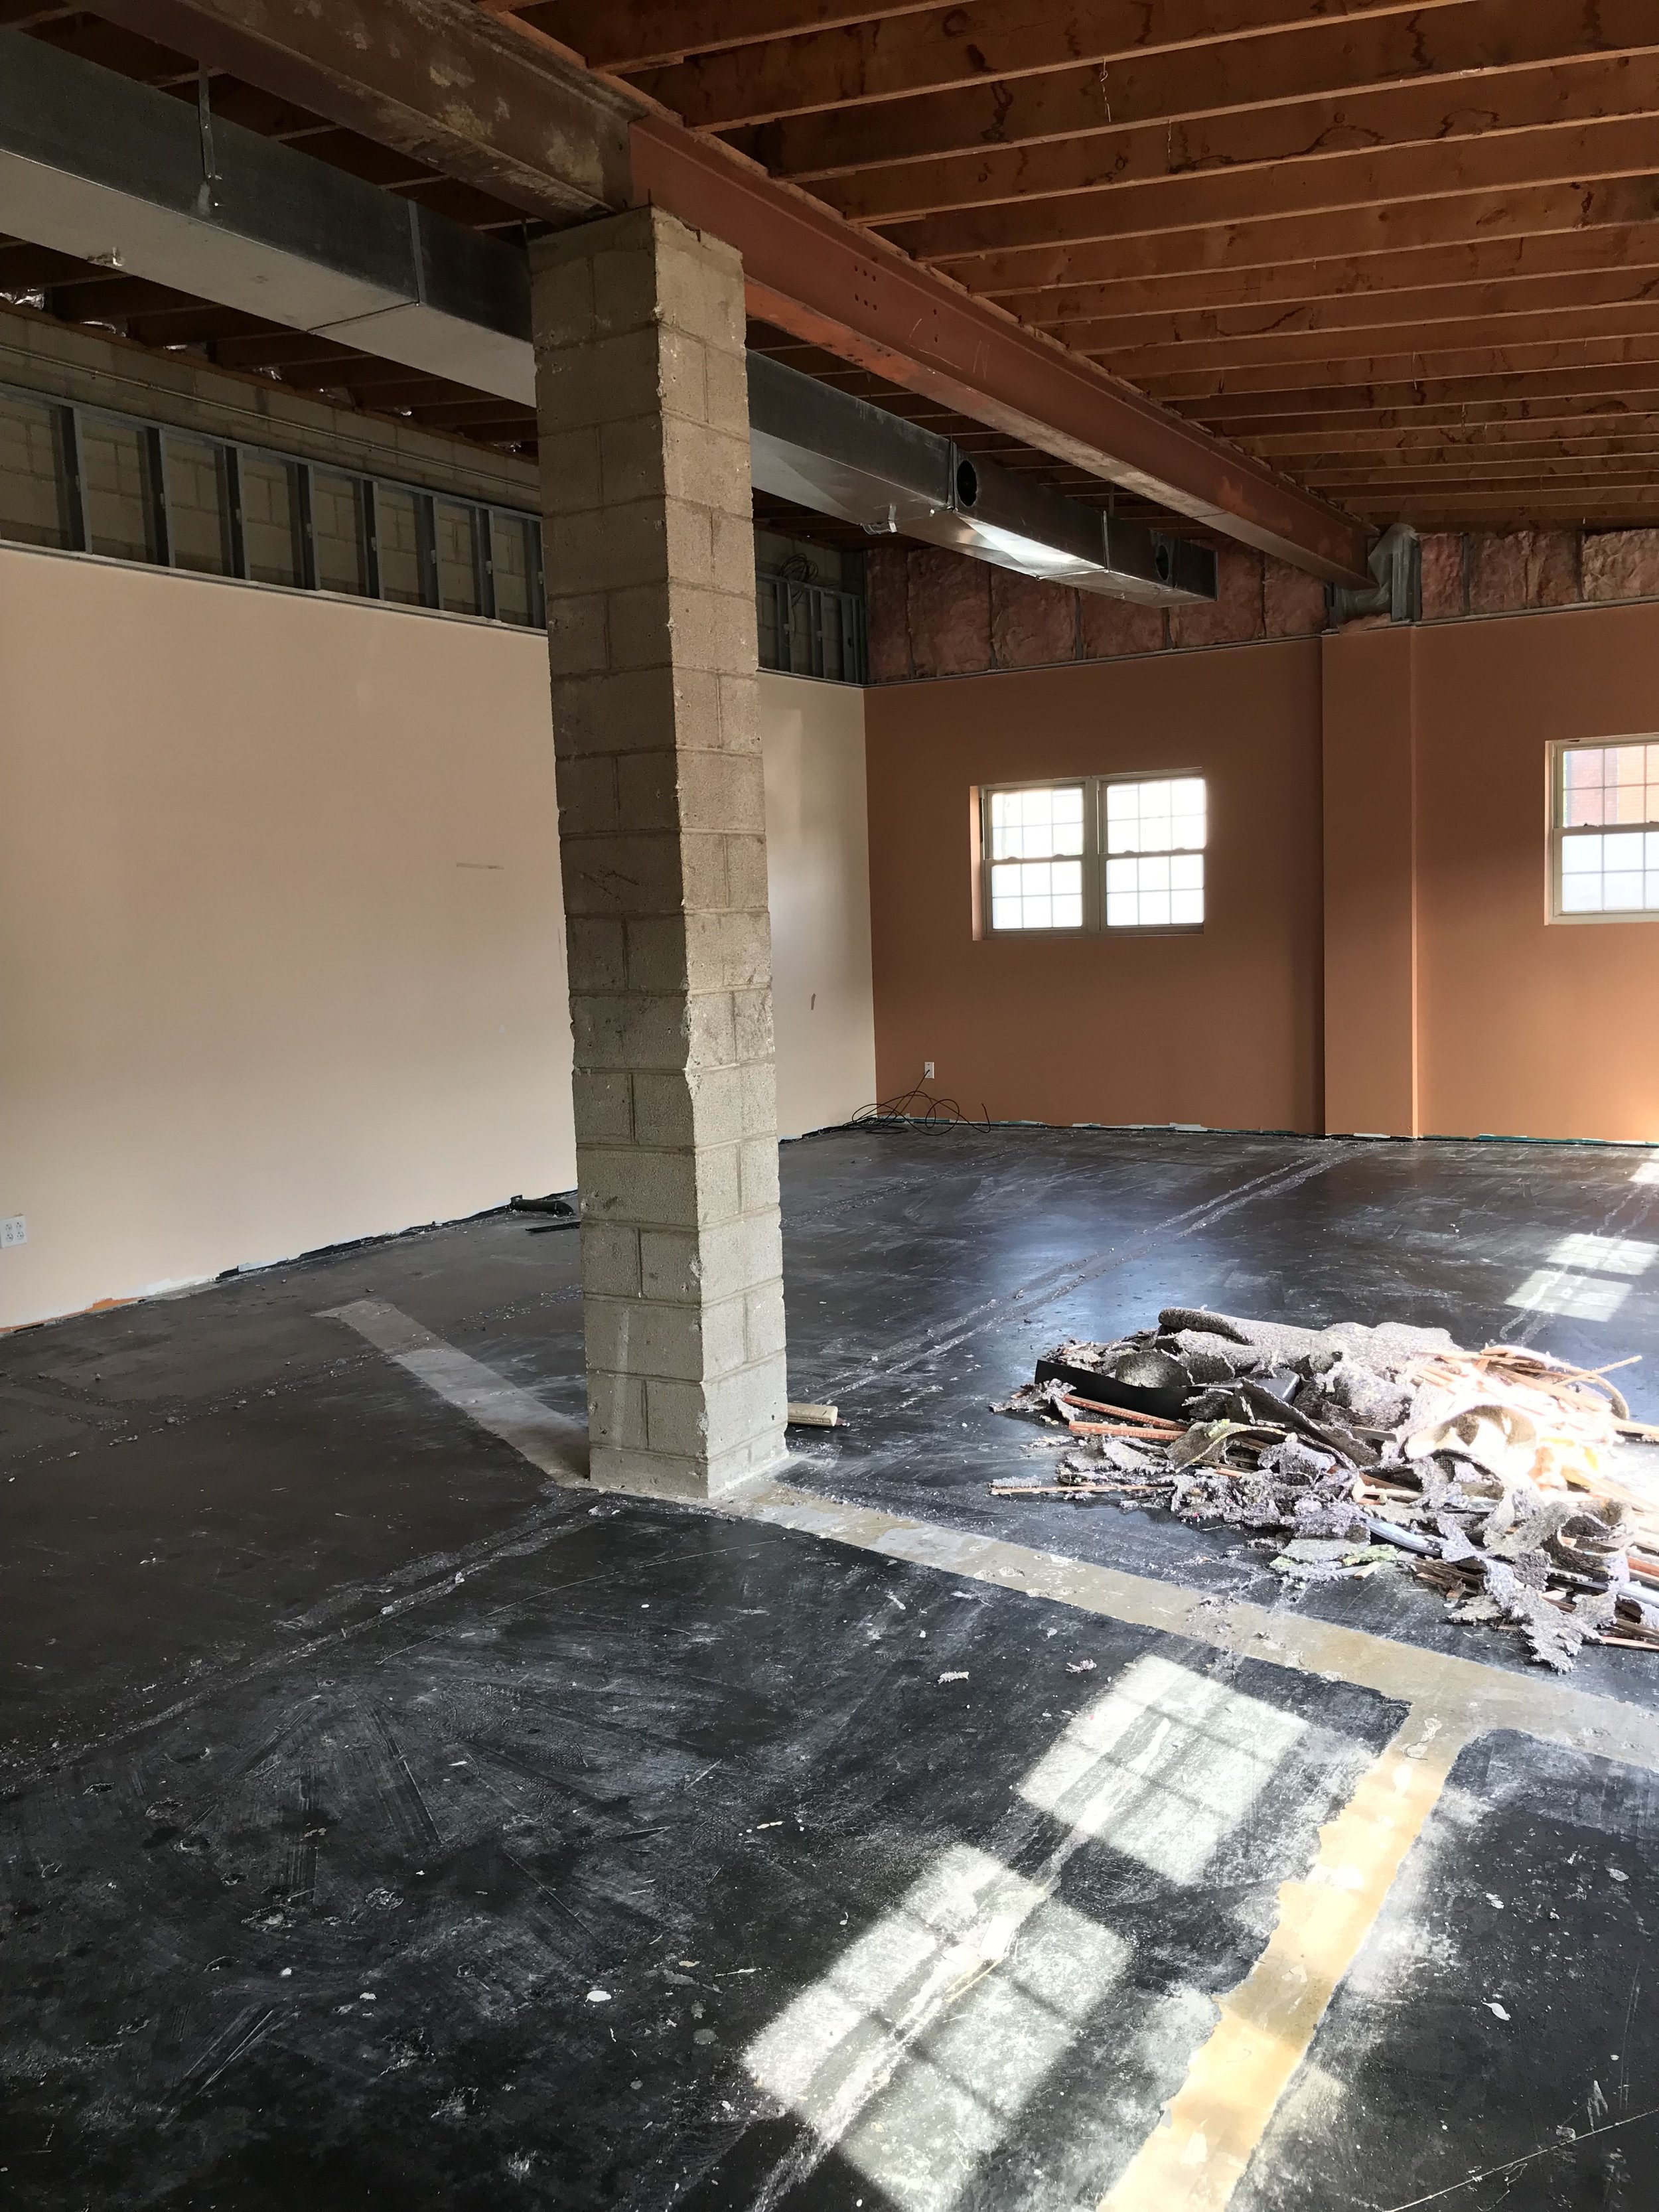
Before


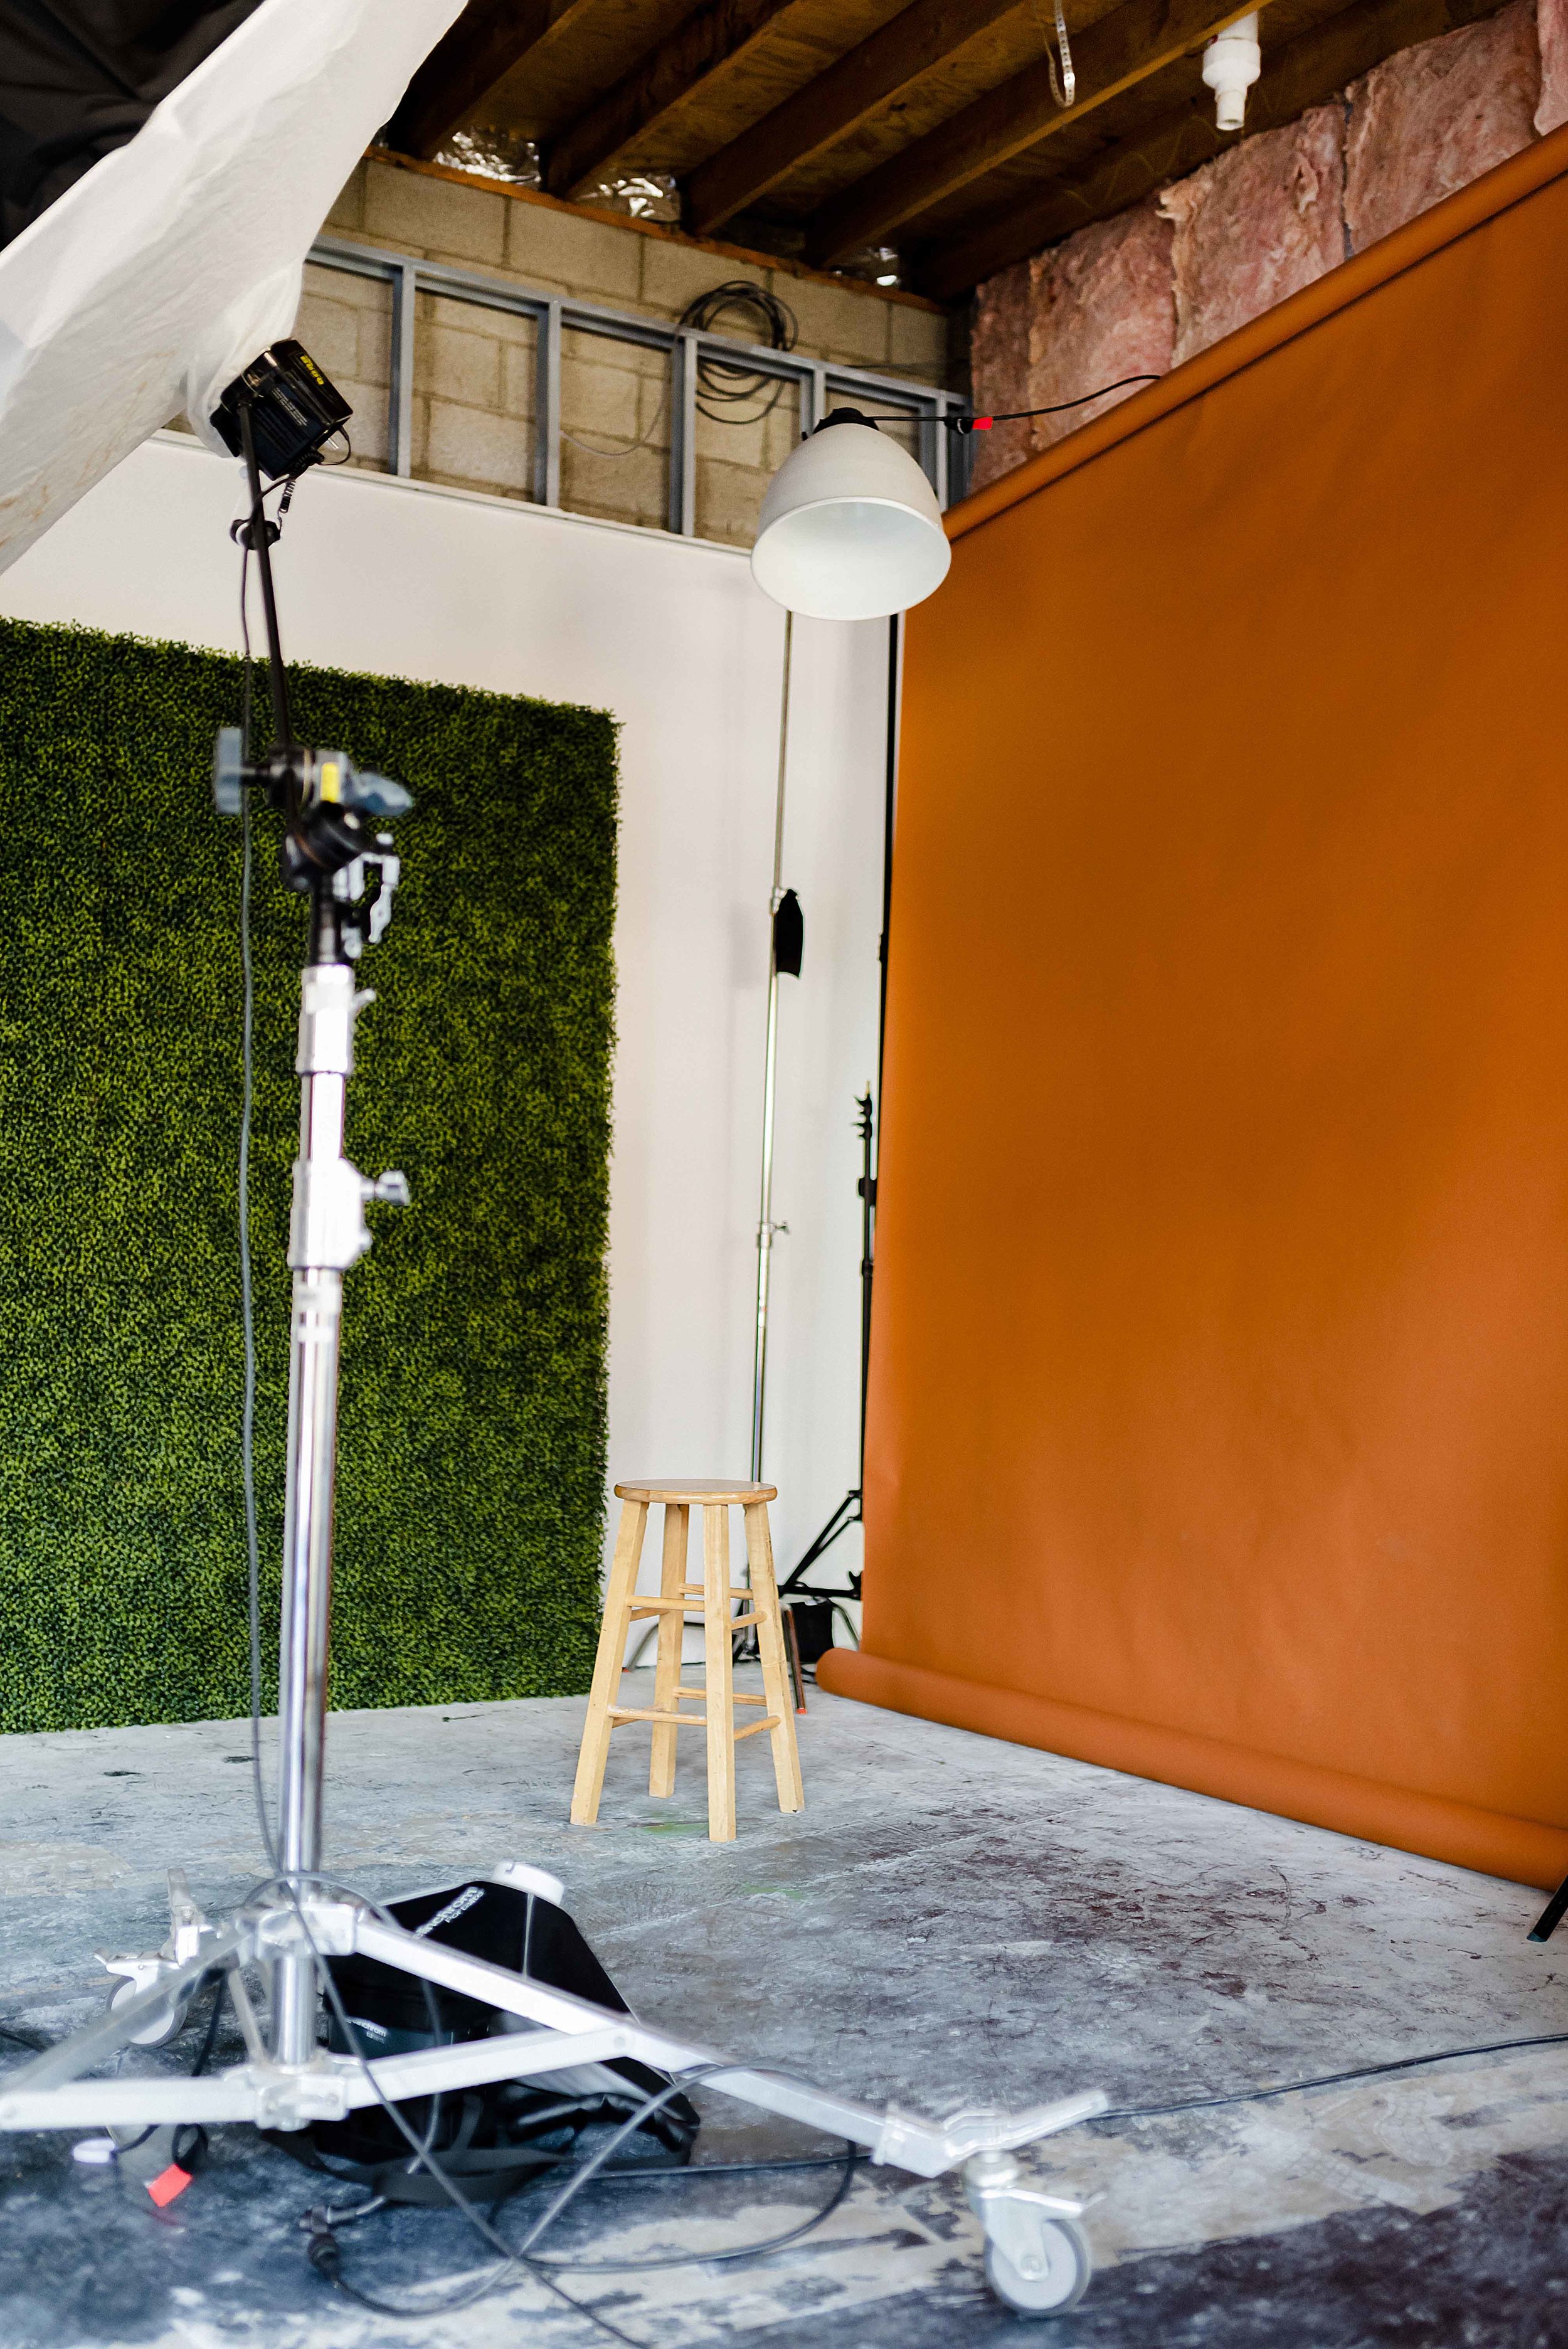
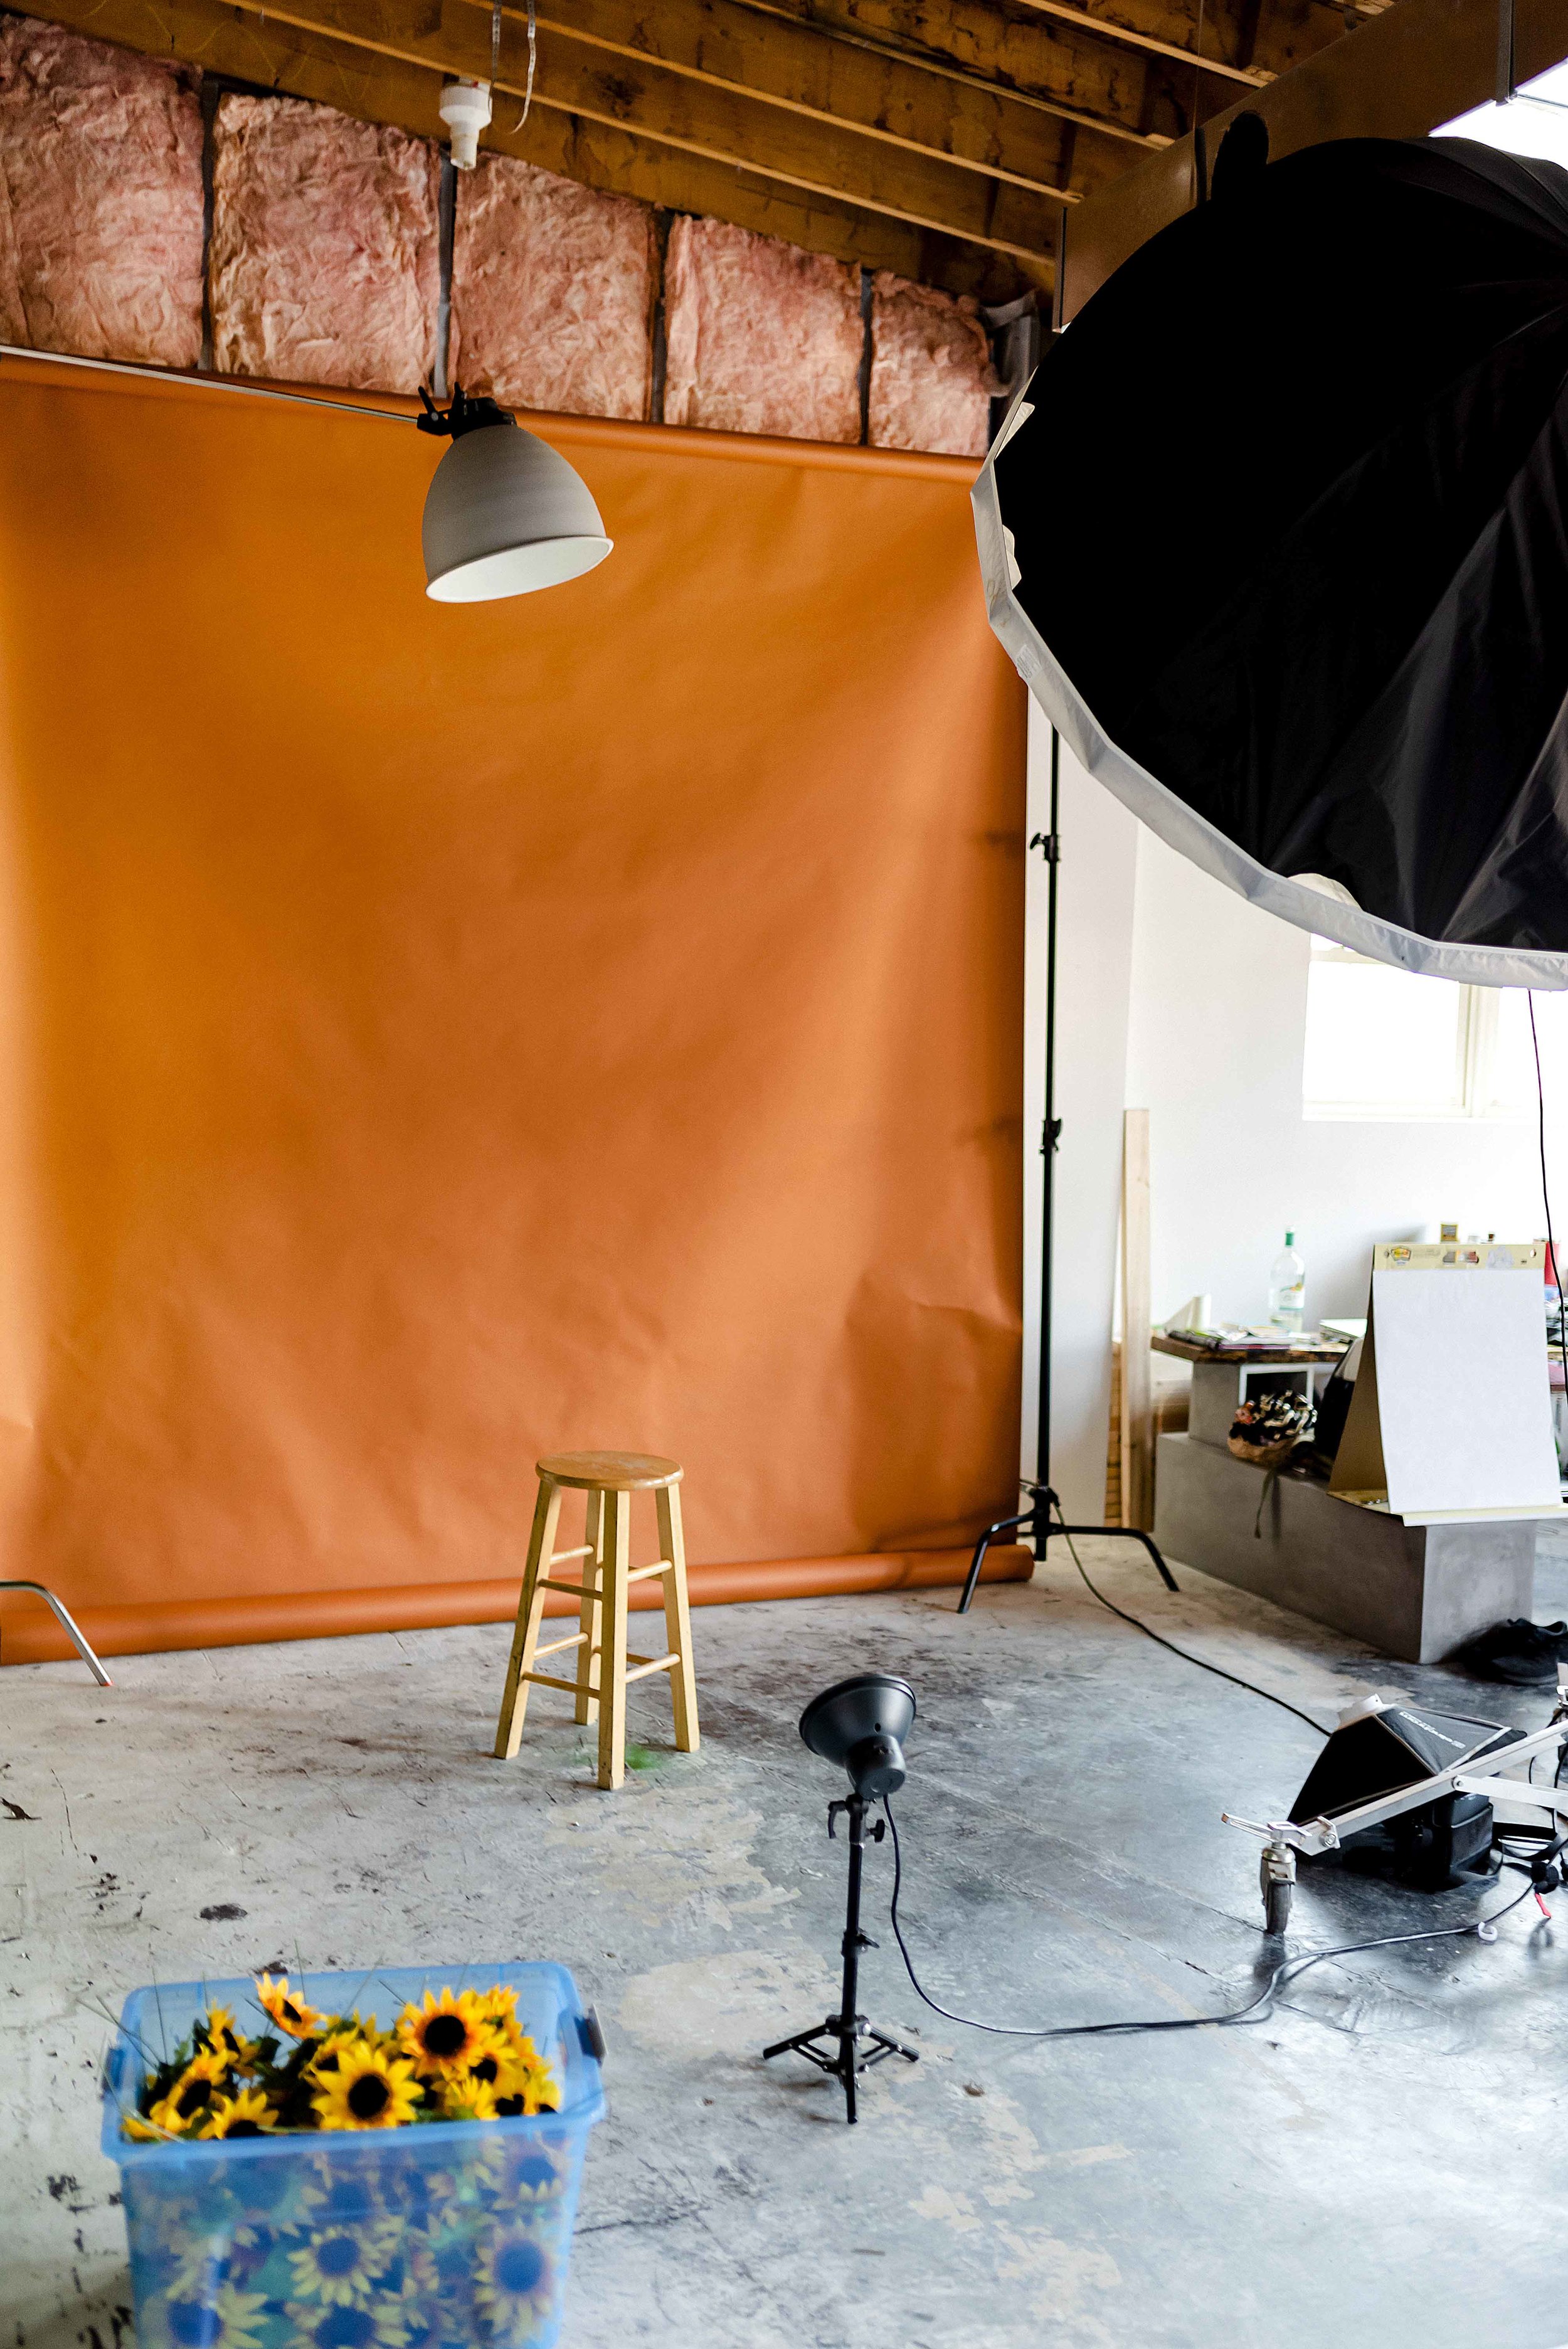
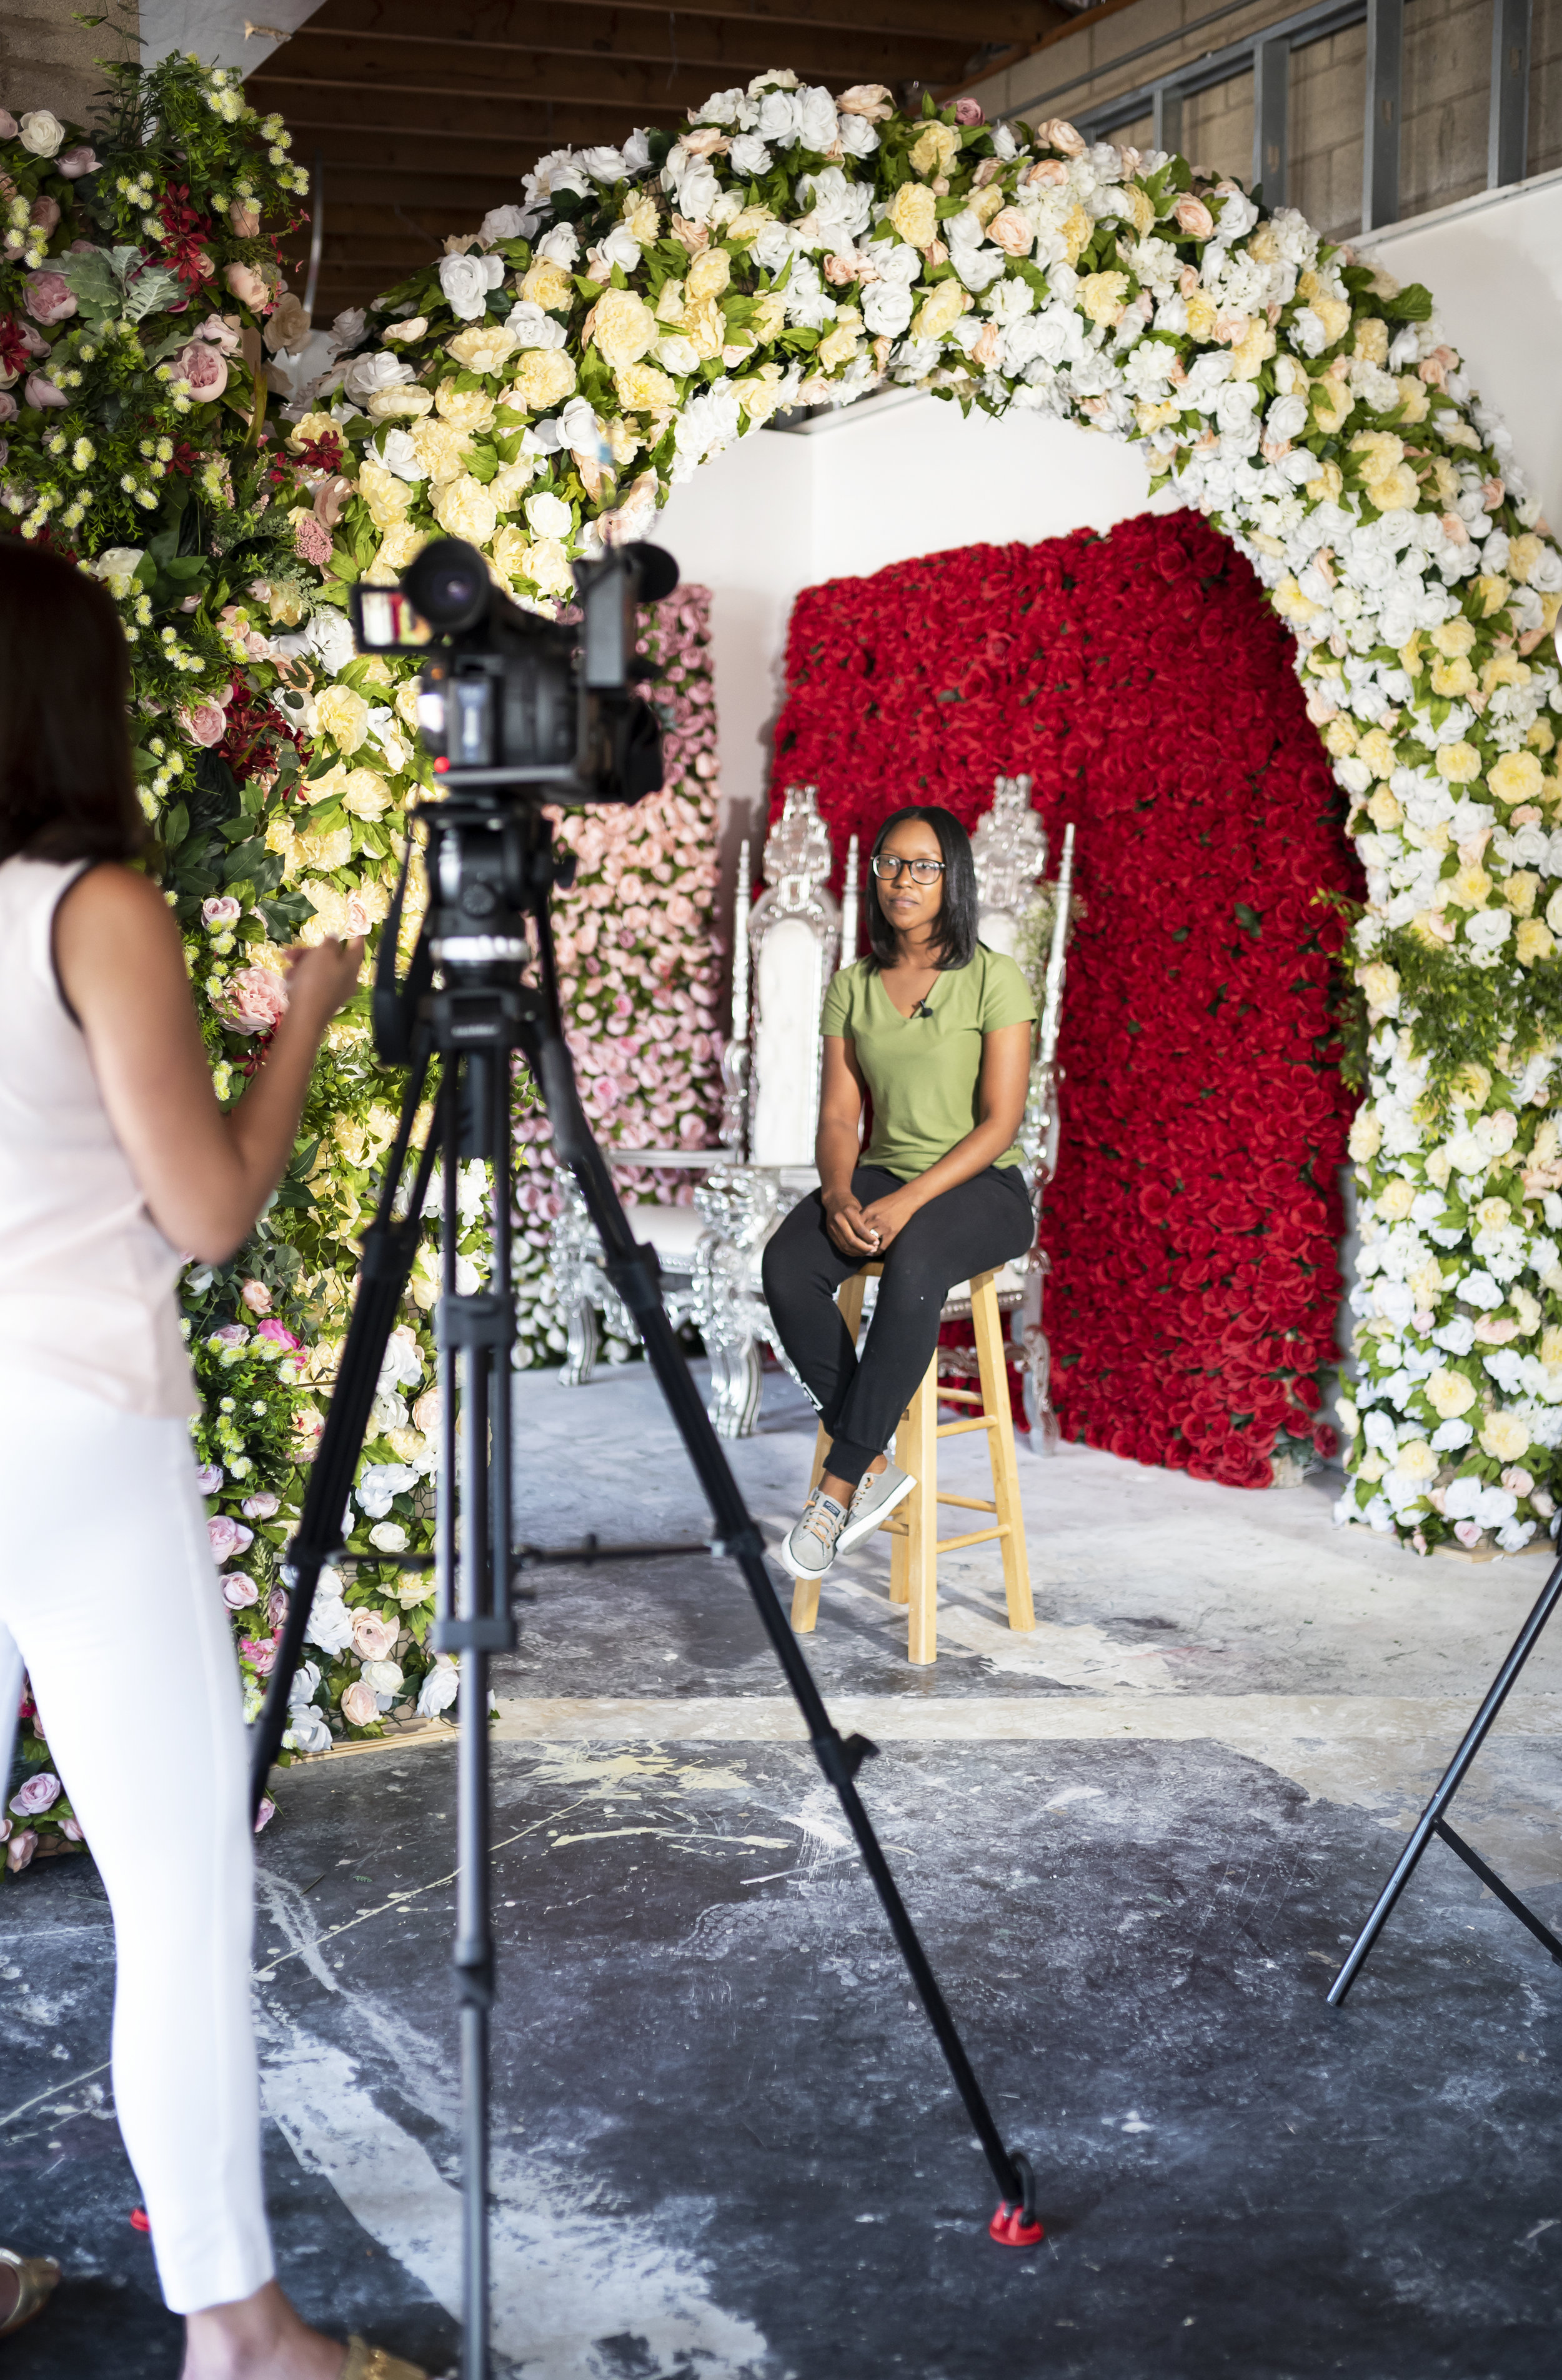
We had only a couple days to find the space, paint, rip out walls and move everything in. It was so fun we really didn’t understand the pressure we were under. Finding a space was really difficult mostly because of her 8x8 walls. We knew that we had to rip out walls, ceilings and make customizable changes just to meet the needs of the businesses. The tricky part about all of this was the money. We didn’t save for something like this so we kinda freestyled our way through the process. We had to find a space that acts as a showroom, office, photography studio, inventory space and work area to build the walls. Crazy I know right! 

Doing everything while not really knowing what we were doing was probably the best thing we could’ve done. We had to get really crafty with how we designed the layout. Instead of me writing a thesis, I think it’s best I attack this with bullet points and a brief summary as to WHY. Buckle up, here we go. 

~ Vertical > Horizontal 


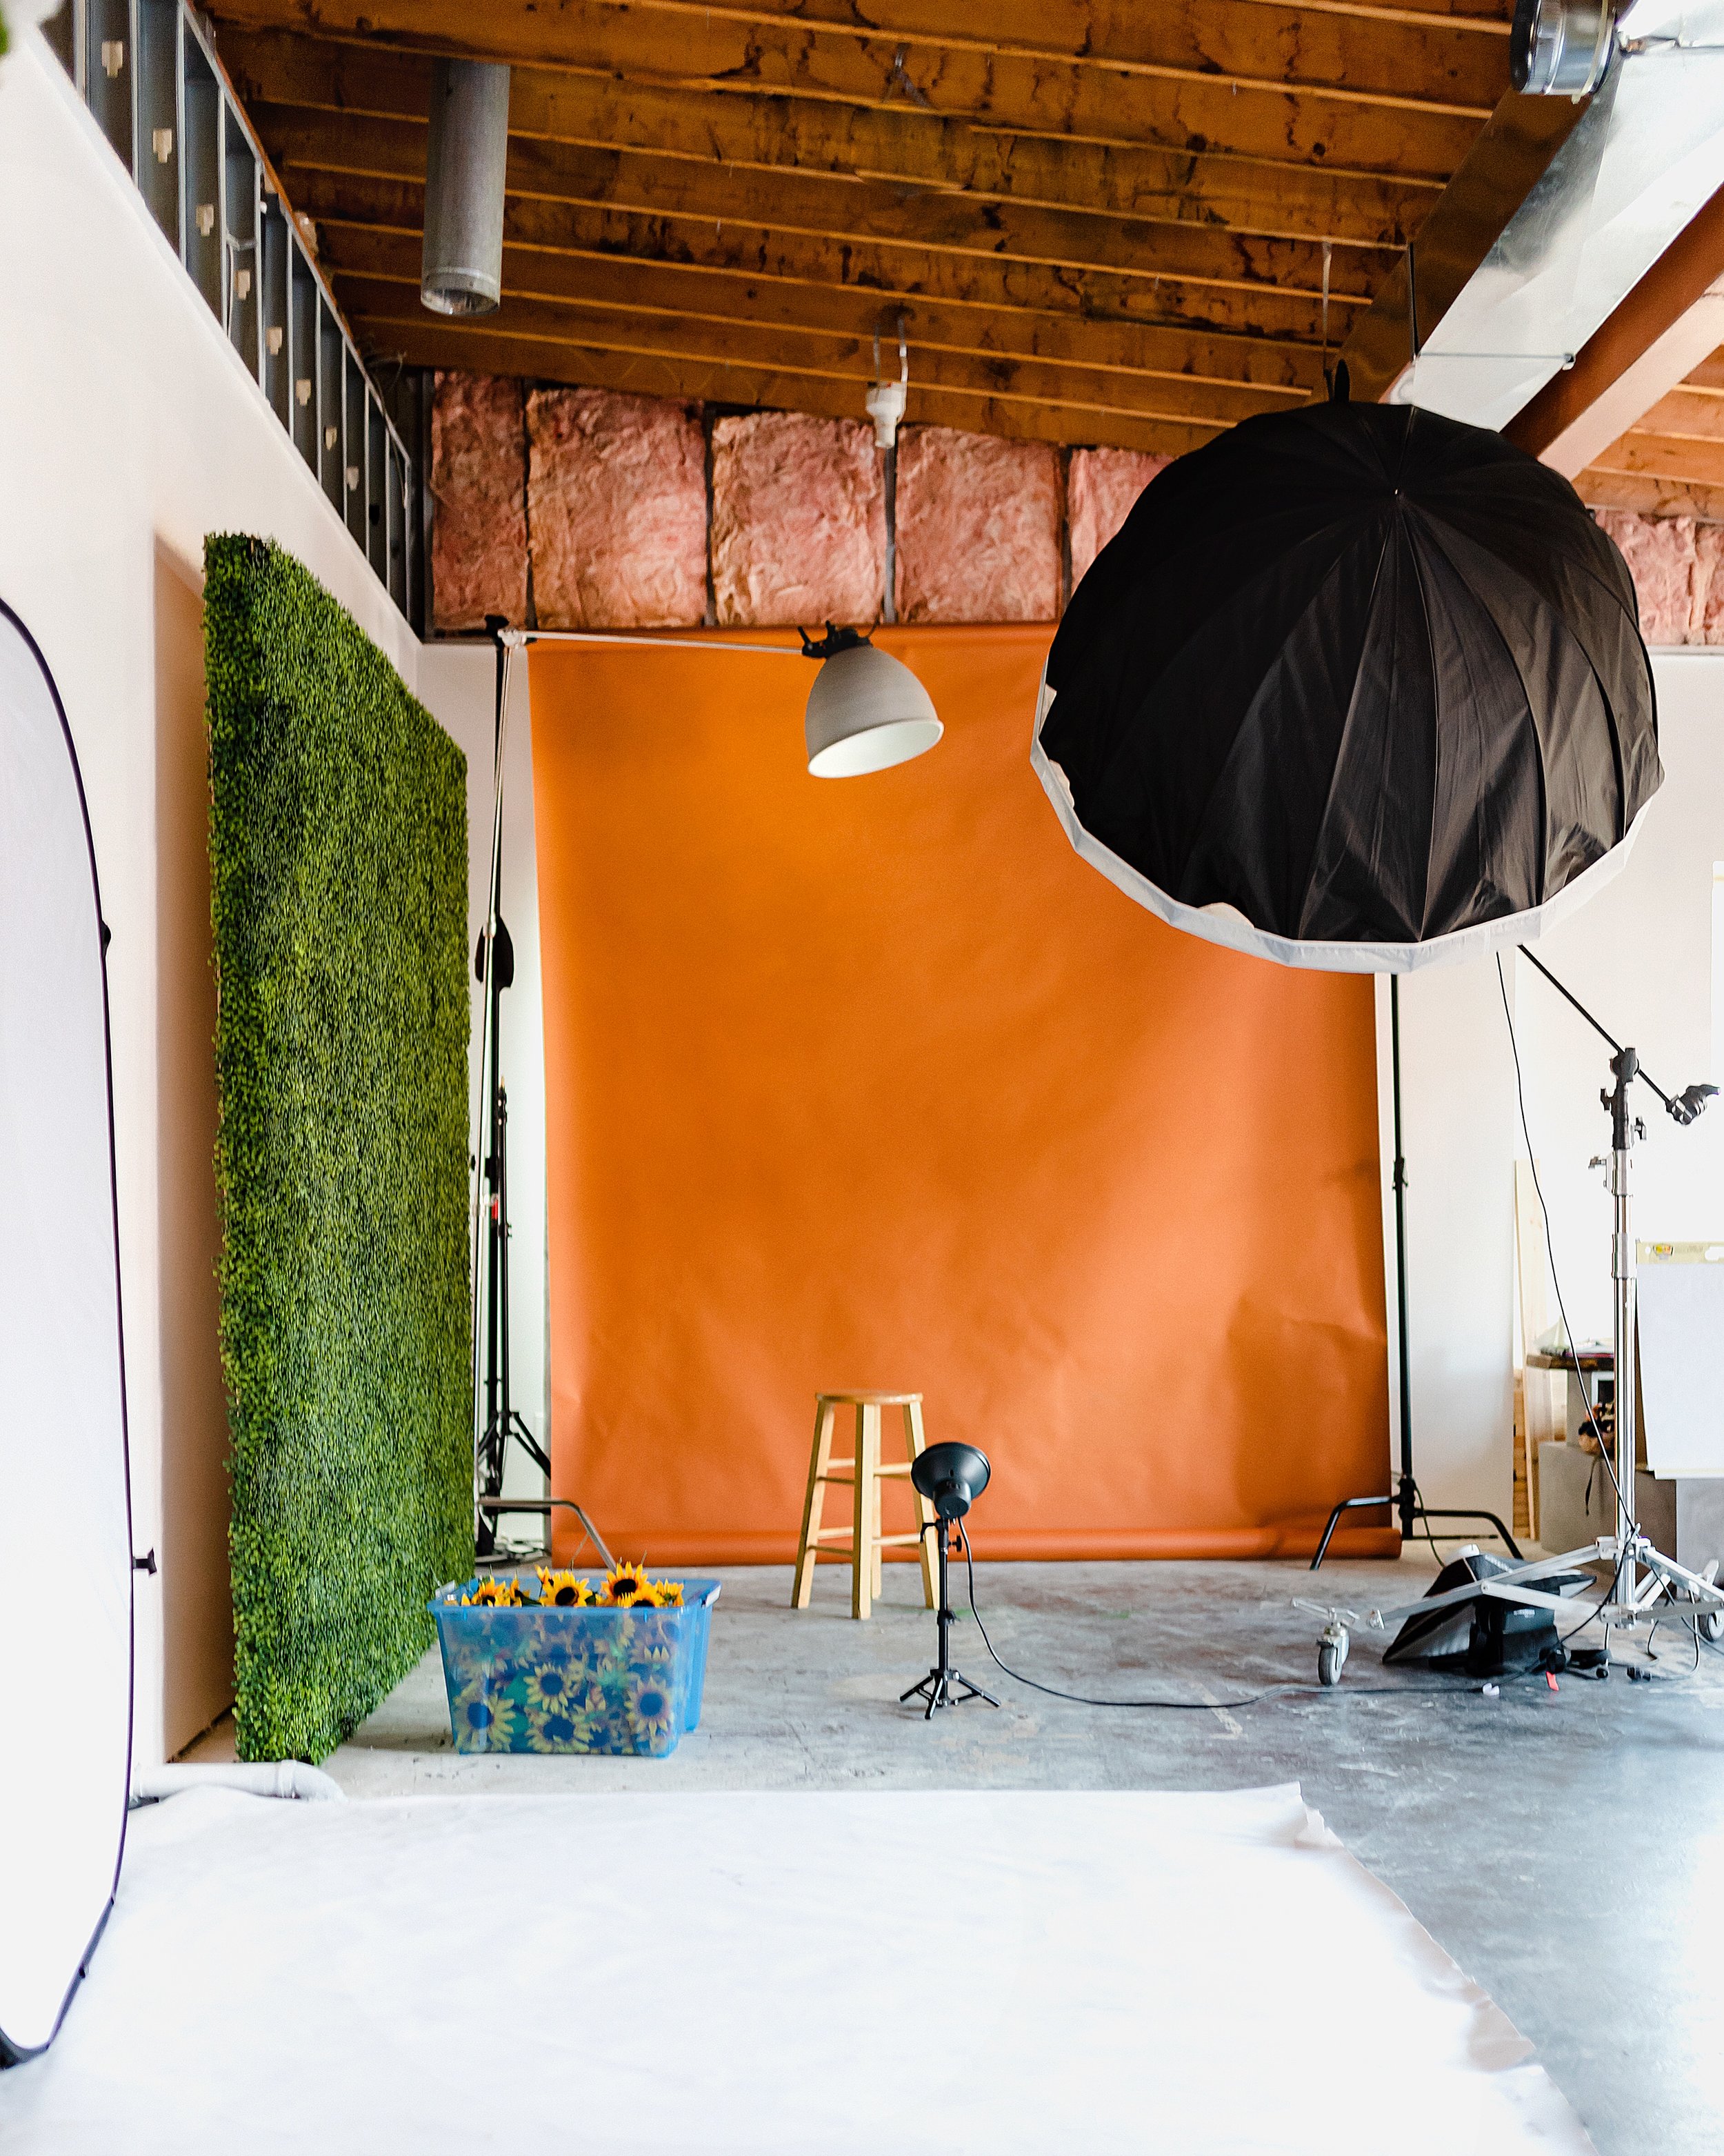
When shopping for a space high ceilings should be your bestfriend. Before we moved into the space it was an office. So we ripped out the tile to expose the ceilings. This opened the space up drastically; before the ceilings were 10ft now at it’s highest stands at a beautiful 16ft. When looking for furniture think tall. This will allow you to take advantage of the space. Also most tall things are not as wide as horizontal furniture so you will be able to stand things behind to somewhat hide things like light stands, modifiers etc. 

~ Use corners and wrap the room 1st when staging consultation area, workstation and furniture. 


For me a corner is my second bestfriend. I know that I need to be able to shoot on a white backdrop 75% of the time. So to get rid of the clutter of light stands I painted all the walls white (white walls + tall ceilings = perfect space for anything). Then I put a 12ft hair light in the corner with my next favorite backdrop 90 degrees from the white wall. My shooting space is now complete.


~ Leave middle of the floor free of clutter; complete open space

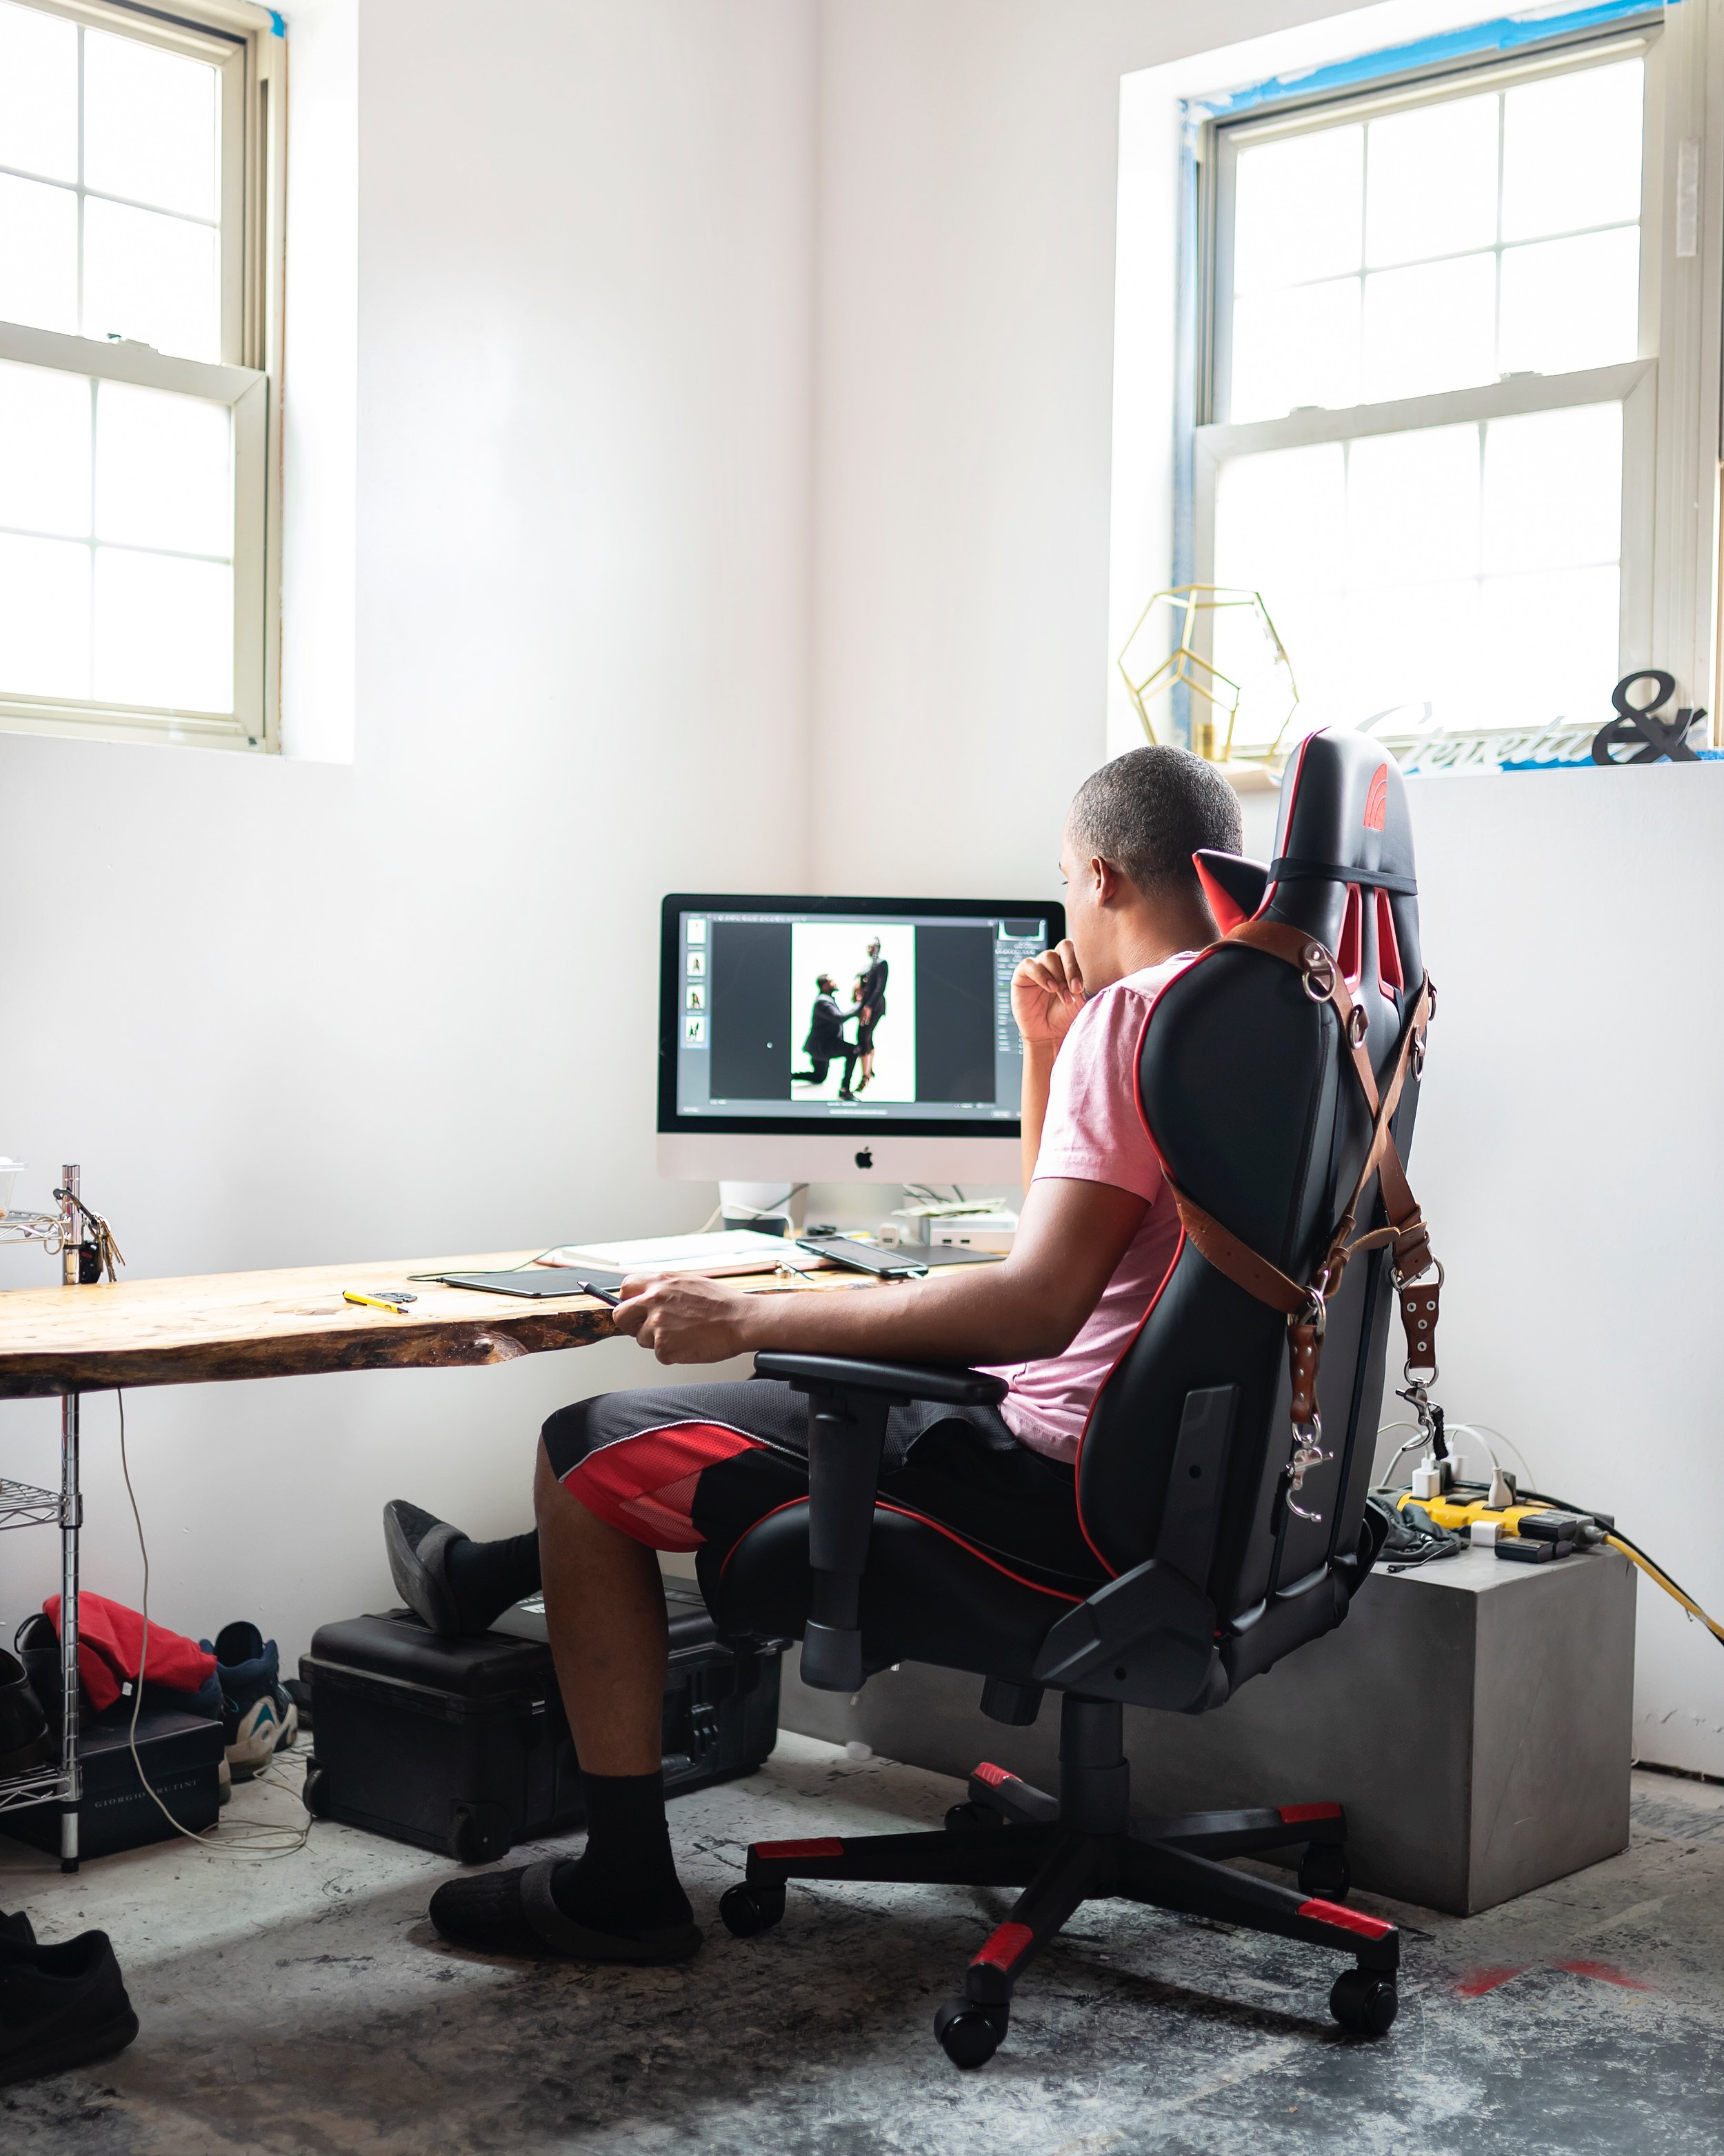
My workstation is a 10ft long table that sits along a wall. Sits about 5” away from the wall creating more space in the middle of the floor for me to buildout and angle myself properly to shoot in the corner. 


~ Natural light is key

Natural light simply makes the room bigger than what it is. Combine that with tall ceilings and your 500sqft just turned into 1100sqft. 

~ Stack things 

If you think of things as shapes everything becomes easier. Ever played the game tetris? Stacking shapes on the outskirts of the room helps and fools the natural eye. Think of what the eye does when scanning a room. If things are organized by section and as tall as can be, the eye wont be bombarded clutter. Opens the door for endless opportunity. 


~ Bare floors 


I personally don’t like rugs. We ripped up the carpet and scraped the entire space by hand. Rugs holds odor and doesn’t give me the open feel I need. They also hinder you from using wheels in the space. 


~ Things that are still in process

  1. Nisha’s office area

  2. a relaxing area

  3. makeup station

  4. floating shelves


I could kinda go on and on because I’m still learning and have so many ideas . But I’m sure you guys wouldn’t like that. Last thing, be happy with where you are. It takes a bold person to step out and make life changes like this. I wish I had a but ton of money to dump into this place at once; but I don’t. You must operate with what you do have so God can bless you with more when you’re ready for it.  


~ Final tip, seriously. lol

~ DO EVERYTHING YOURSELF


As I said in the beginning, Nisha and I didn’t save for this. We did everything we could do ourselves. From ripping out the carpet to buying “opps paint” and returning it to get a free 5 gallon white paint - don’t ask how :) We even drove around the city in a U-haul to find random dumpsters to avoid paying $300 for someone to come get it. Scraping the adhesive off the floor with a chisel and hammer and more.

~~~~~

Hope some of these tips actually help someone. It’s always disappointing when the blog doesn’t have helpful tips. haha 


Thank you for reading! Drop a comment below to let me know your thoughts    


What's in my camera bag?

The number one thing I get asked about the most at weddings, when I’m out shooting or in general. WHAT IS IN YOUR CAMERA BAG? And I love it… lol Most of the time people are just nosey but it doesn’t bother me. I love tech and geeky stuff like this so often I’m having a 30 min conversation after they ask.

If you are looking to upgrade some equipment the only advice I have is to do your research. These companies and store salesmen could care less about your hard earn money so they will sell you the first thing on the shelf. Don’t budge and don’t be afraid to walk away to do research.

In the pic below is the equipment I’ve accumulated over the years. Wish I could say I just walked in the store and dropped bandzzzzz. Didn’t happen like that. A bunch of pointless purchases, debt & trail and error led me here. Thankfully, throughout all that mess I can say I’ve found my go to kit. This will be my wedding starter pack for 2019. I’ve tried so many different setups over the years and this one is the most solid. Here is the gear list

Gear list:

Nikon D750 x1

Nikon D7100 x1

Go Pro Hero 7 Black

Tamron 24-70mm 2.8

Sigma 35mm 1.4

Nikon 85mm 1.8

Sigma 70-200mm 2.8

Youngnuo 560exIII x3

Holdfast Money Maker Camera Strap

Elinchrome ELB500 flash & battery pack

Pocket Wizard PlusX x3

Think Tank Memory Card Holder

Nikon Batteries x3

Mag Mod Starter Kit

9.jpg

Lighting Diagrams

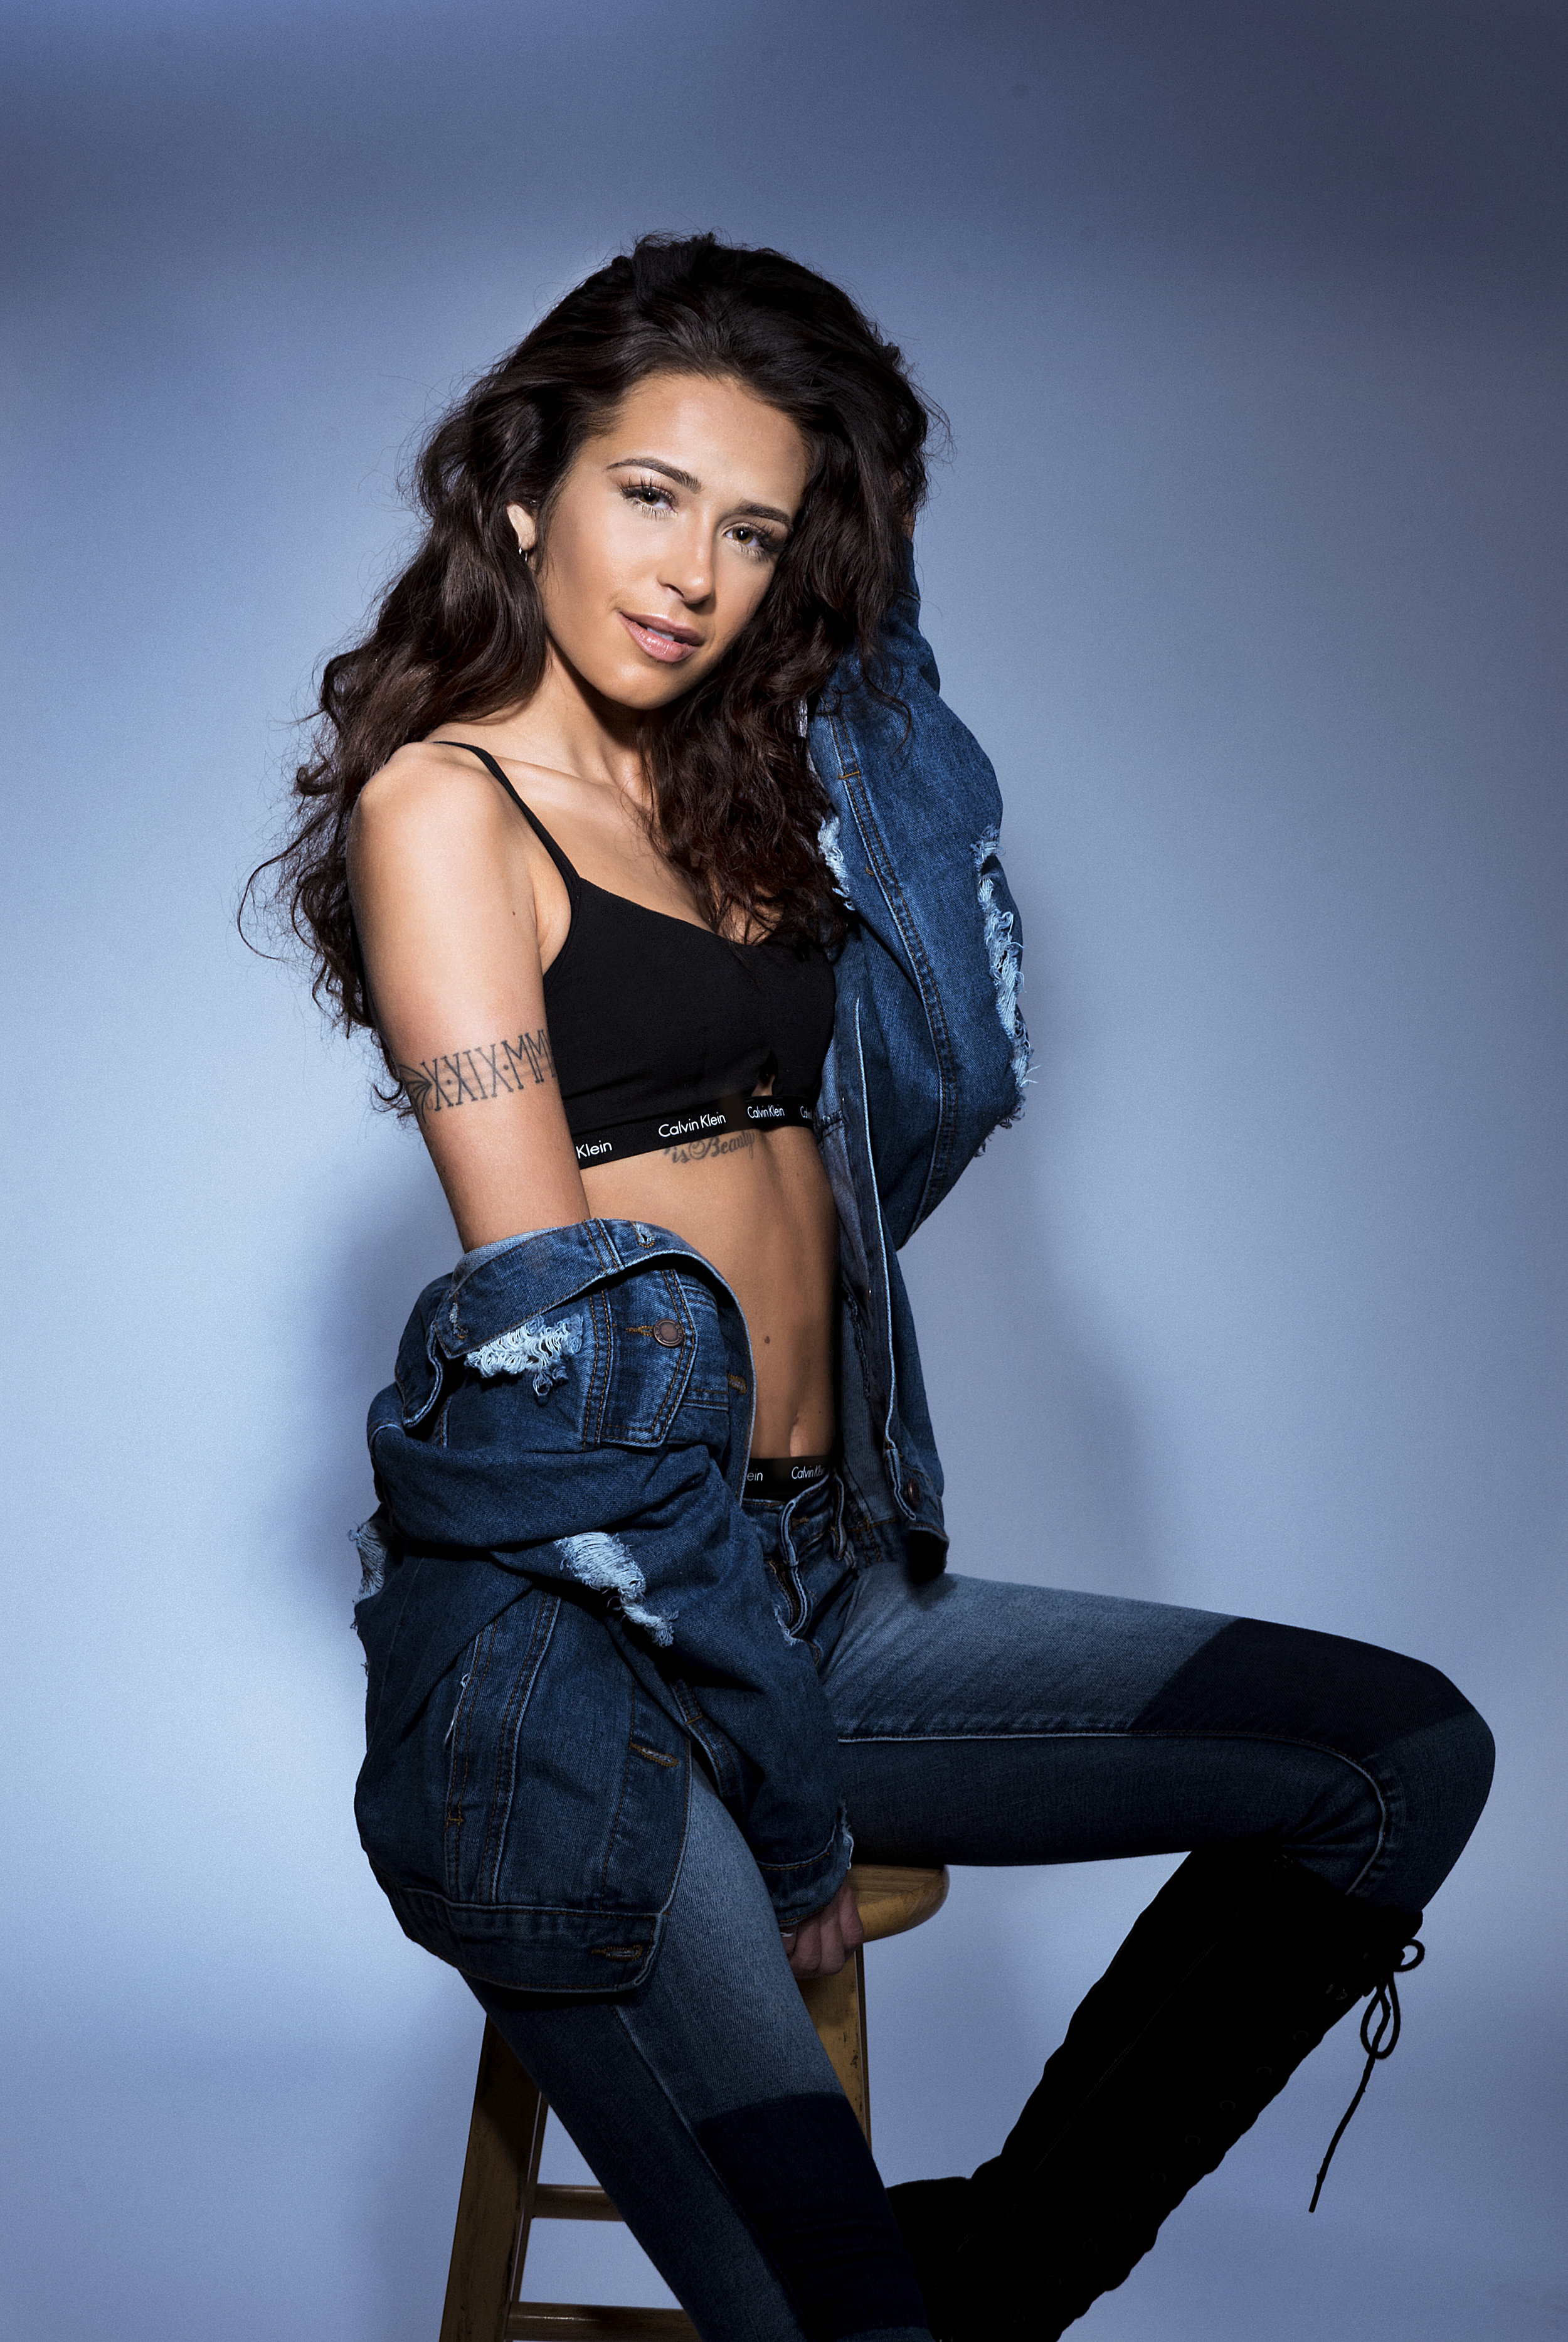
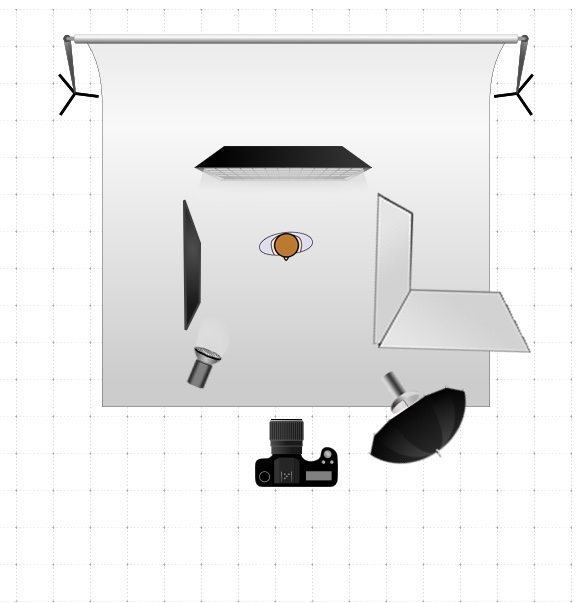
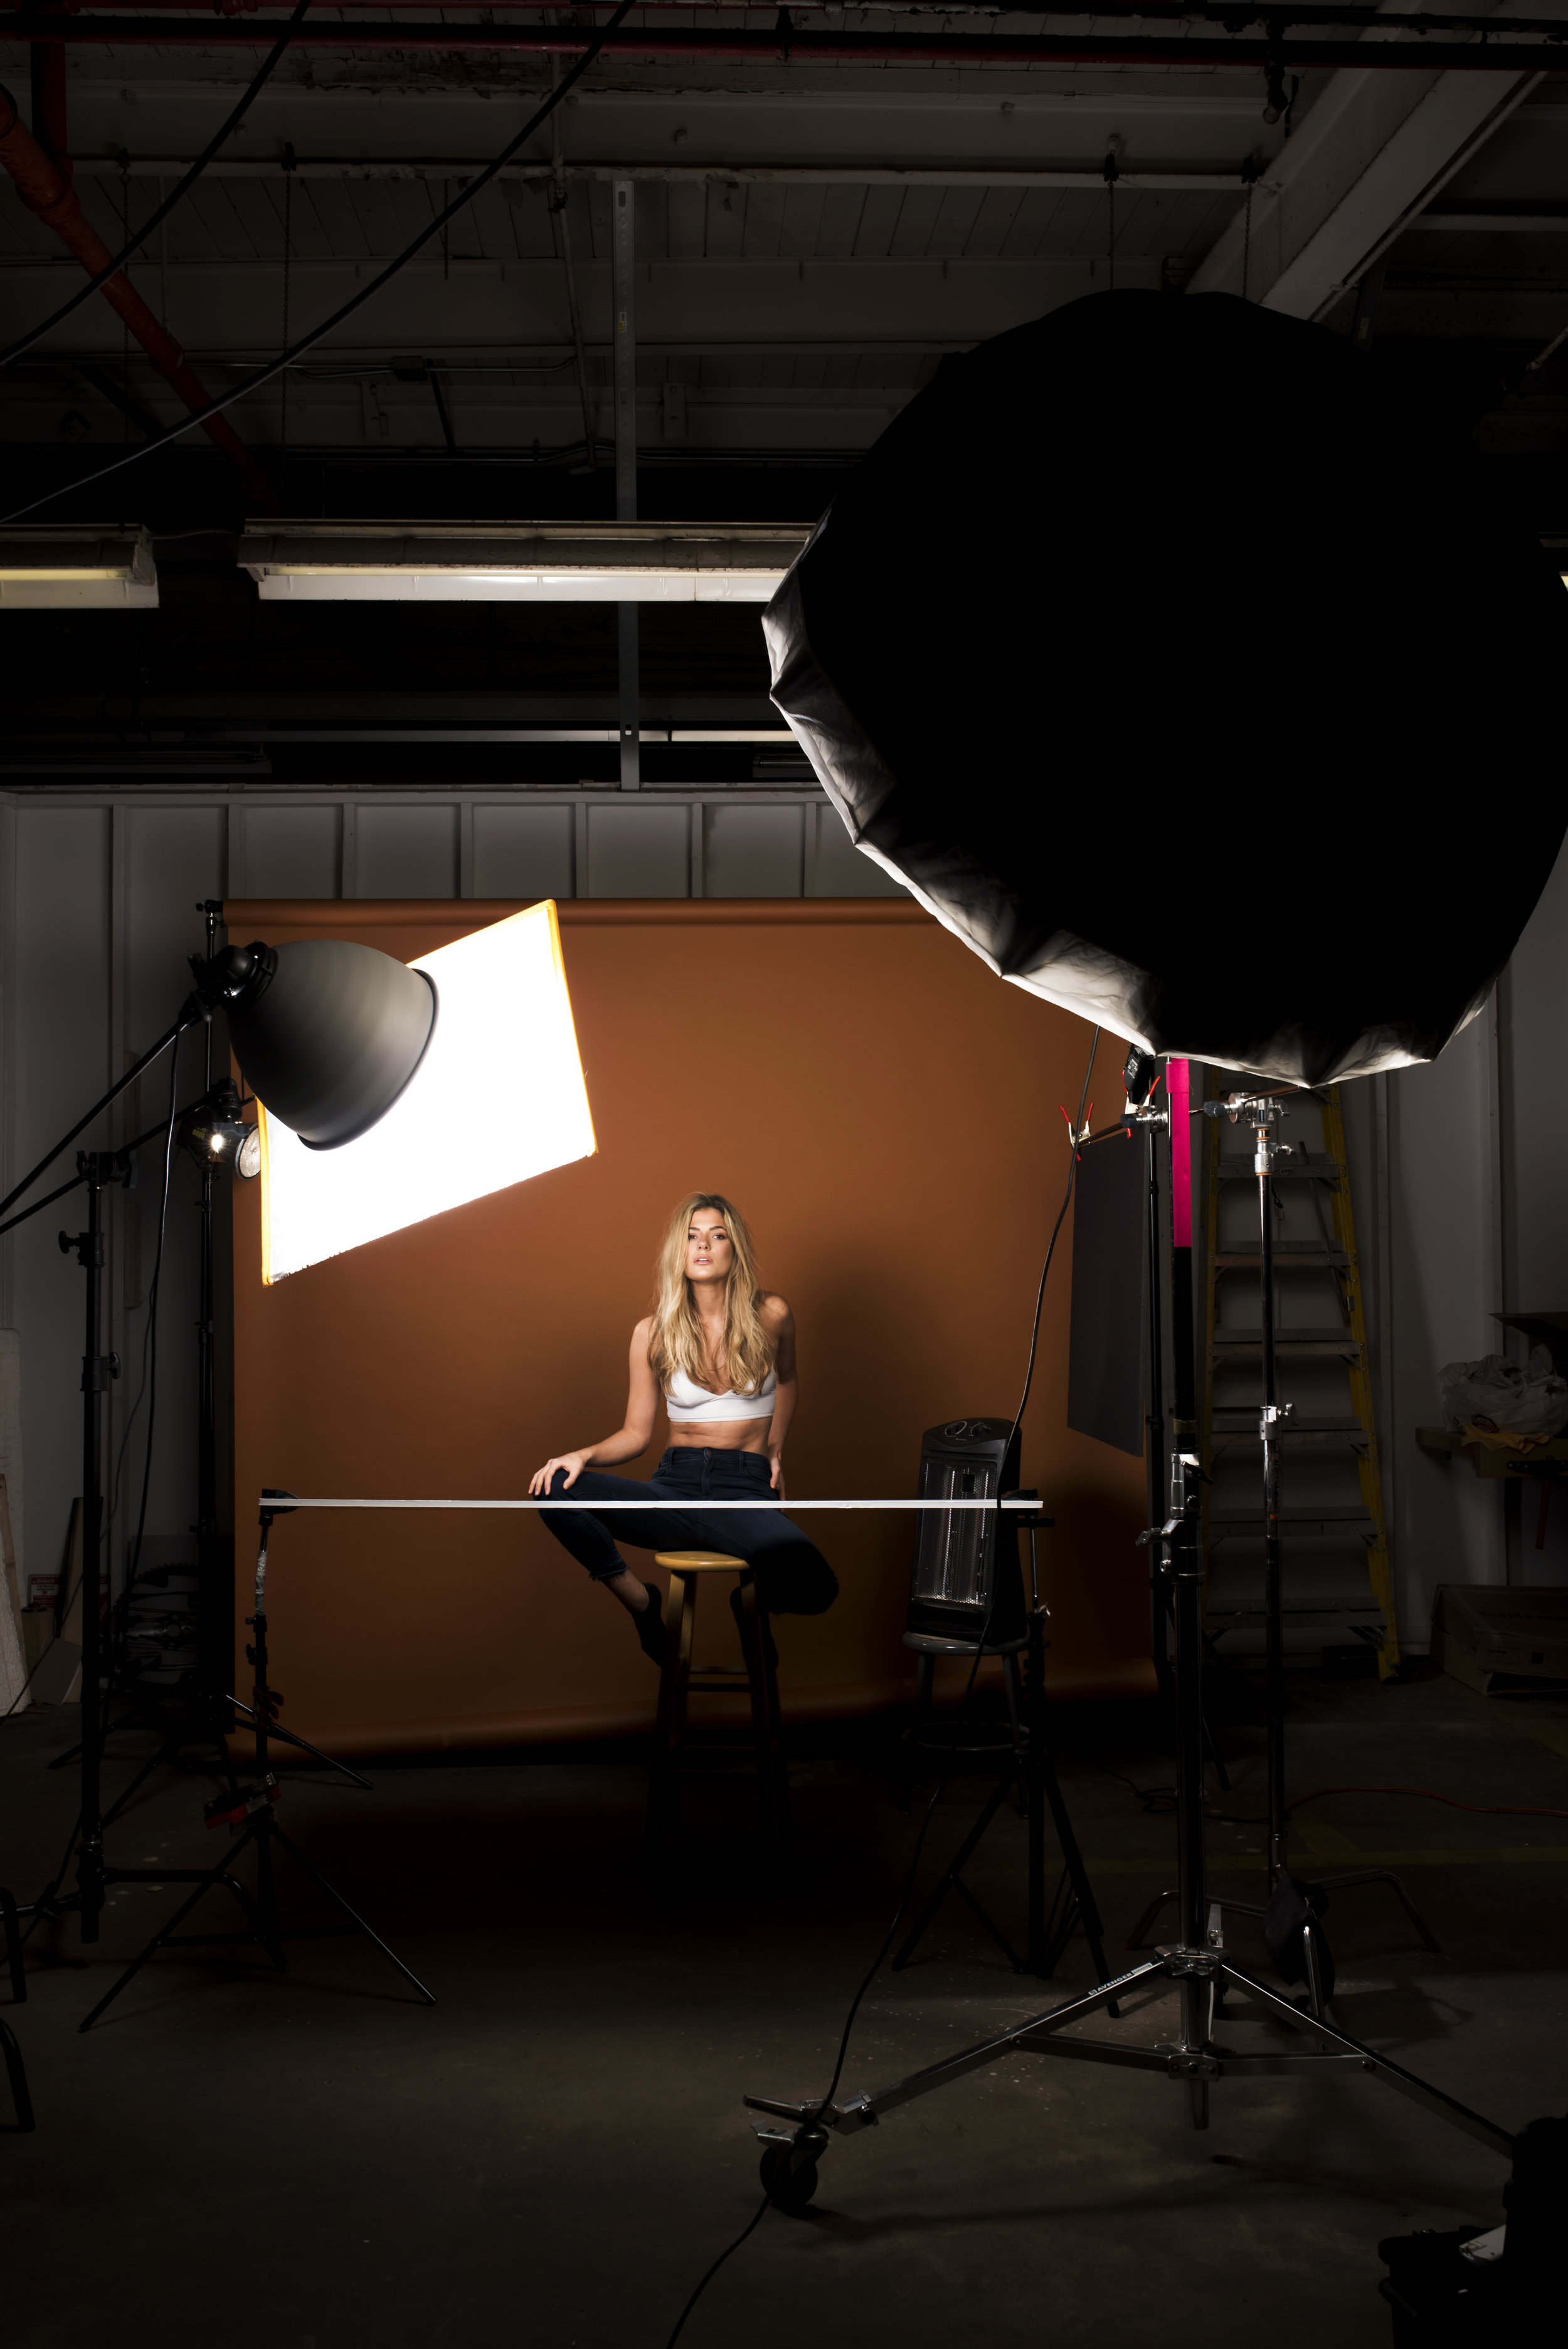
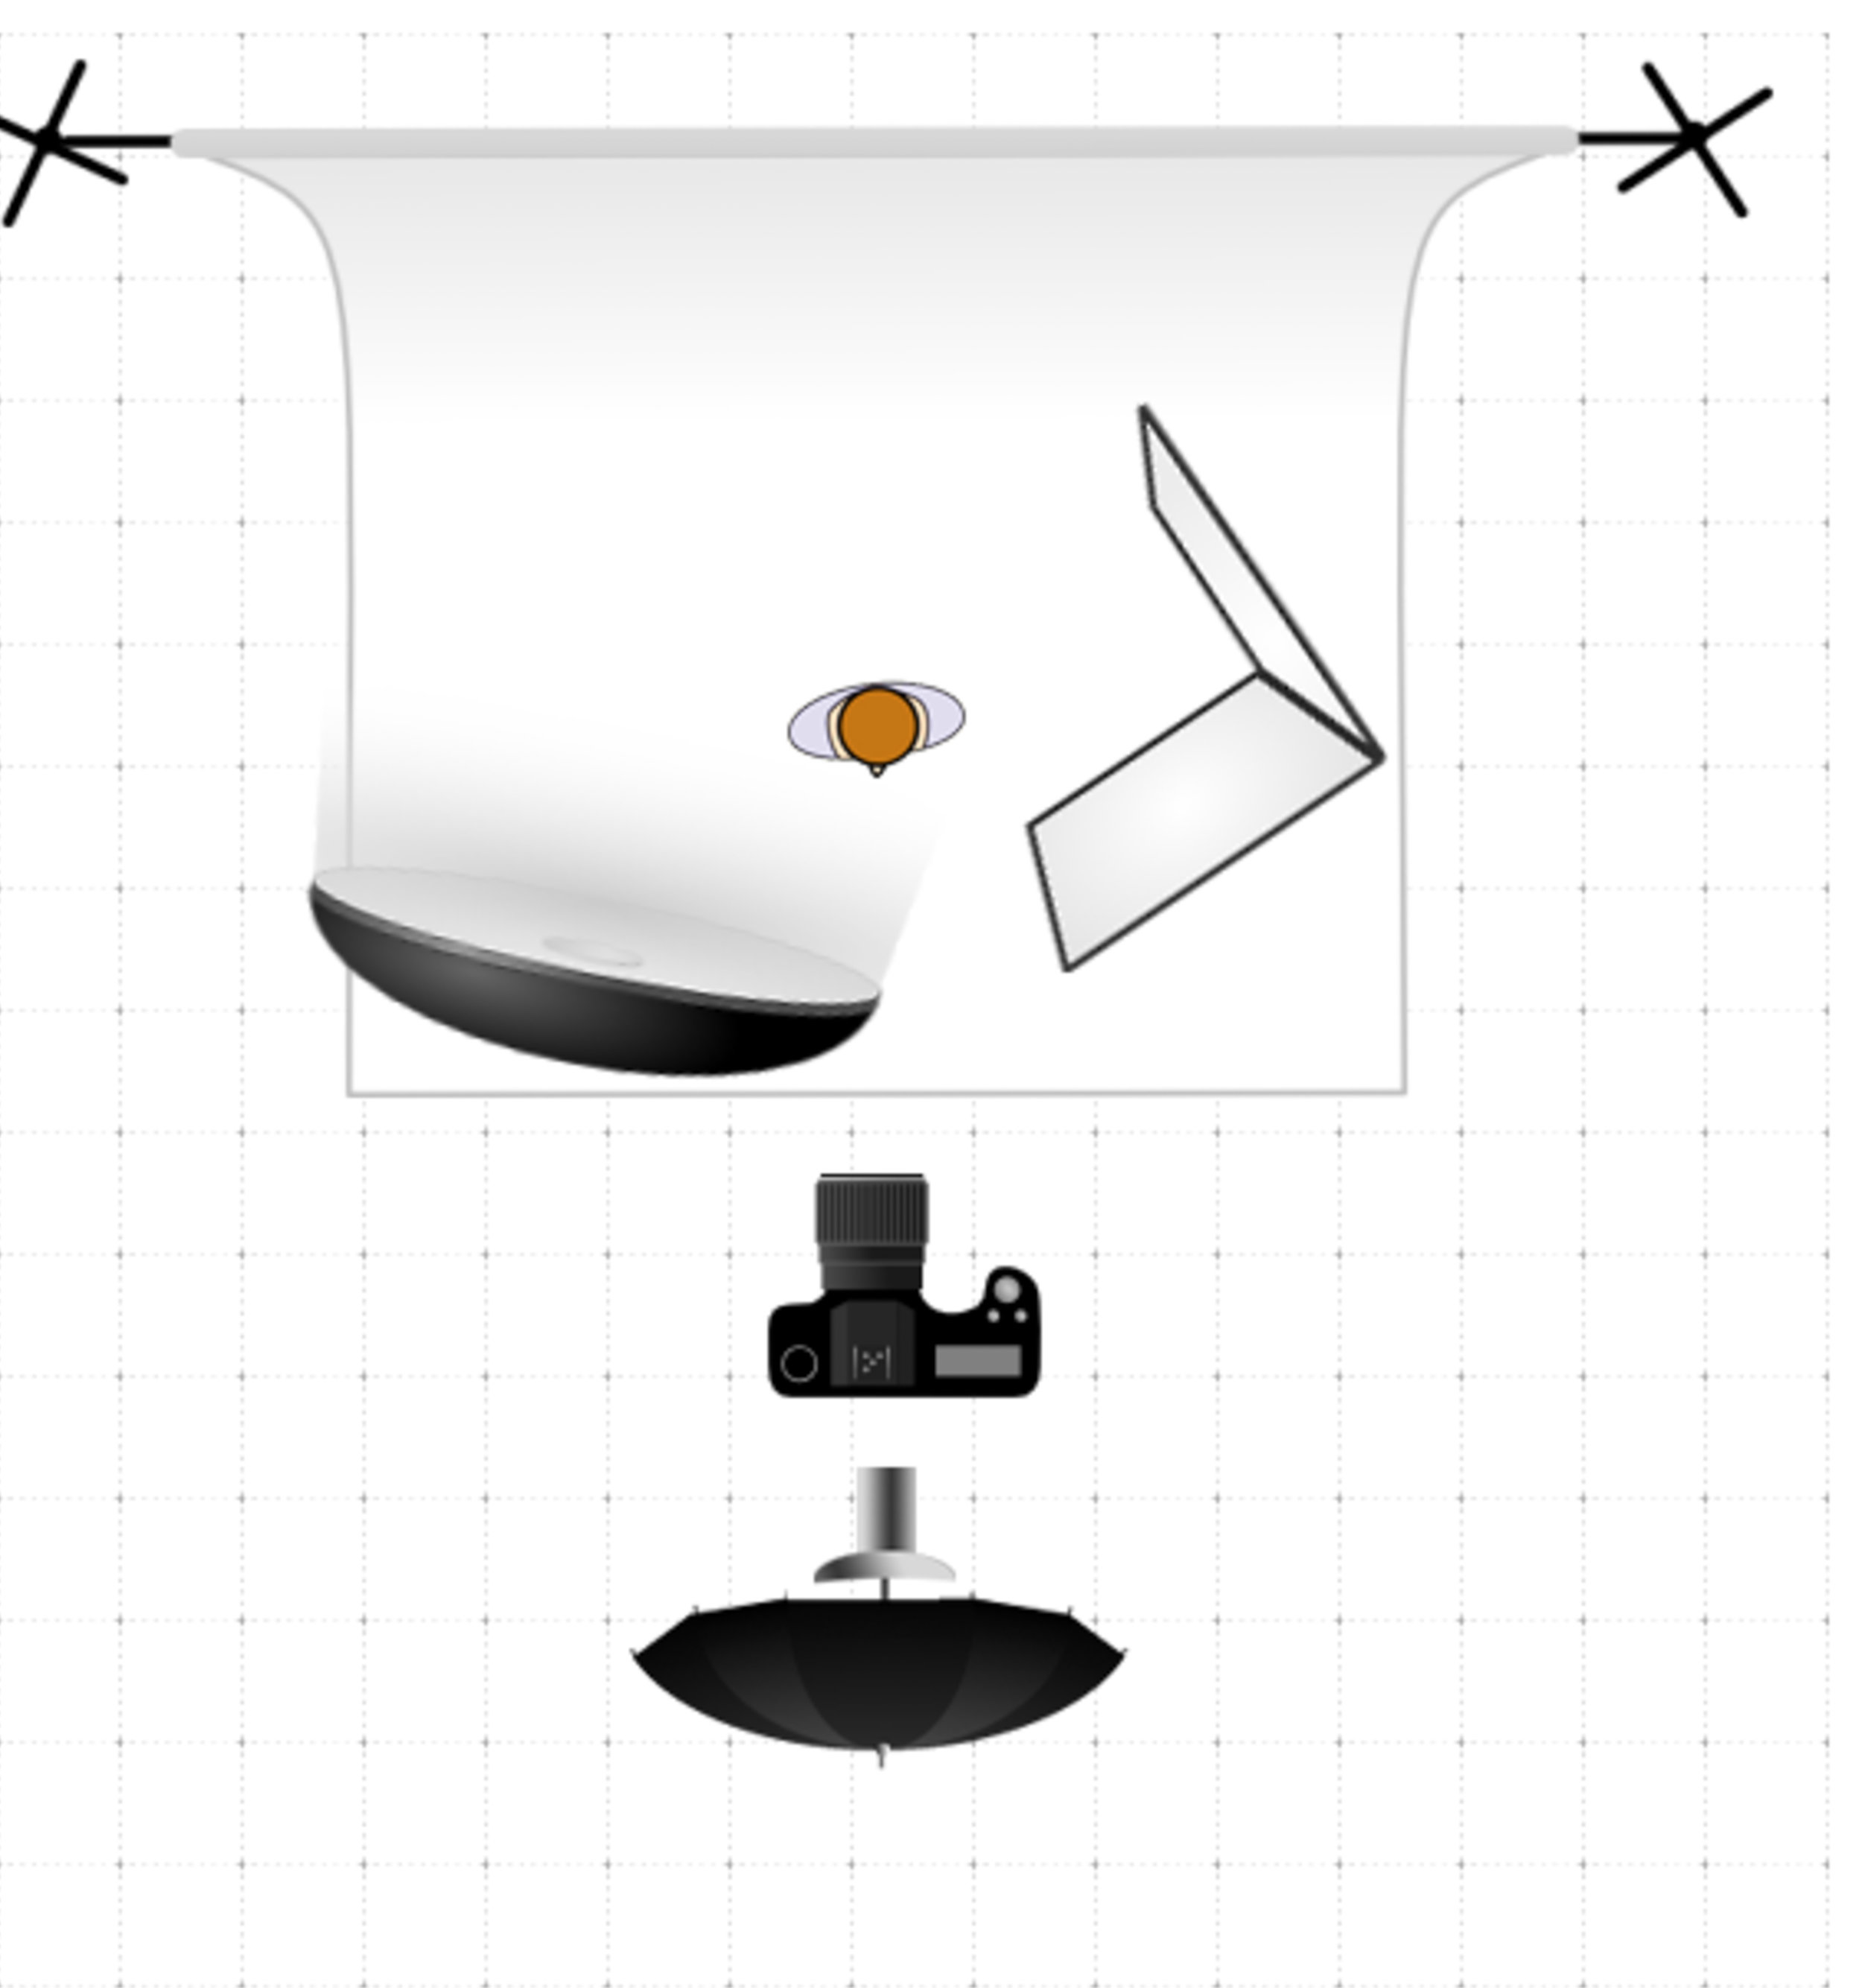
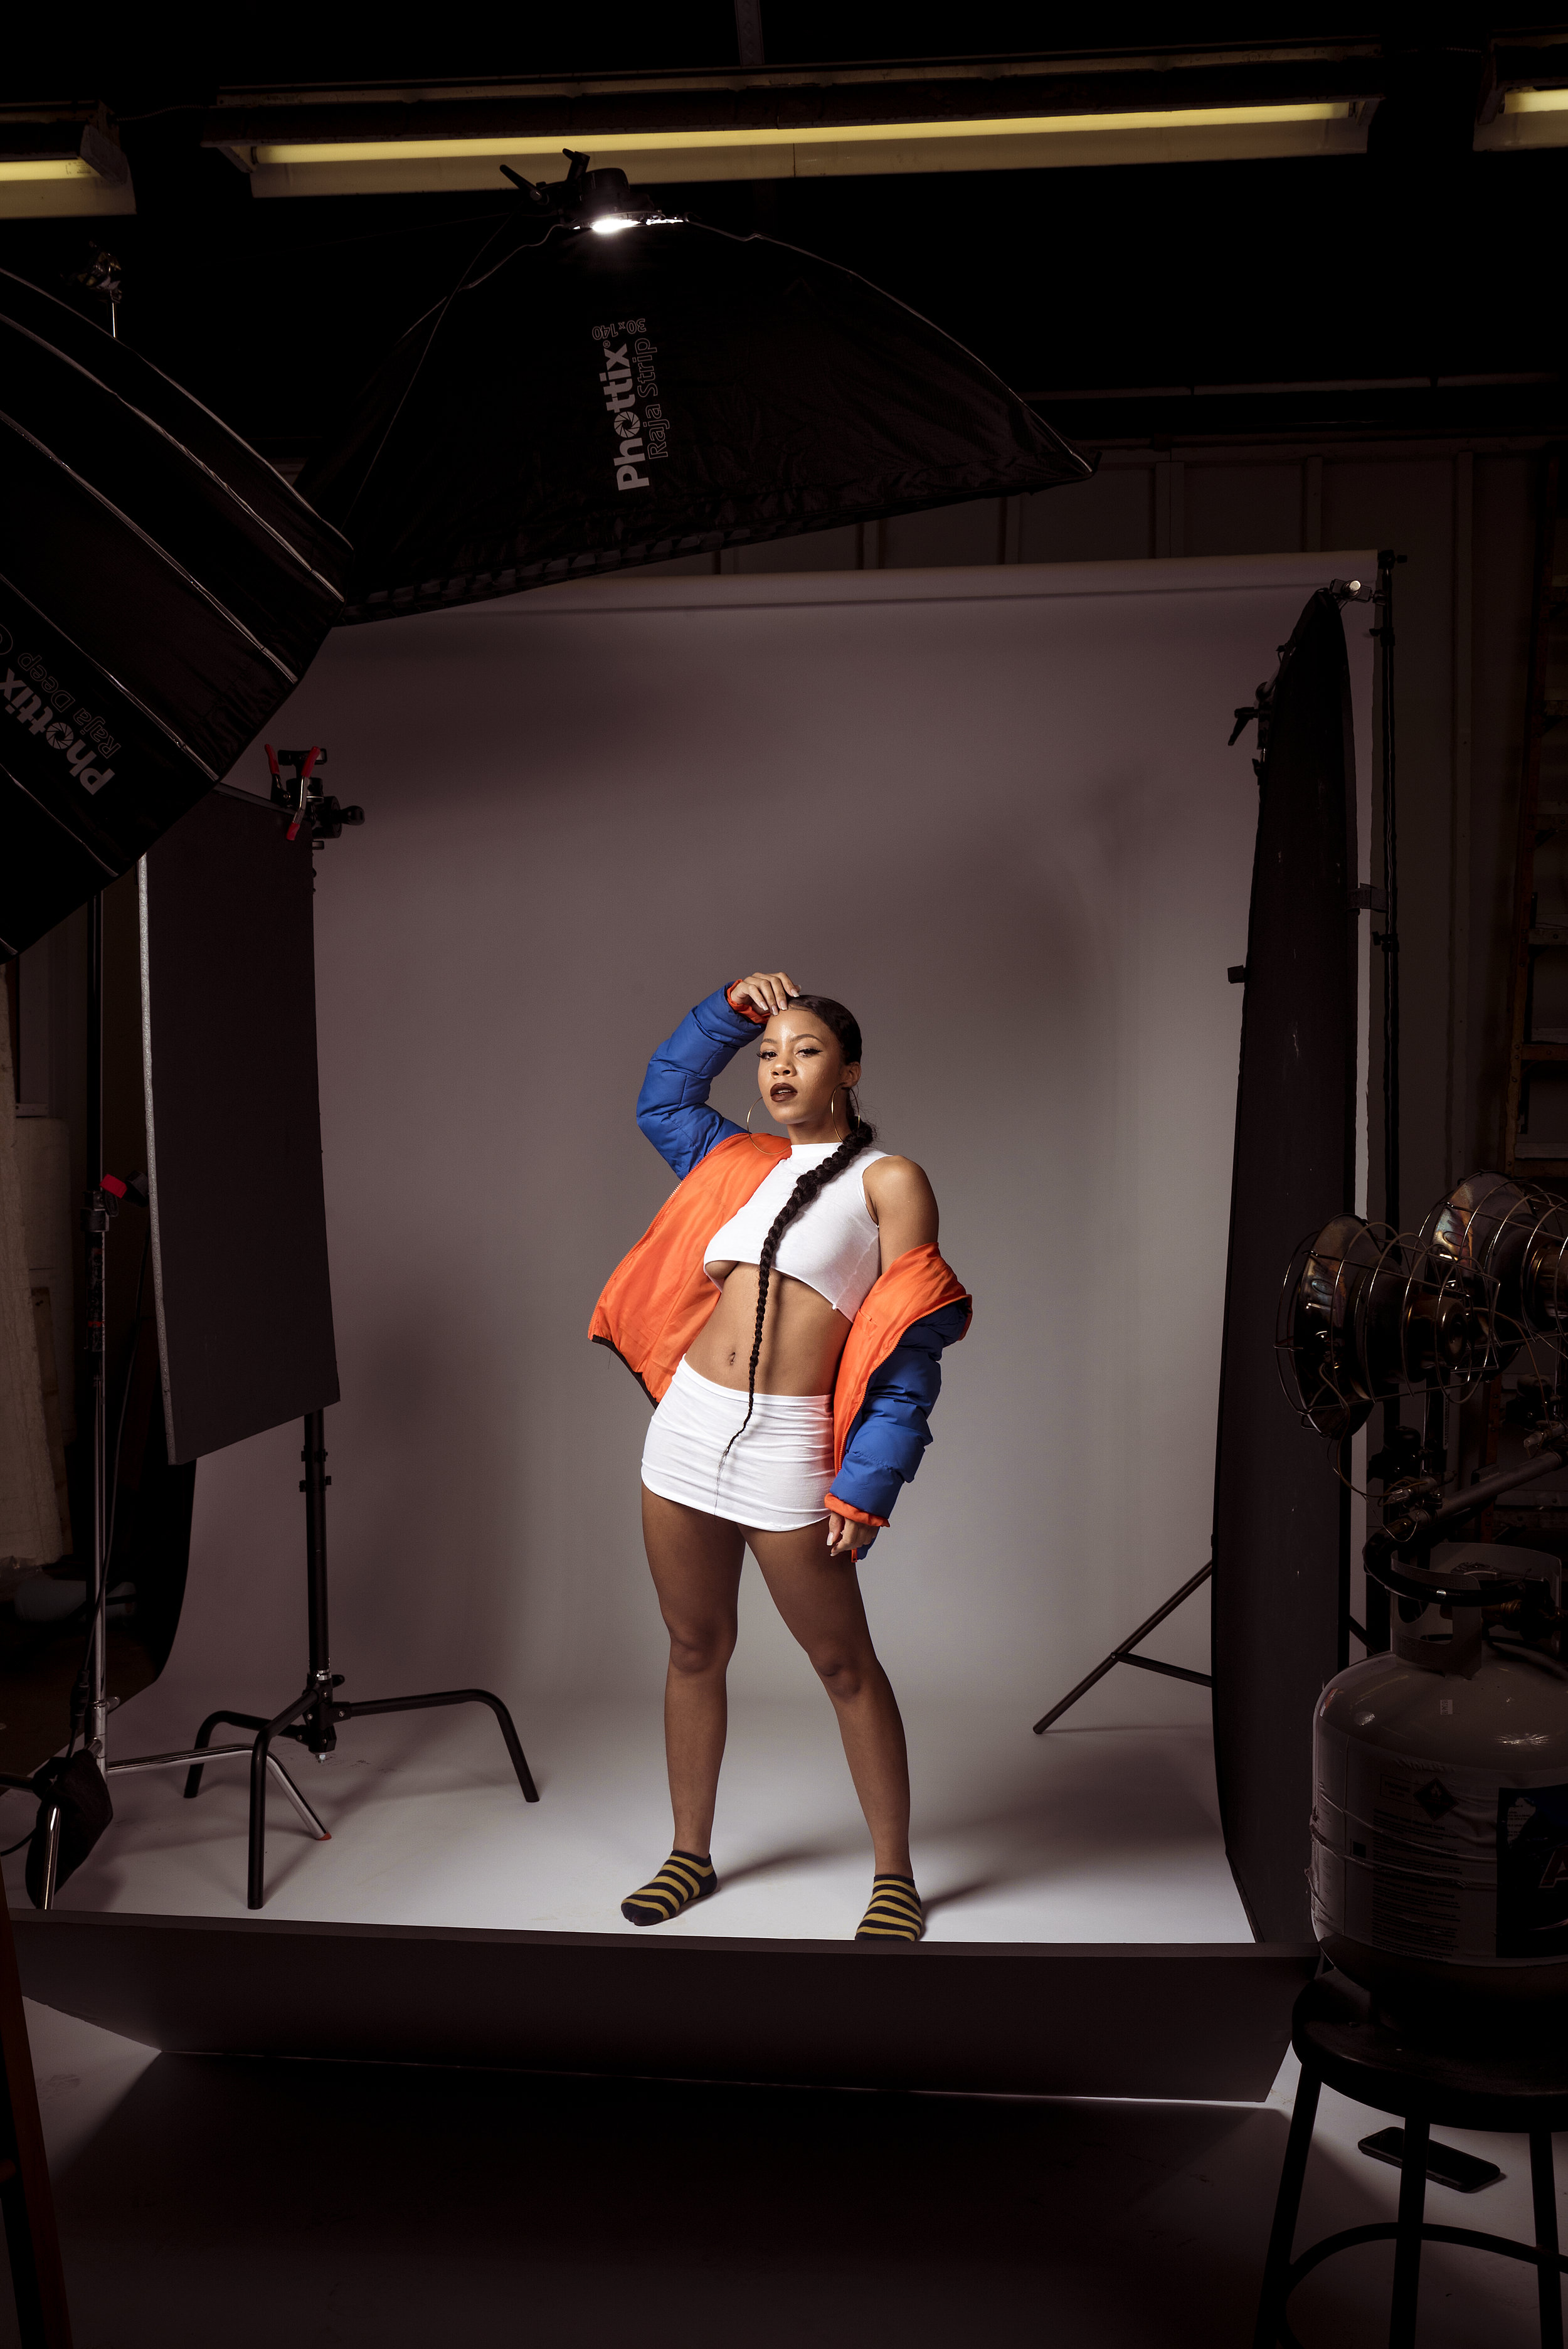
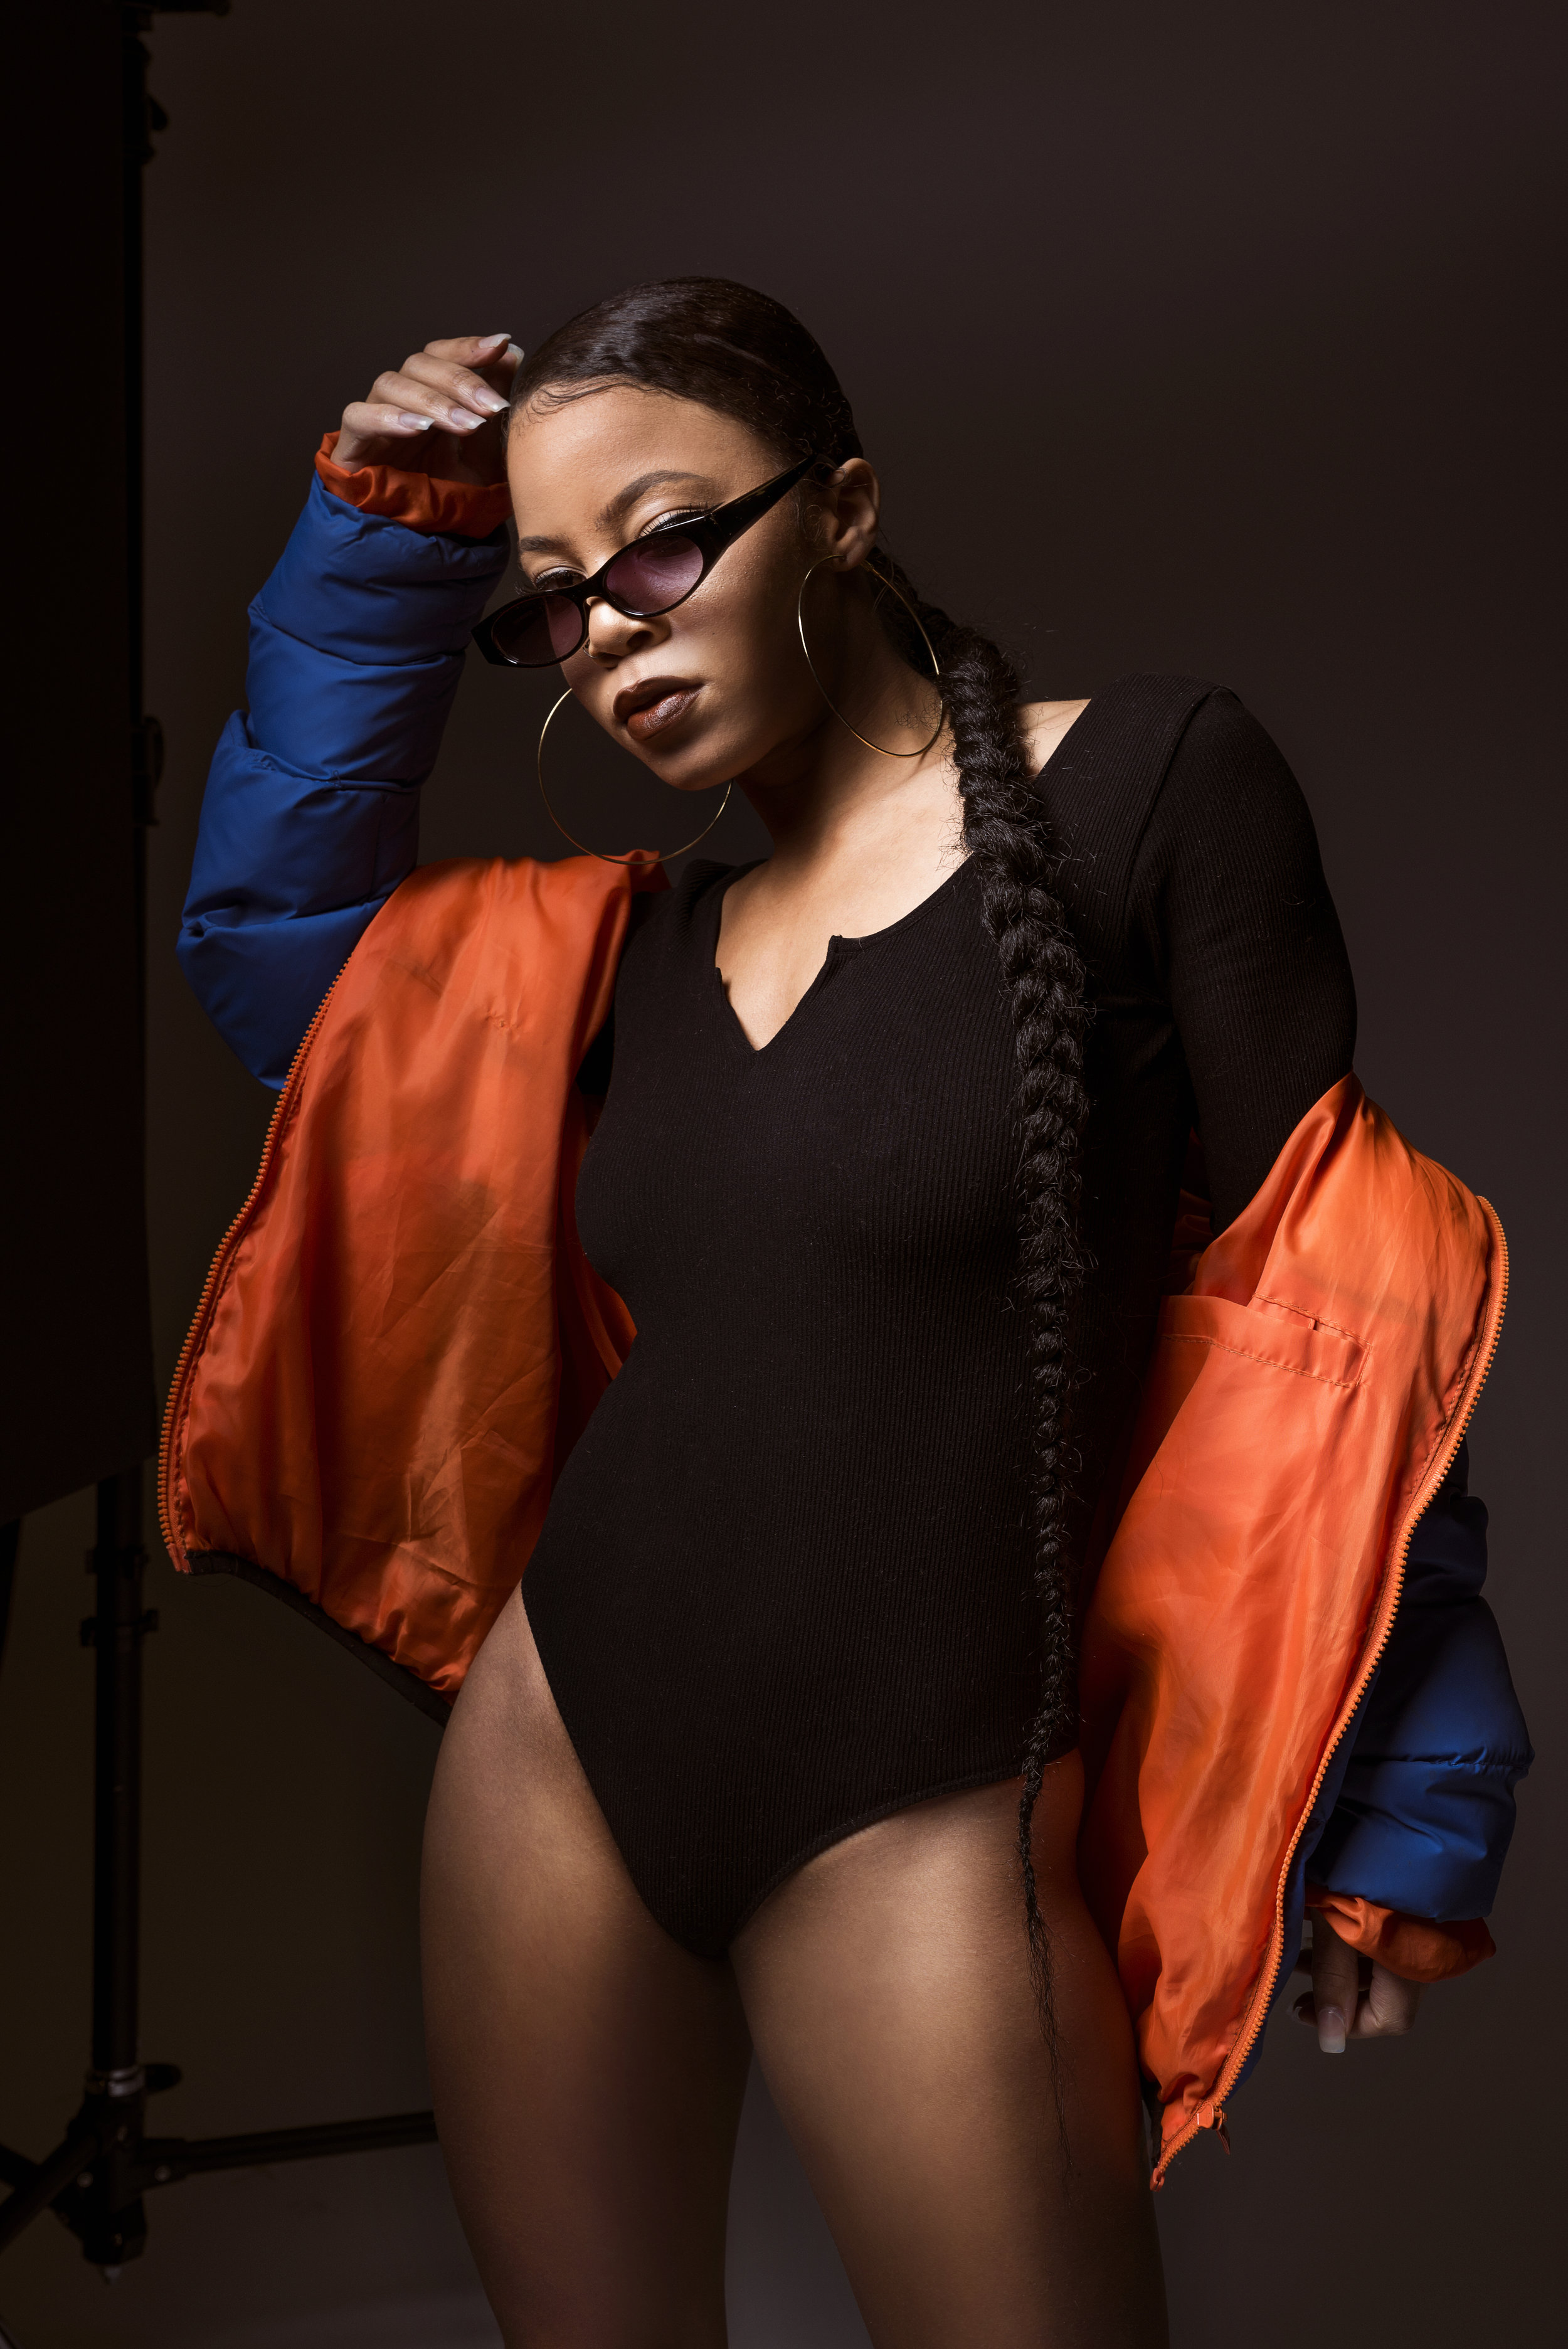
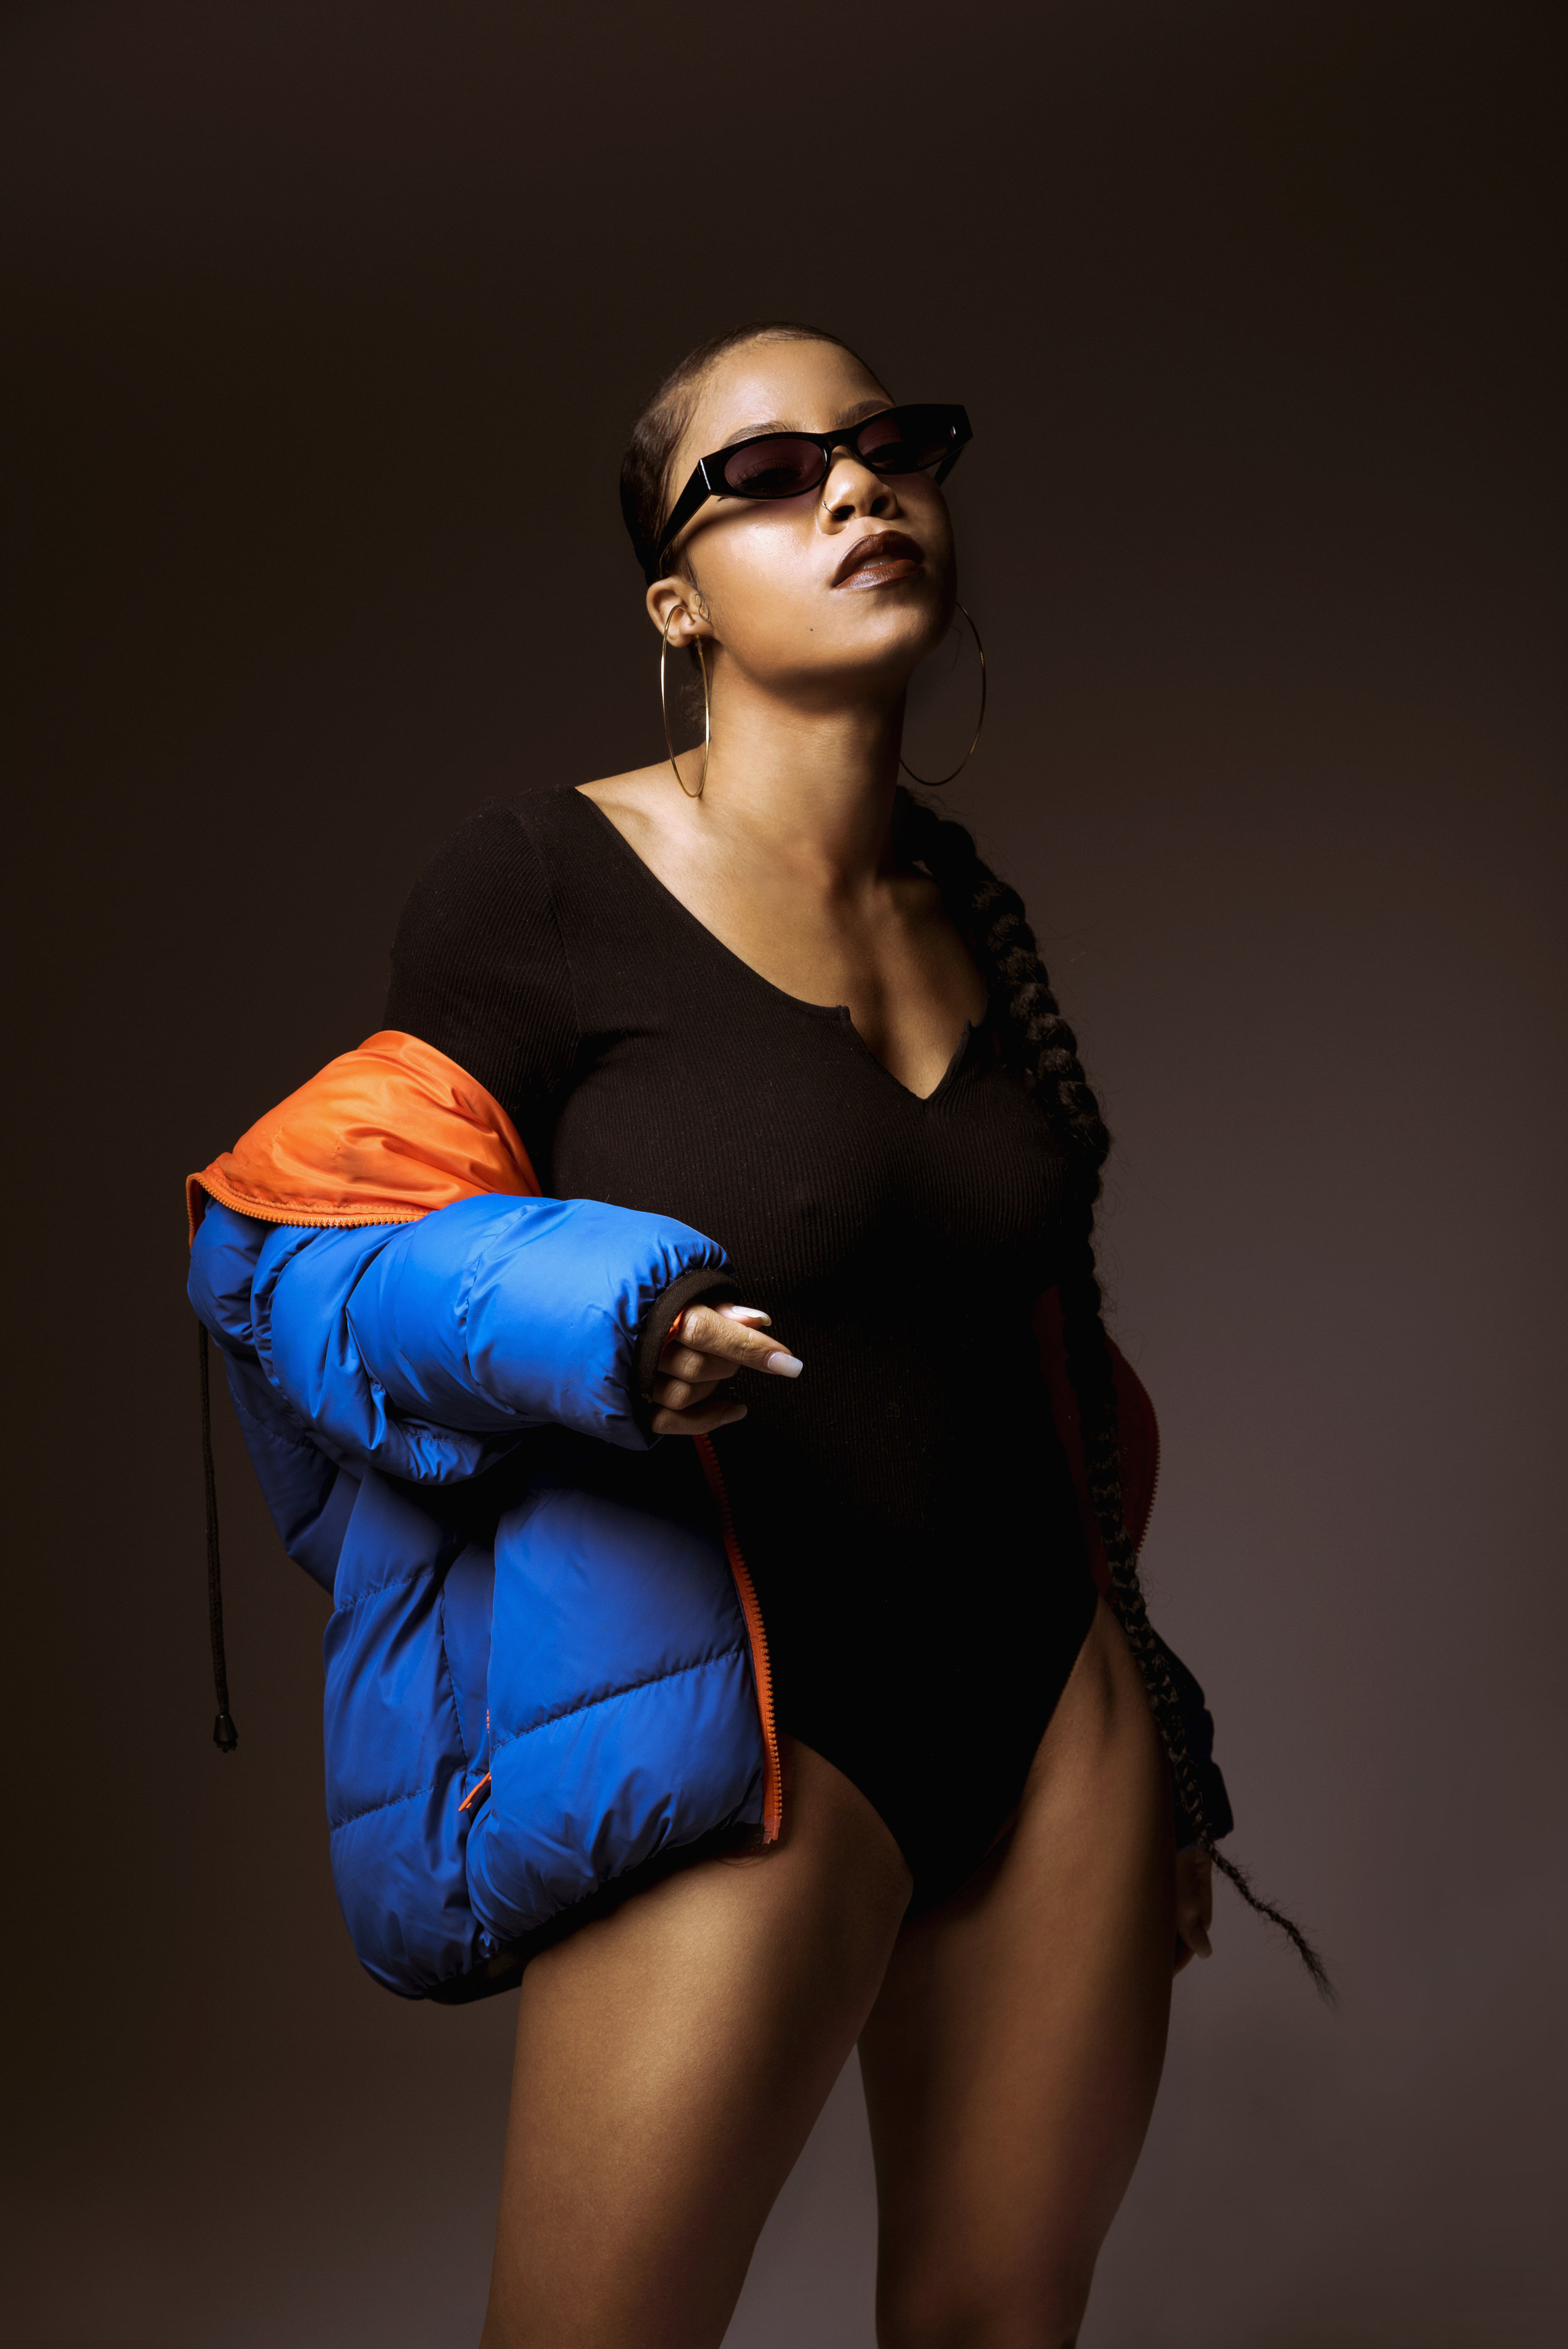
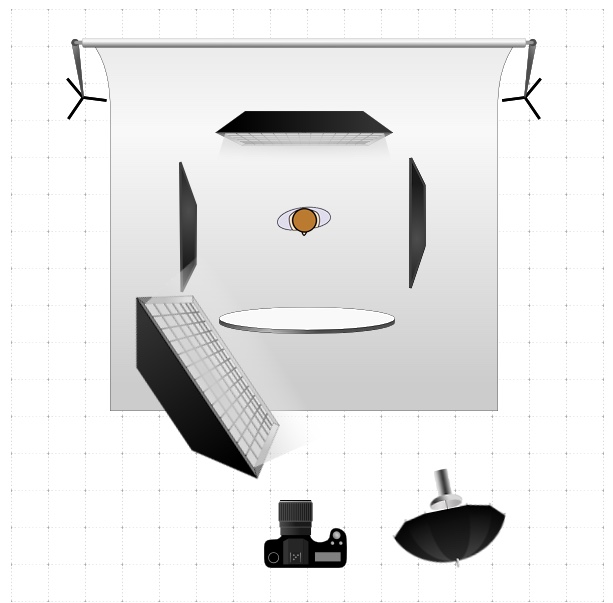
Been working on a few lighting setups. The best light in my opinion is when you build it. From the ground up, scope the light exactly how you want, add/subtract light and execute! This means planning. If you plan out your shoots from the beginning you will be more satisfied with the final product. Kinda like being proud of something you built with your hands. 


Here are three sets I’ve completed from my list of lighting setups